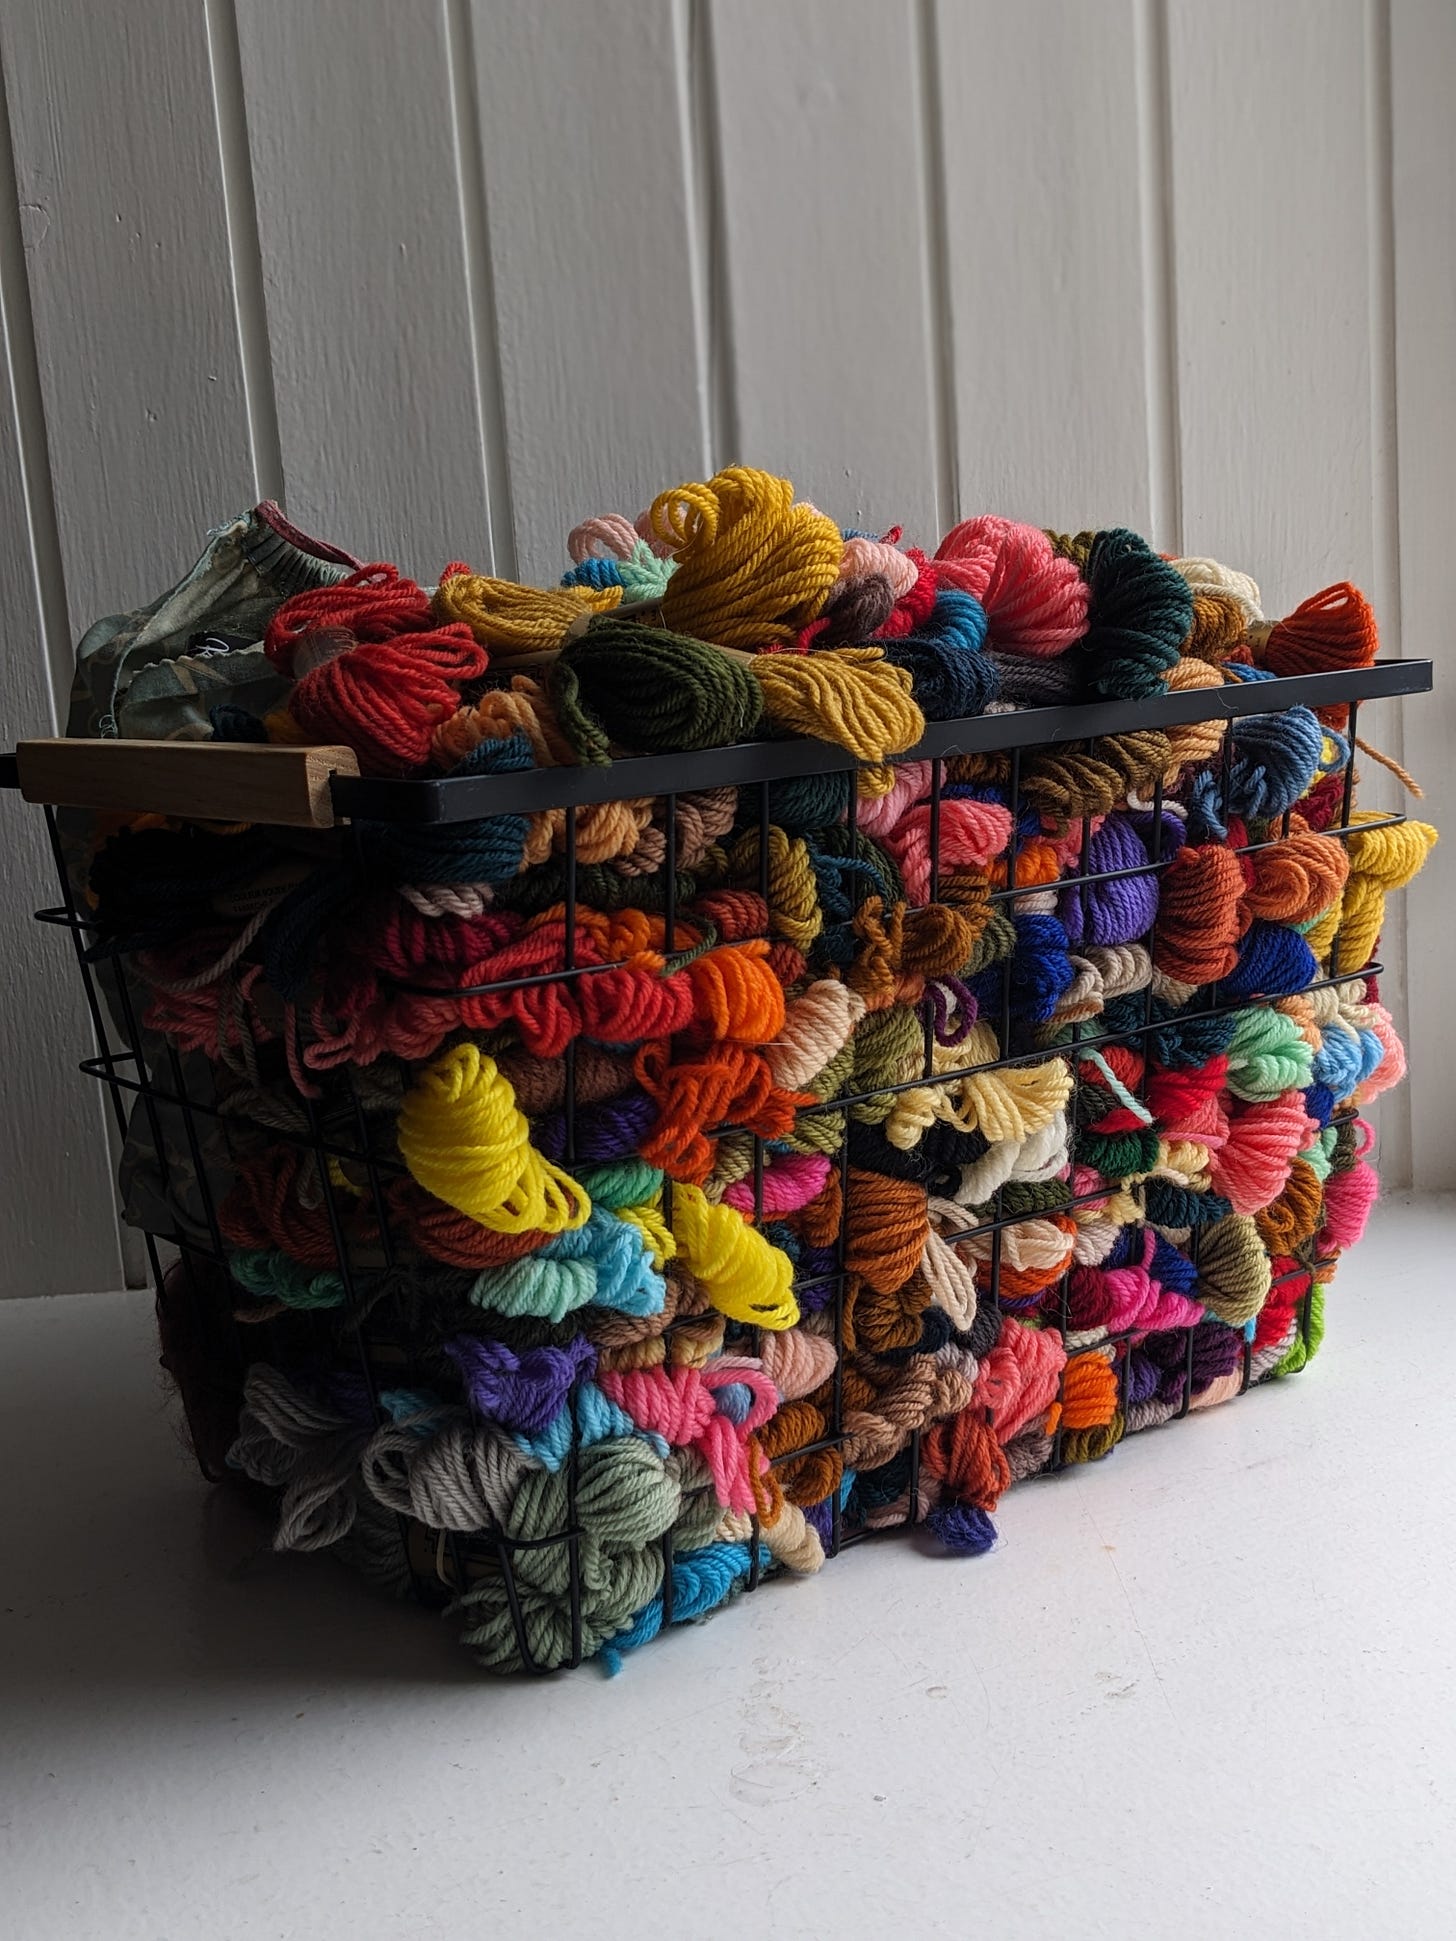
A few months ago, I wrote a blog post about a gift of fabric, yarn and notions given to me by a friend of a friend, clearing out a relative’s house. In amongst the treasure was an entire box of tapestry yarn. I see this yarn all the time in charity shops, often in large quantities, but hadn’t thought to use it until fairly recently. Tapestry isn’t my hobby I would think, as I passed over large quantities of cheap, 100% wool yarn. Then, a couple of years ago, I thrifted a small amount of tapestry yarn whilst visiting Perth with my bestie, and made a pair of ugly-but-warm scrappy socks from my score. Every time I wear them, they make me smile, thinking of that Fancy Lady Weekend drinking wine in the hot tub together.
Fast forward to this incredible gift of tapestry yarns, and the quantities involved made me realise I would need a larger project than a pair of socks. I’d had Katryn Seeburger’s Heirloom Quilt Cardigan saved for a while, and after spending a very satisfying wet afternoon sorting through yarn in front of the fire, realised I had enough in my chosen autumnal colour palate to make it happen. This pattern doesn’t have a size chart per say, more a guideline diagram with finished item measurements. I chose to knit size 1, because I wanted a closer-fit, cropped style.
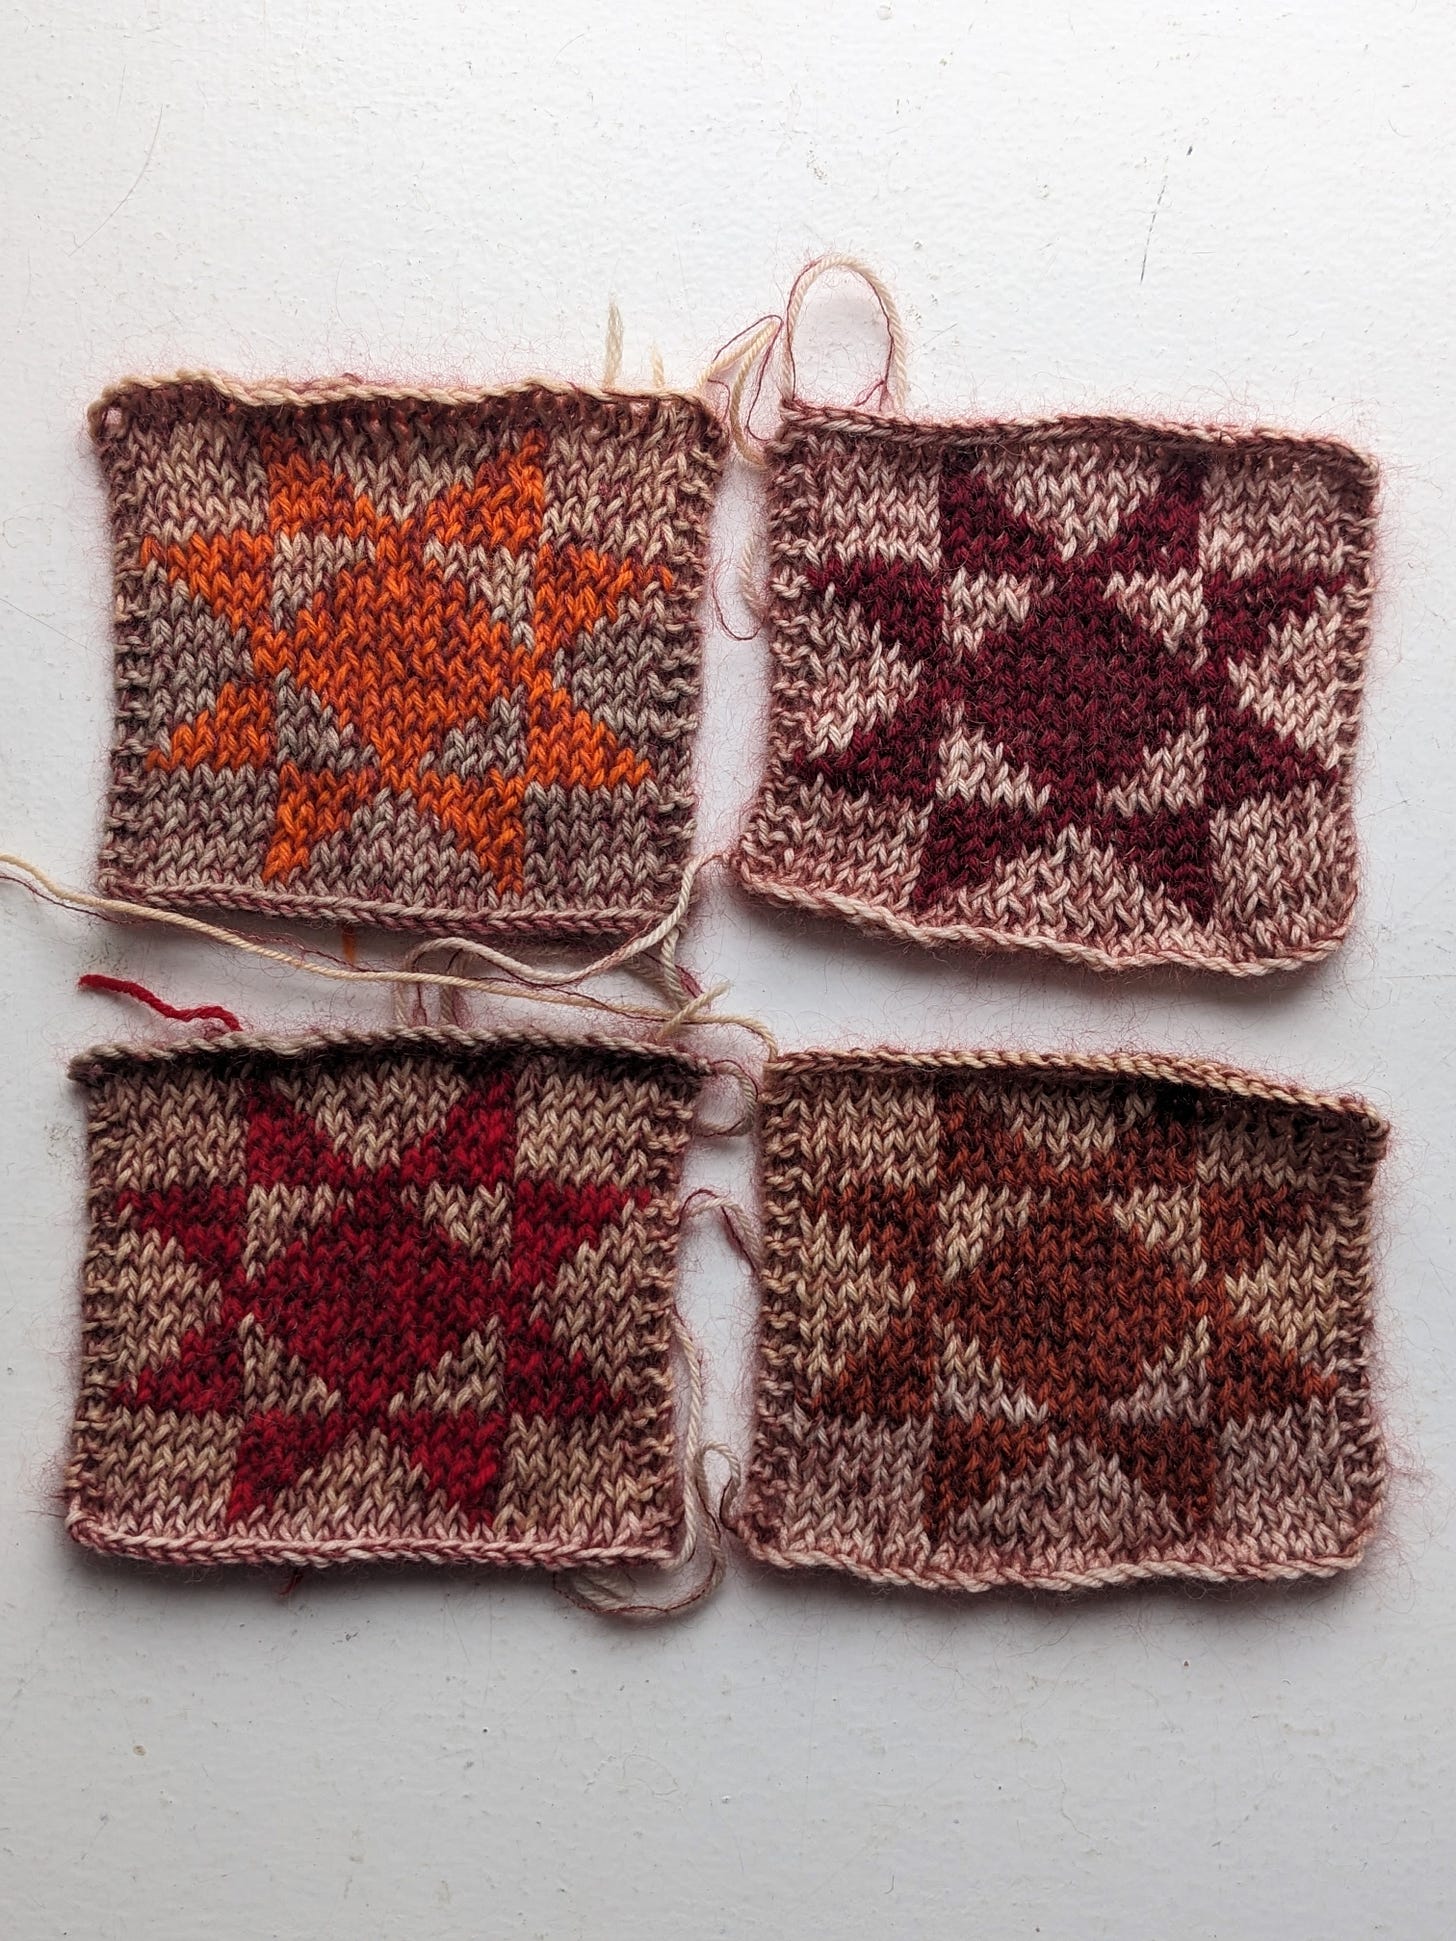
I started off knitting the pattern with my tapestry yarn held double with Drops Kidsilk mohair in burgundy, to give that warm fuzzy halo to the final cardigan, plus some continuity through the design. The downside of using tapestry yarn is not all the dye lots match, so I might have 3 different shades of orange or 5 different browns. Holding my yarn double with mohair would give some much-needed continuity, to make the final piece look less home made.
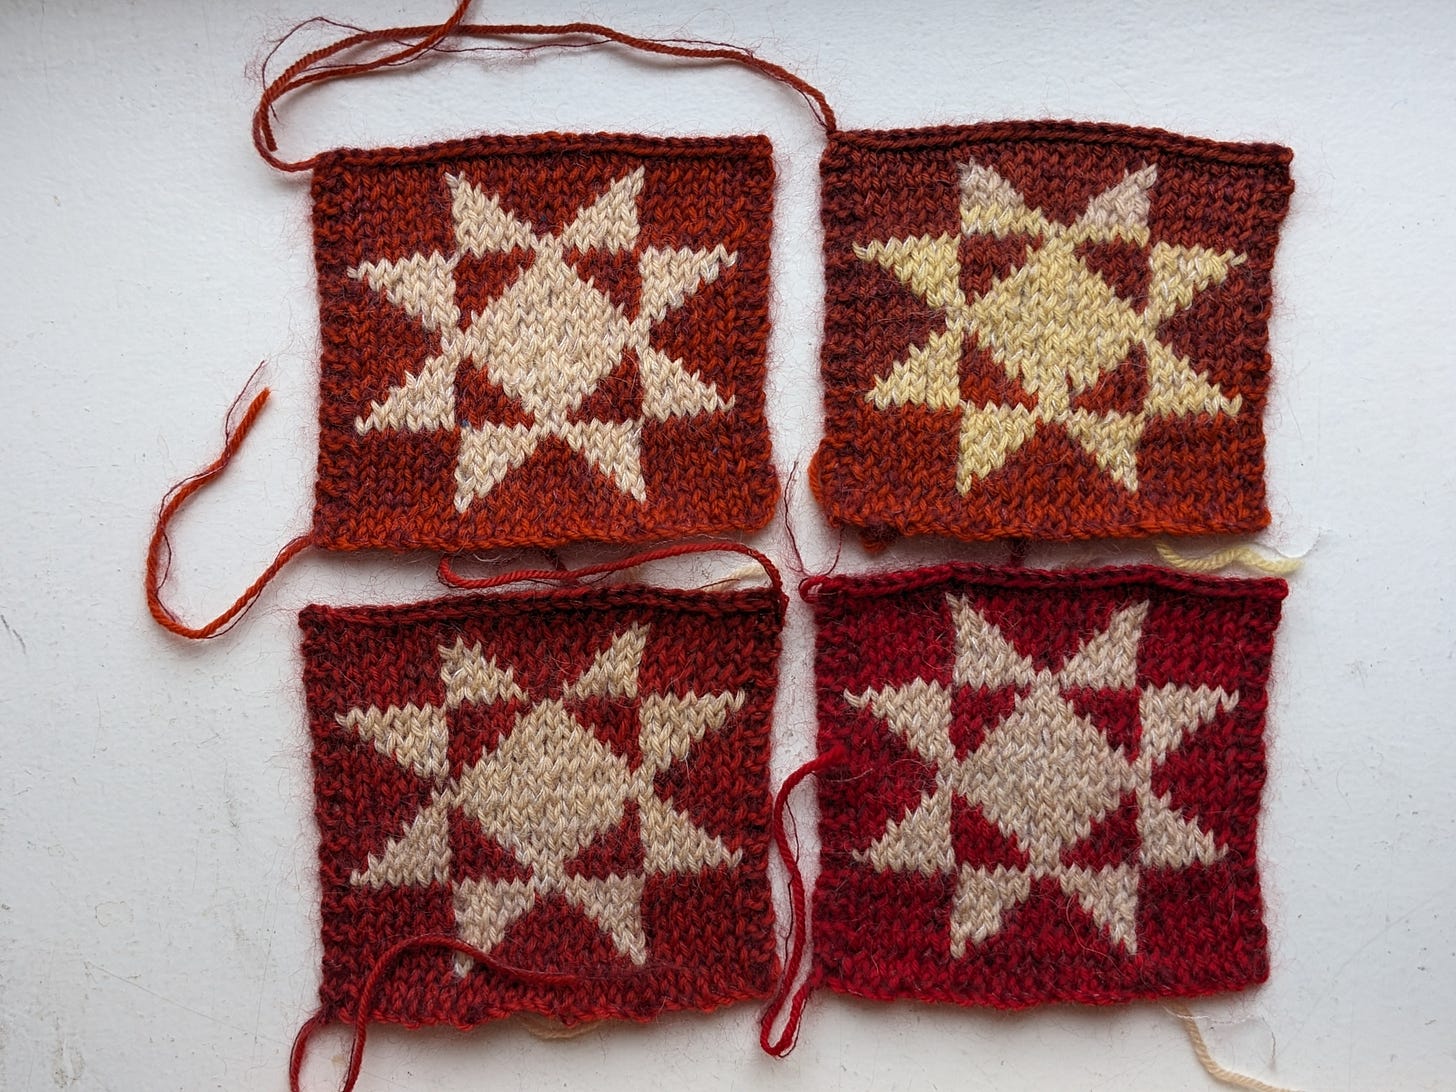
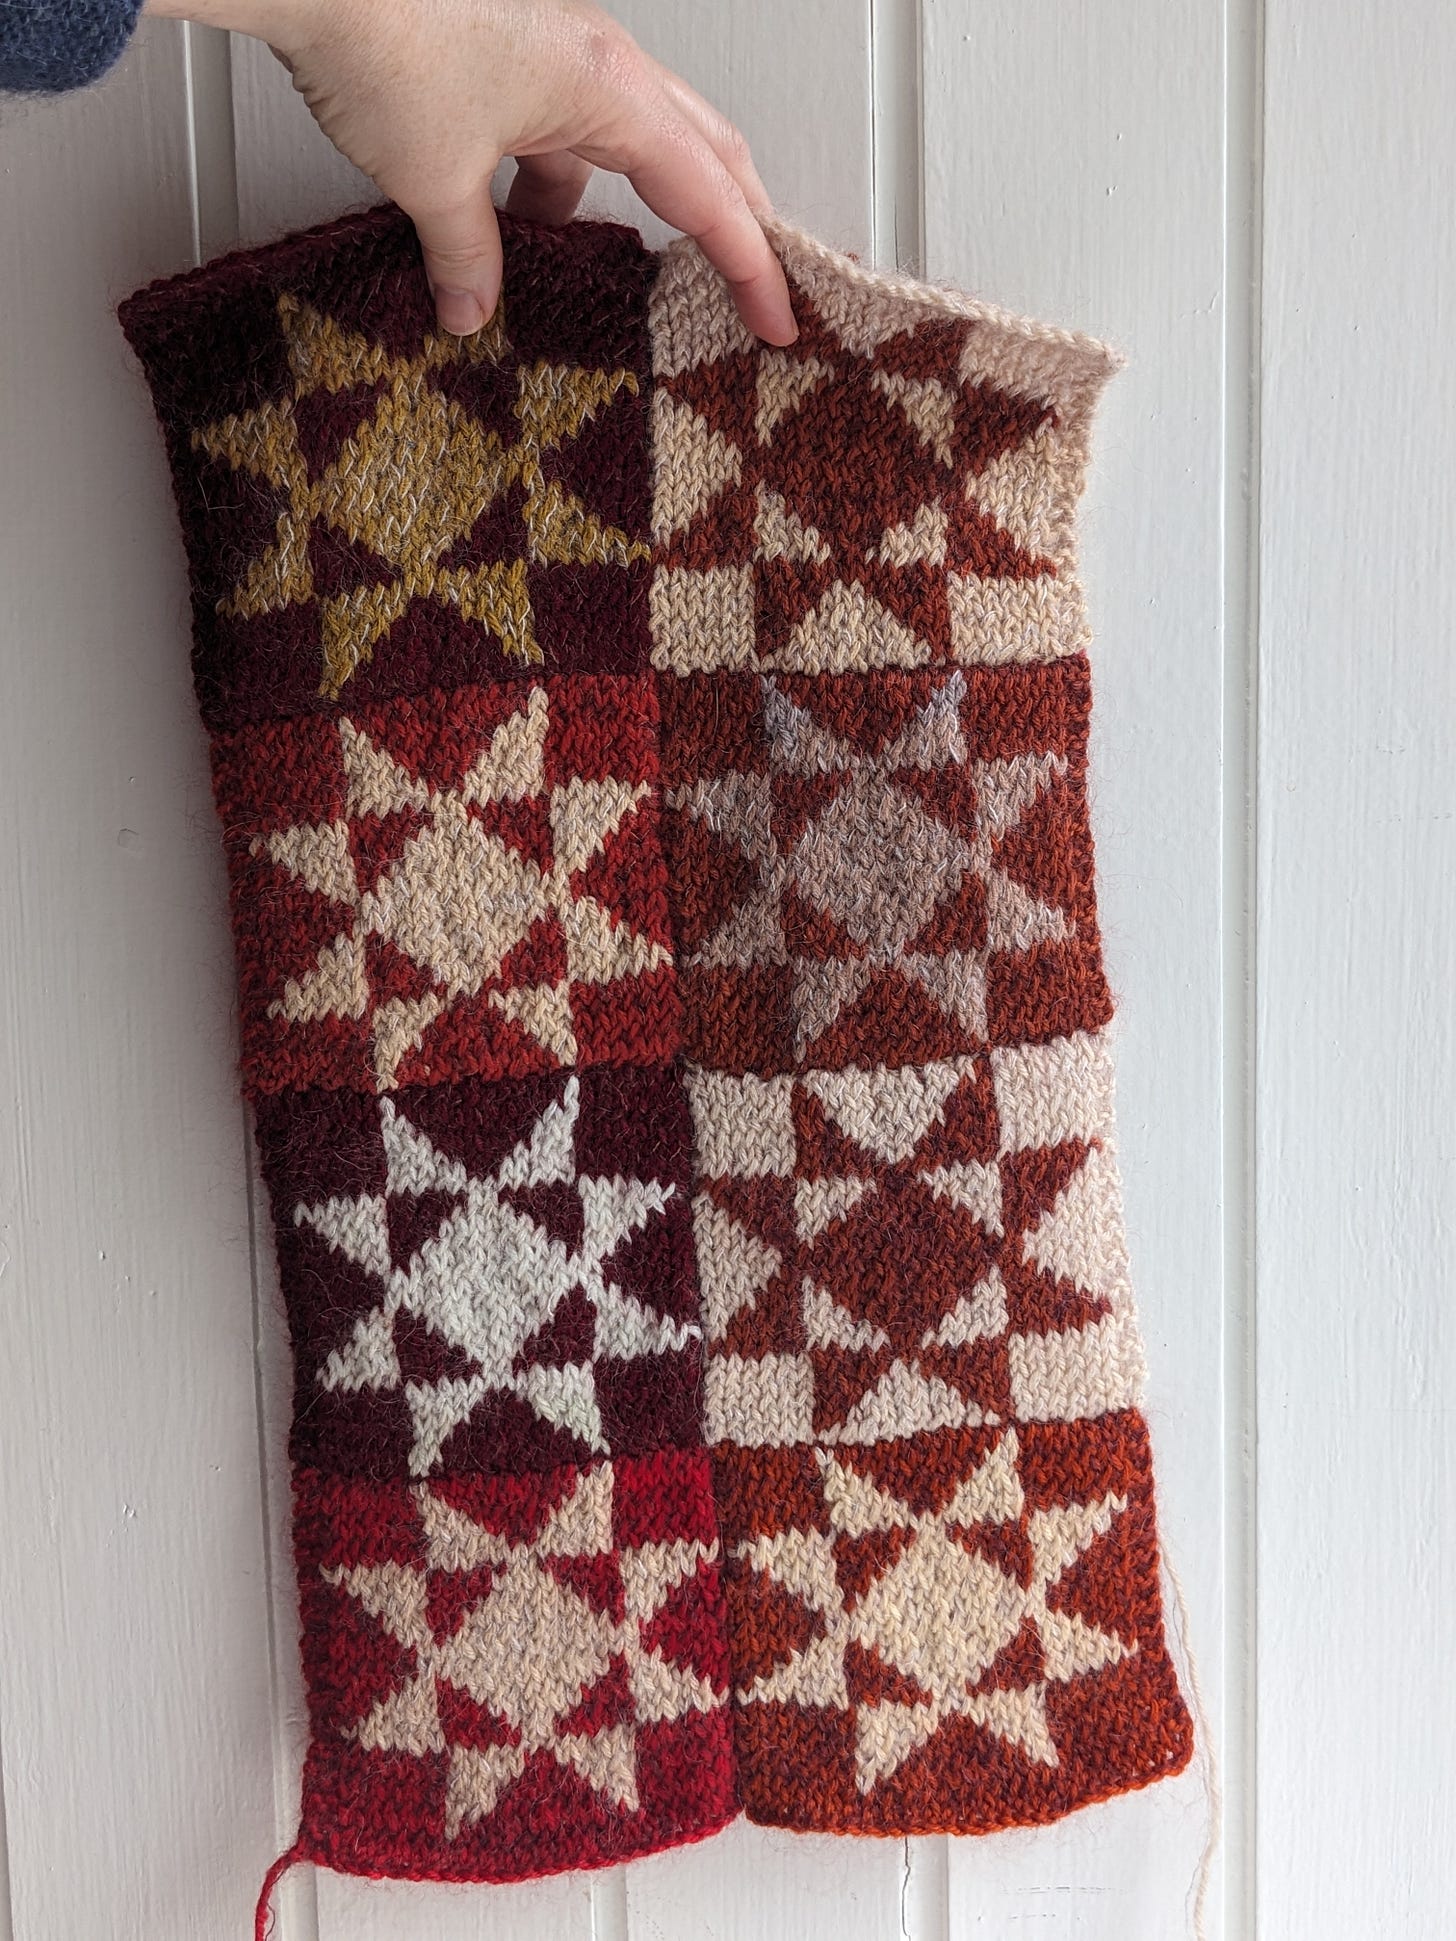
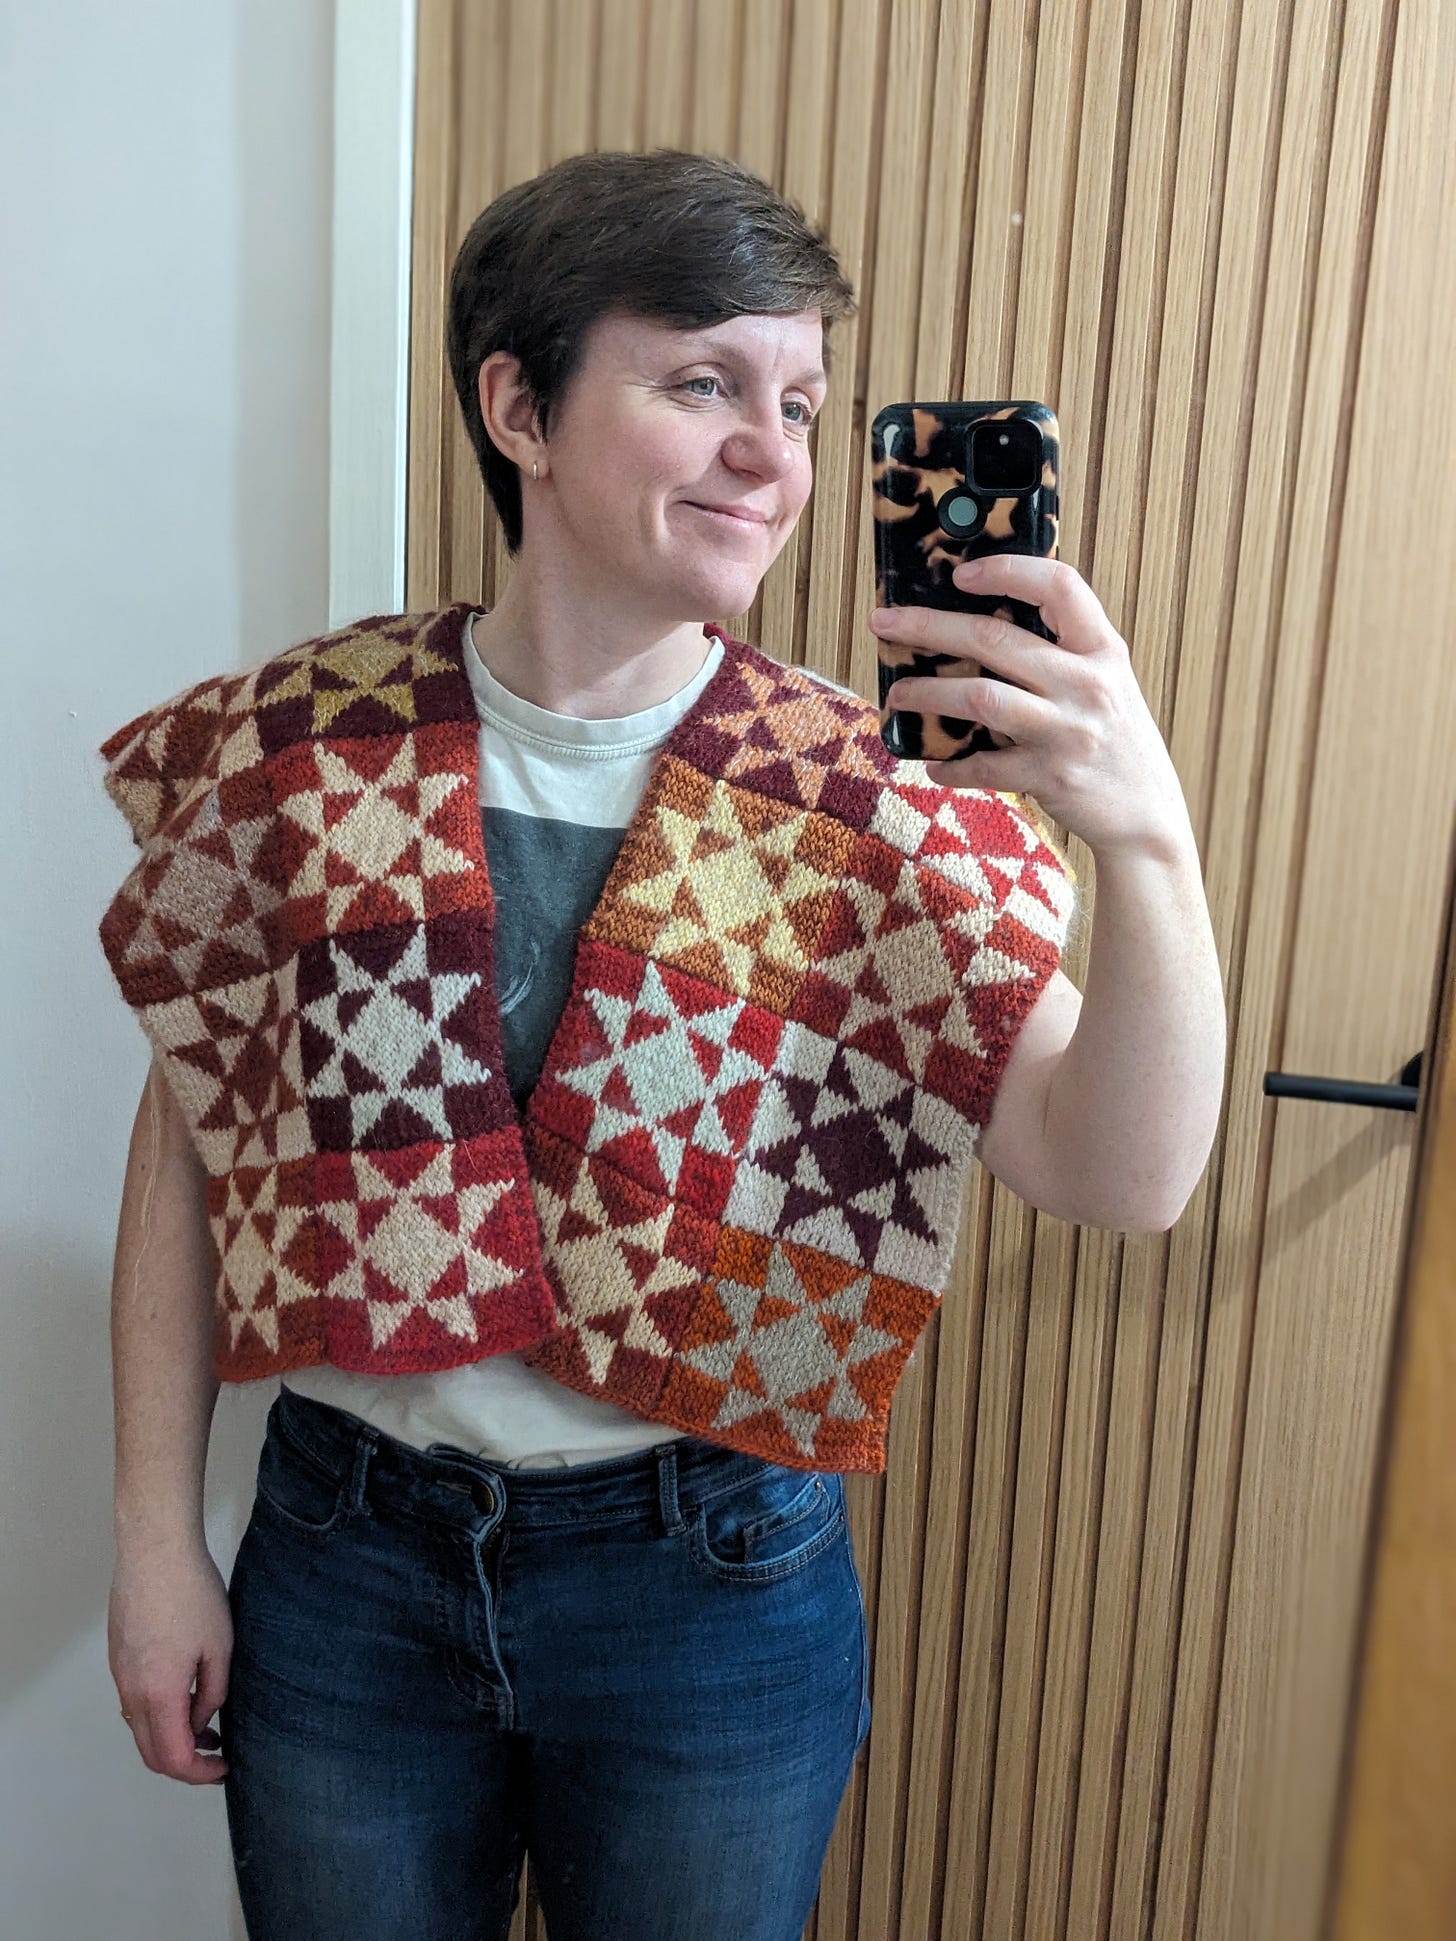
After making the first set of squares, I realised the burgundy mohair was diluting the design, making it harder to see the star shape. Luckily, I always have mohair in my stash, so I switched to white for the pale parts, and continued with burgundy for the star. You can see above how much clearer this made the design.
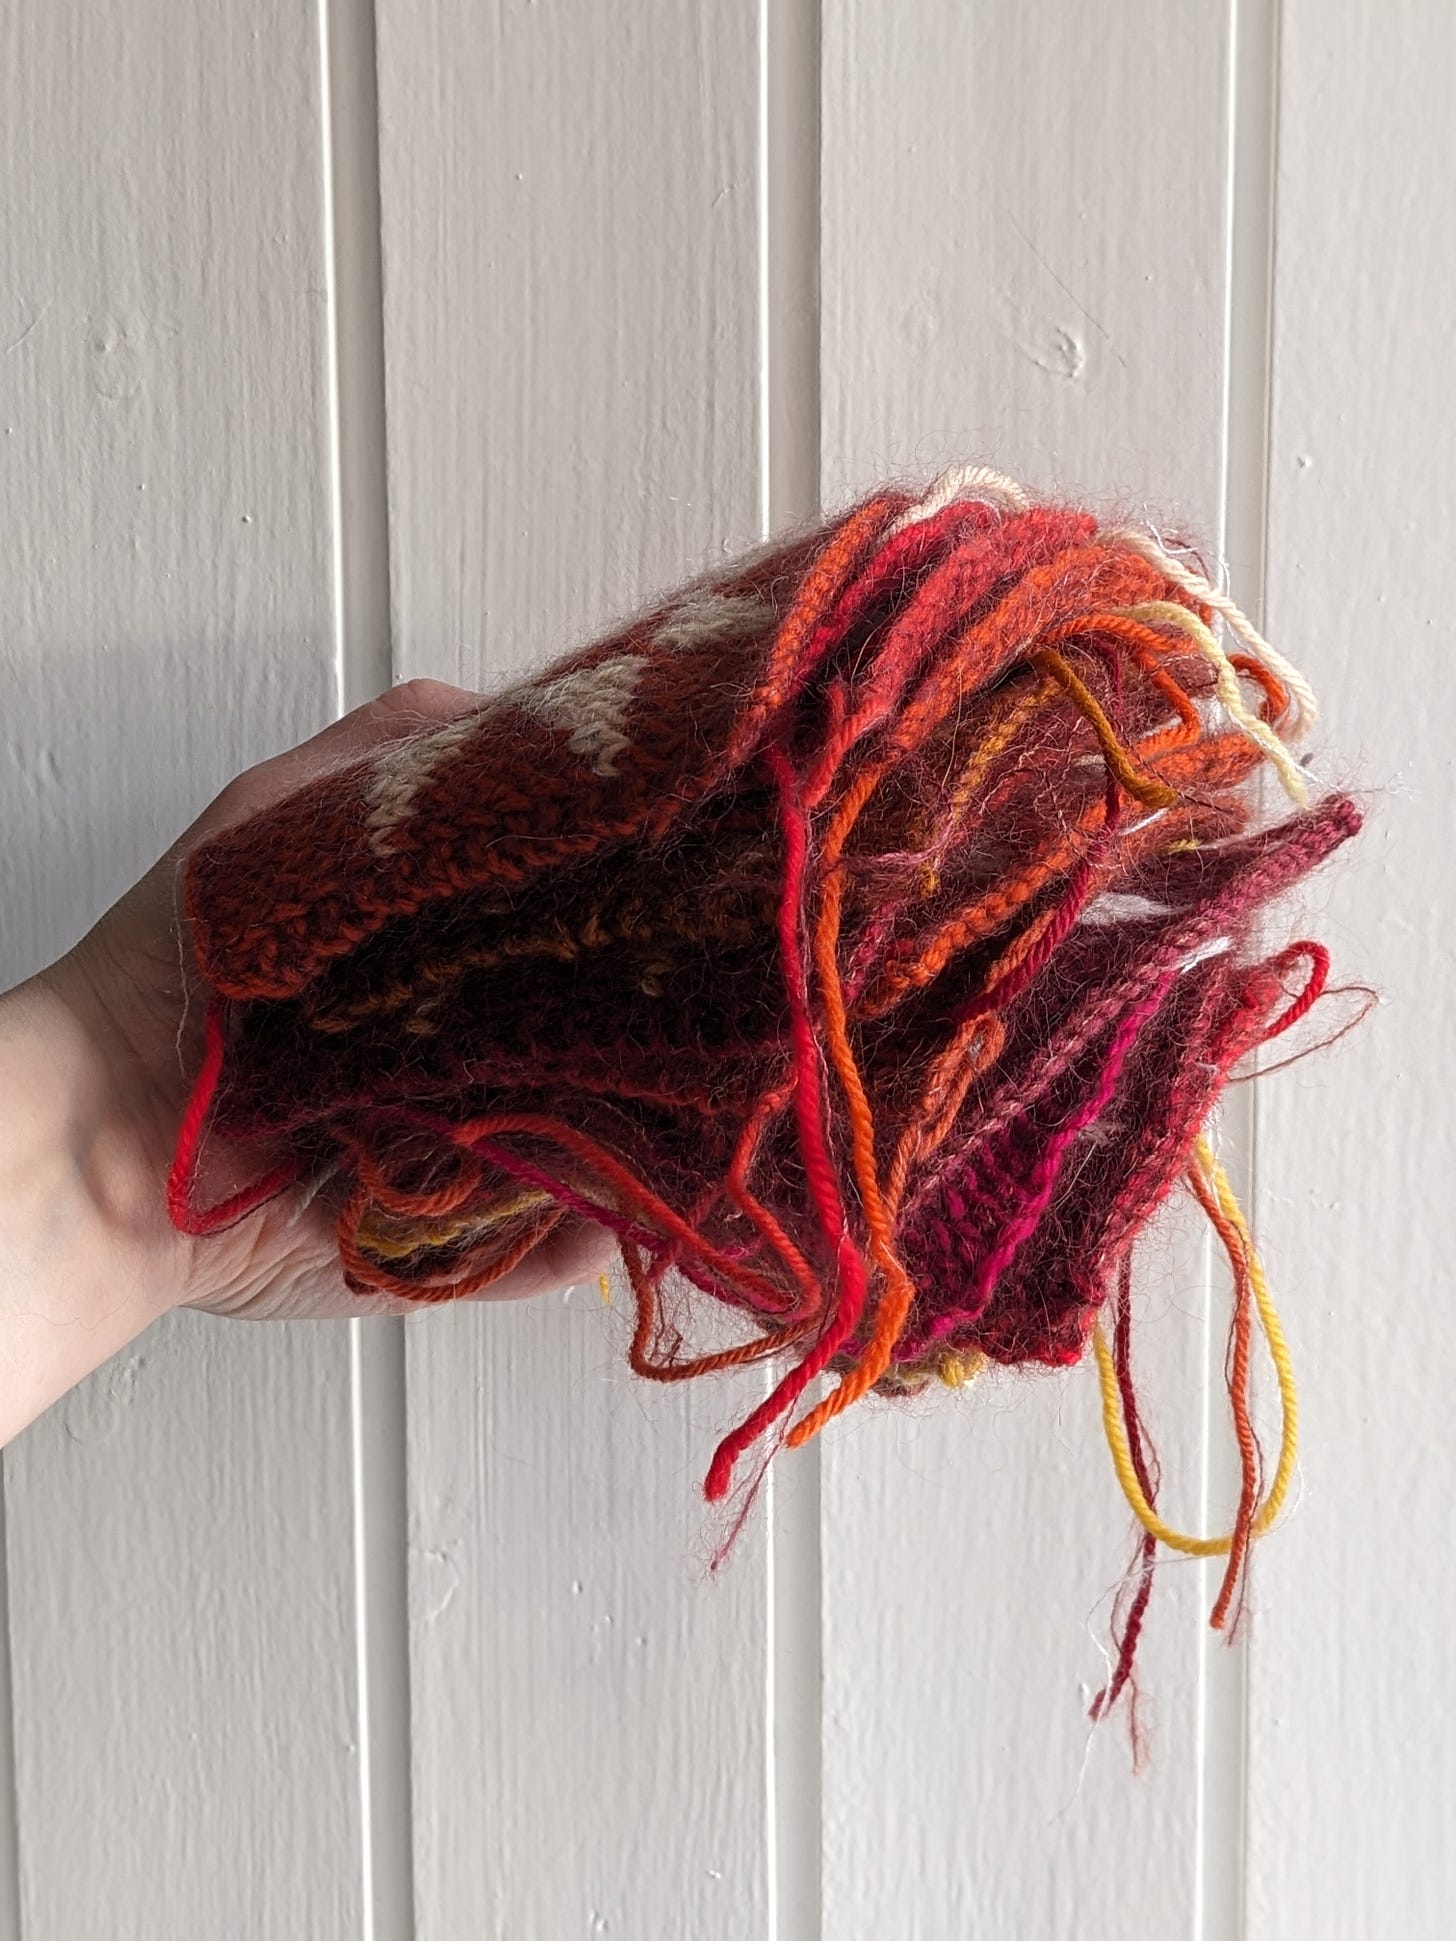
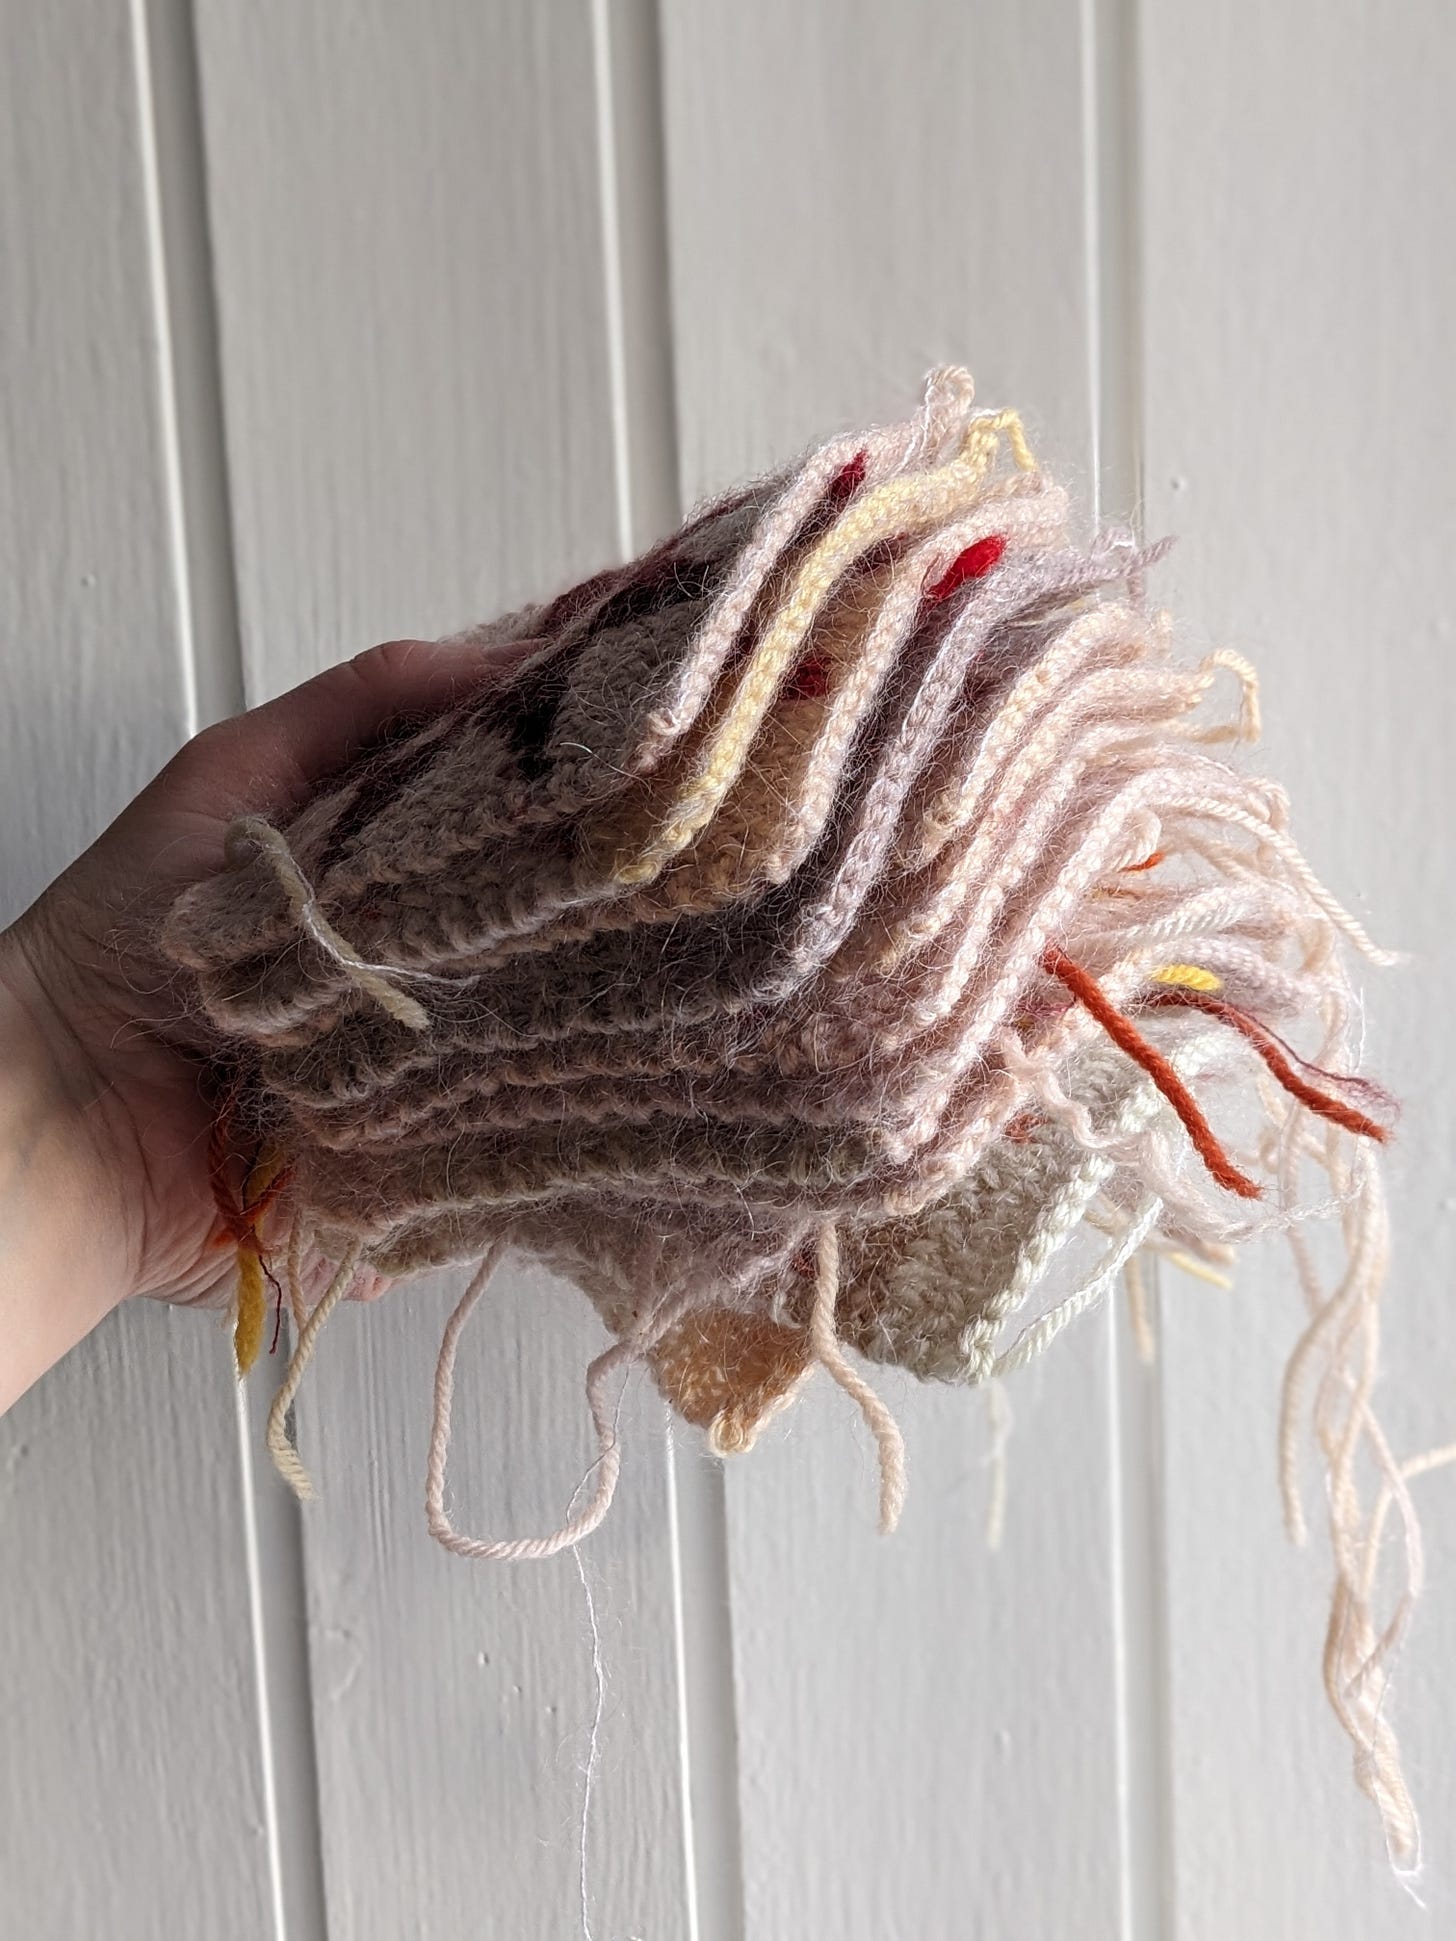
Having settled on a plan, I then set about knitting the squares. For my chosen size, I needed 36 squares, which I knit in opposing colourways - some burgundy with a pale star and others reversed. This maximised the yarn colours I had available to me, since I couldn’t just pop to the shop for more yarn. The down side of trying to make sustainable choices with my crafting, is the self-imposed restriction on buying new supplies. It’s ultimately a good thing, since it stops me buying thoughtlessly, and encourages creativity to use what I have already. But sometimes, not gonna lie, it’s a giant pain in the arse.
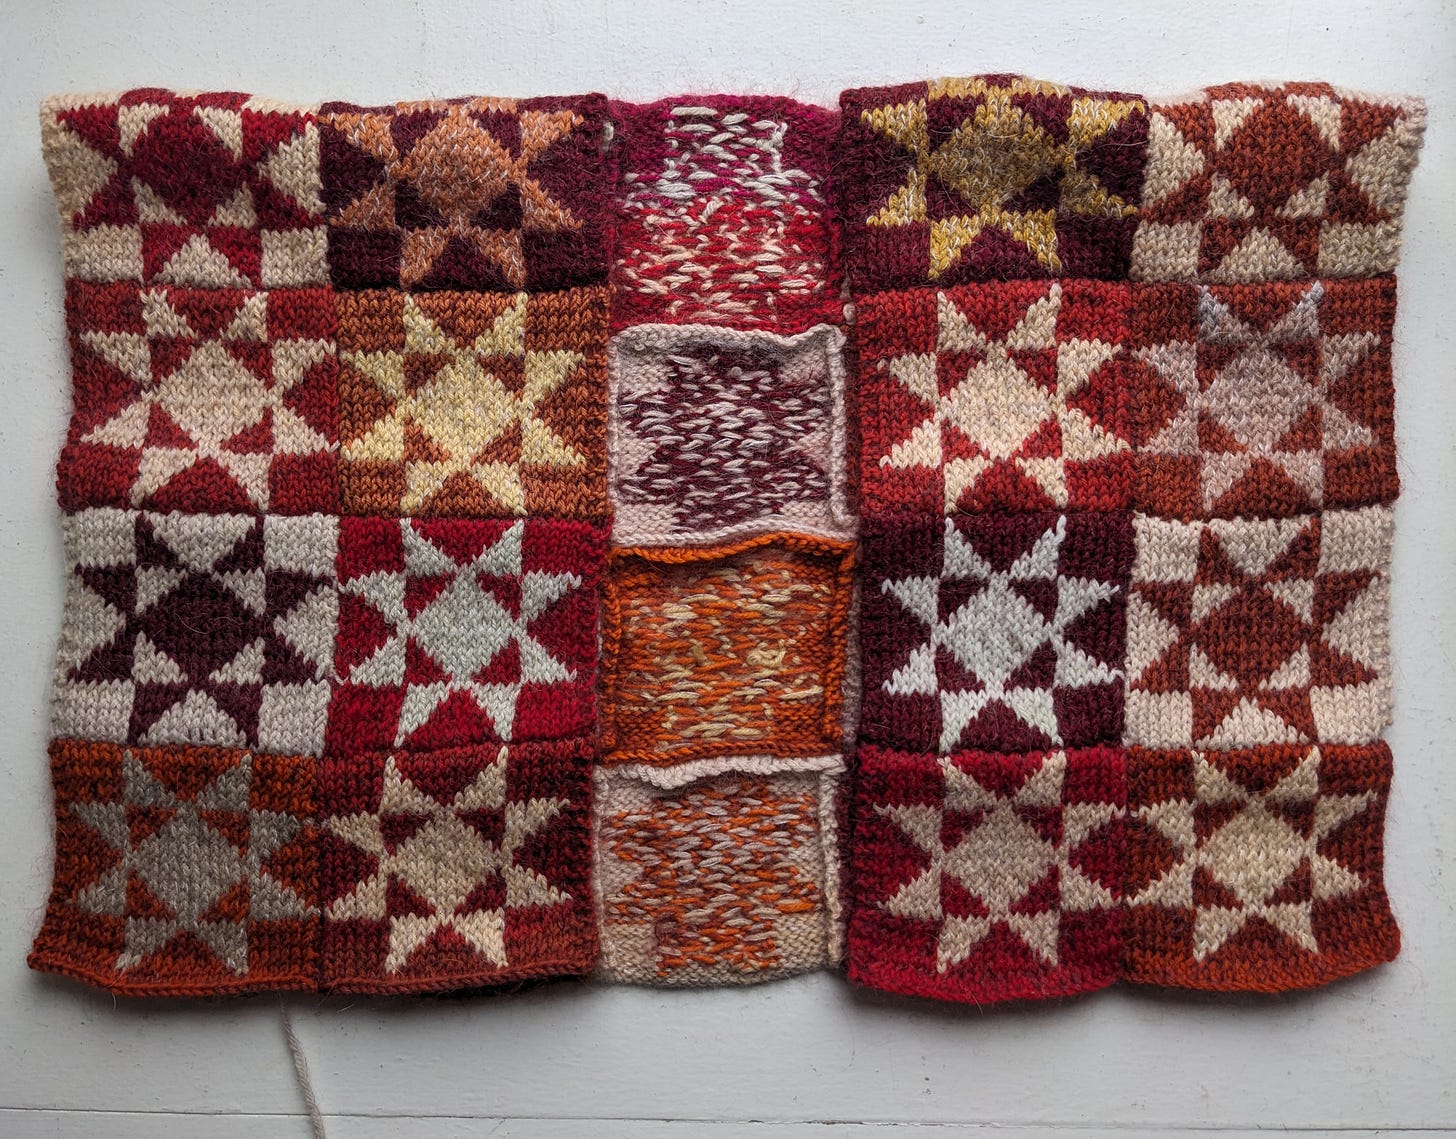
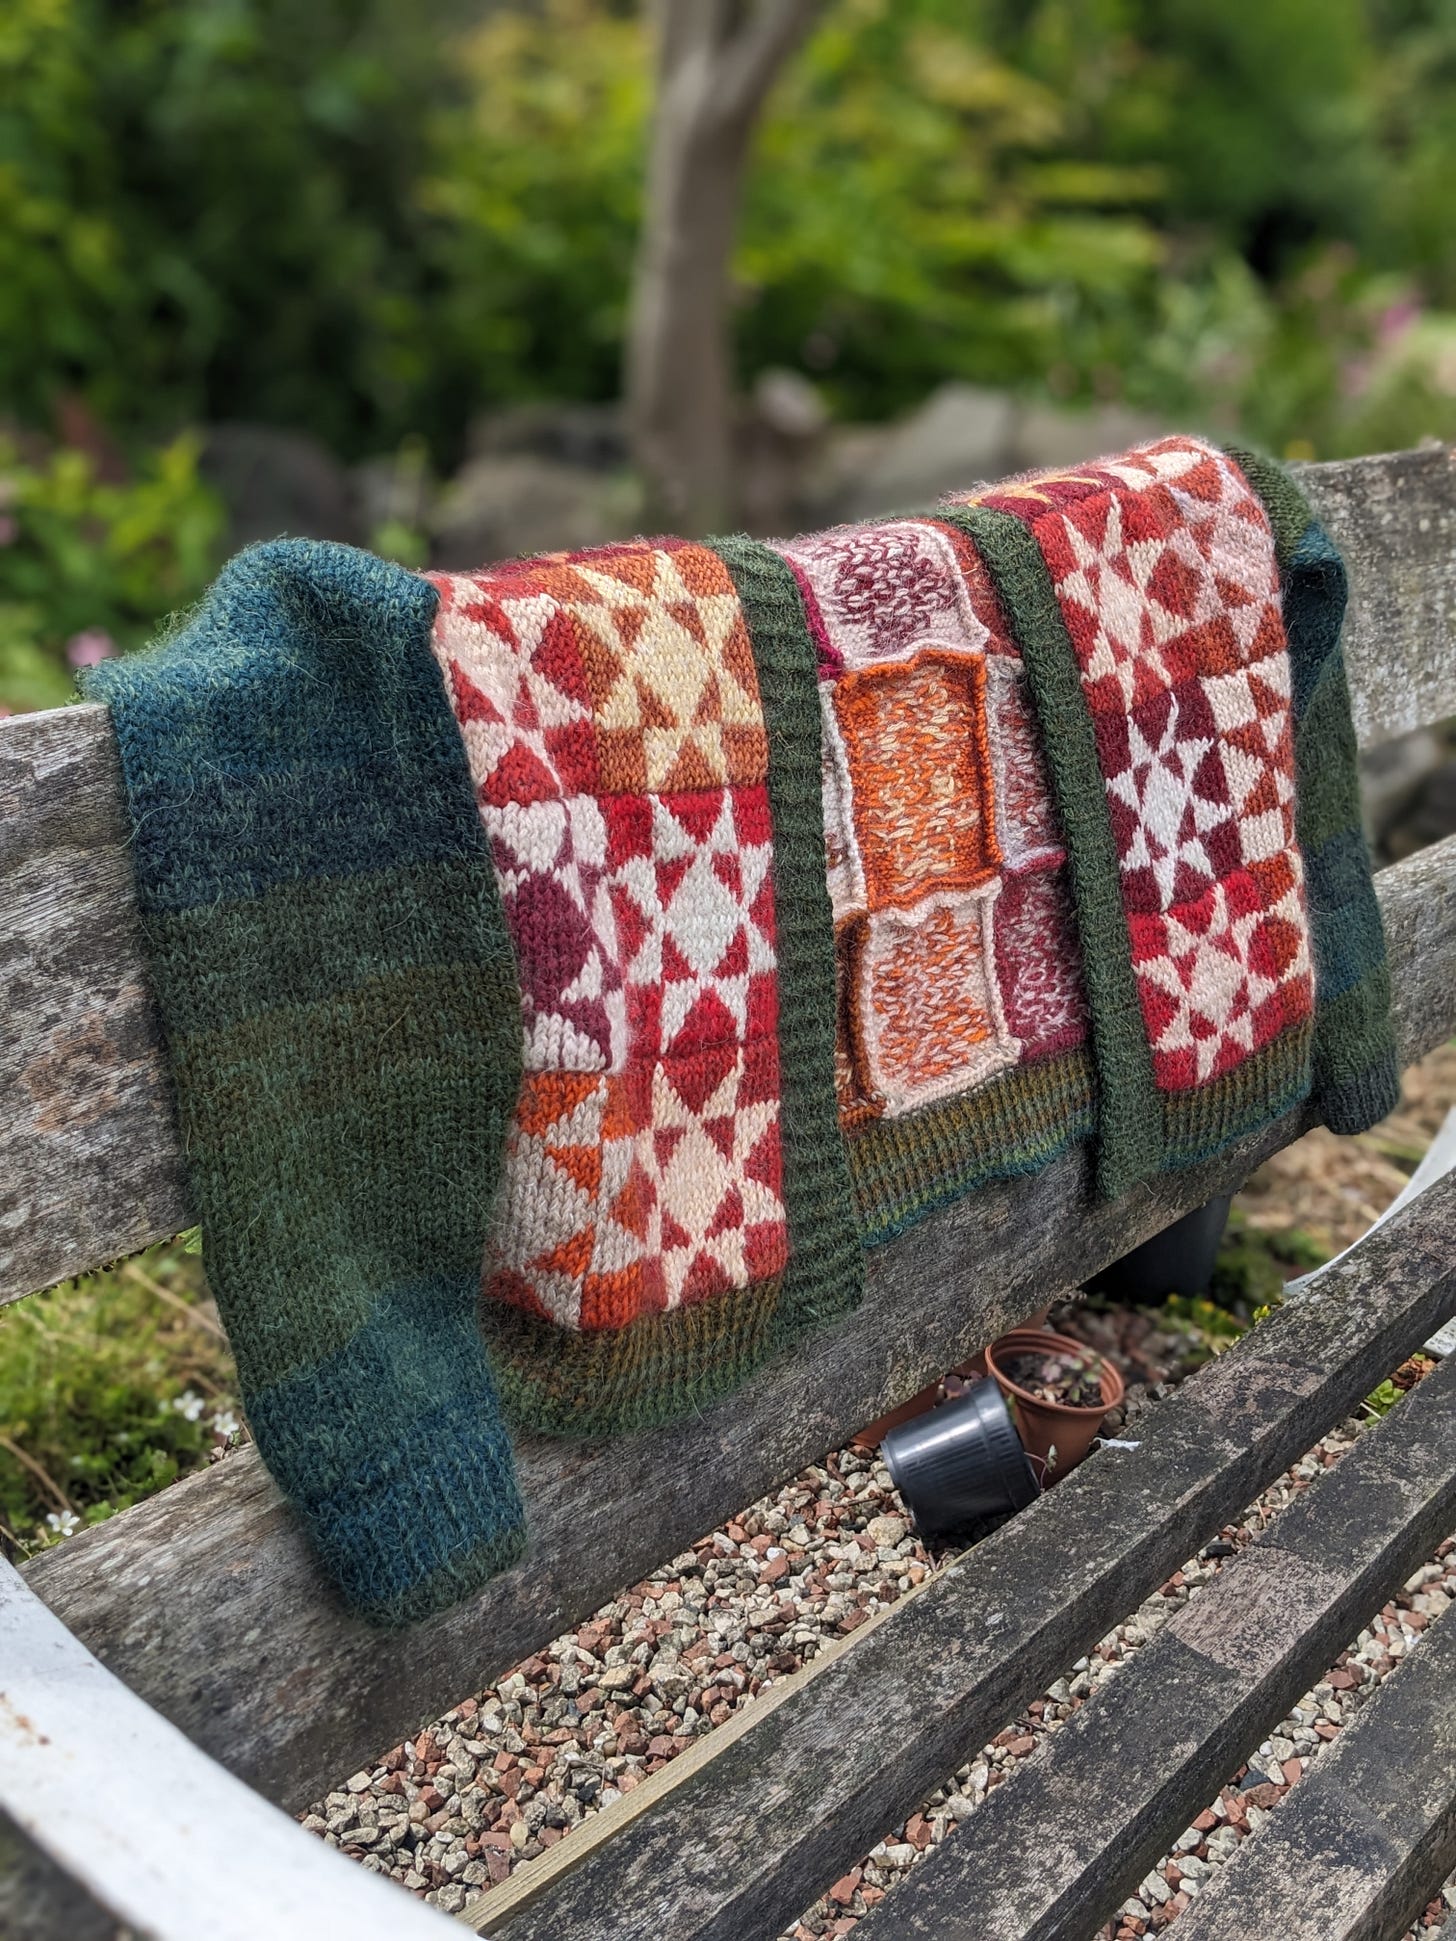
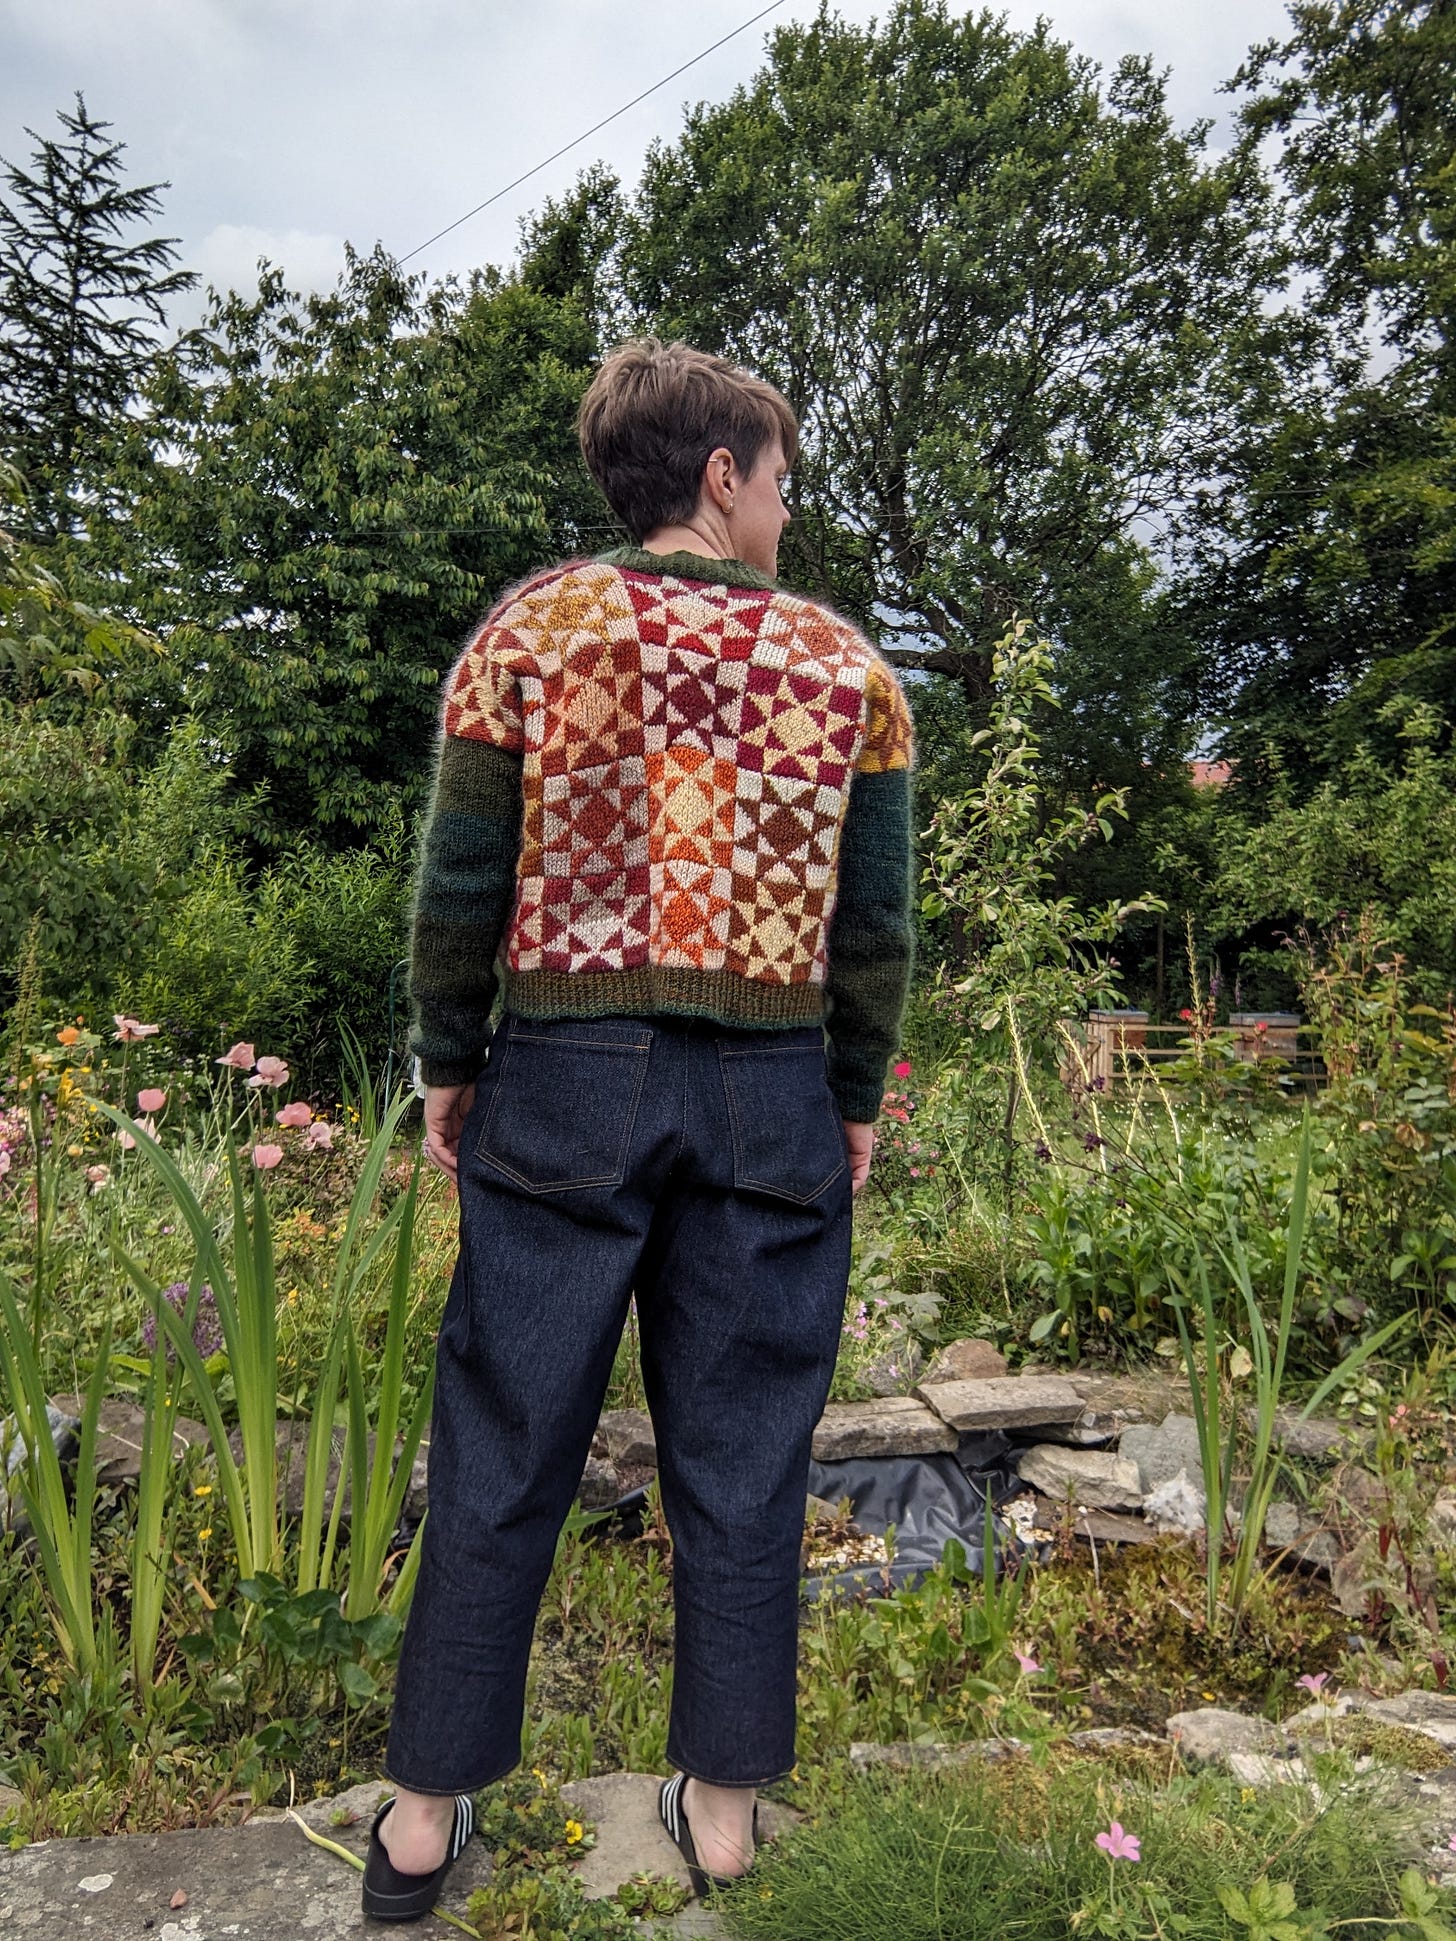
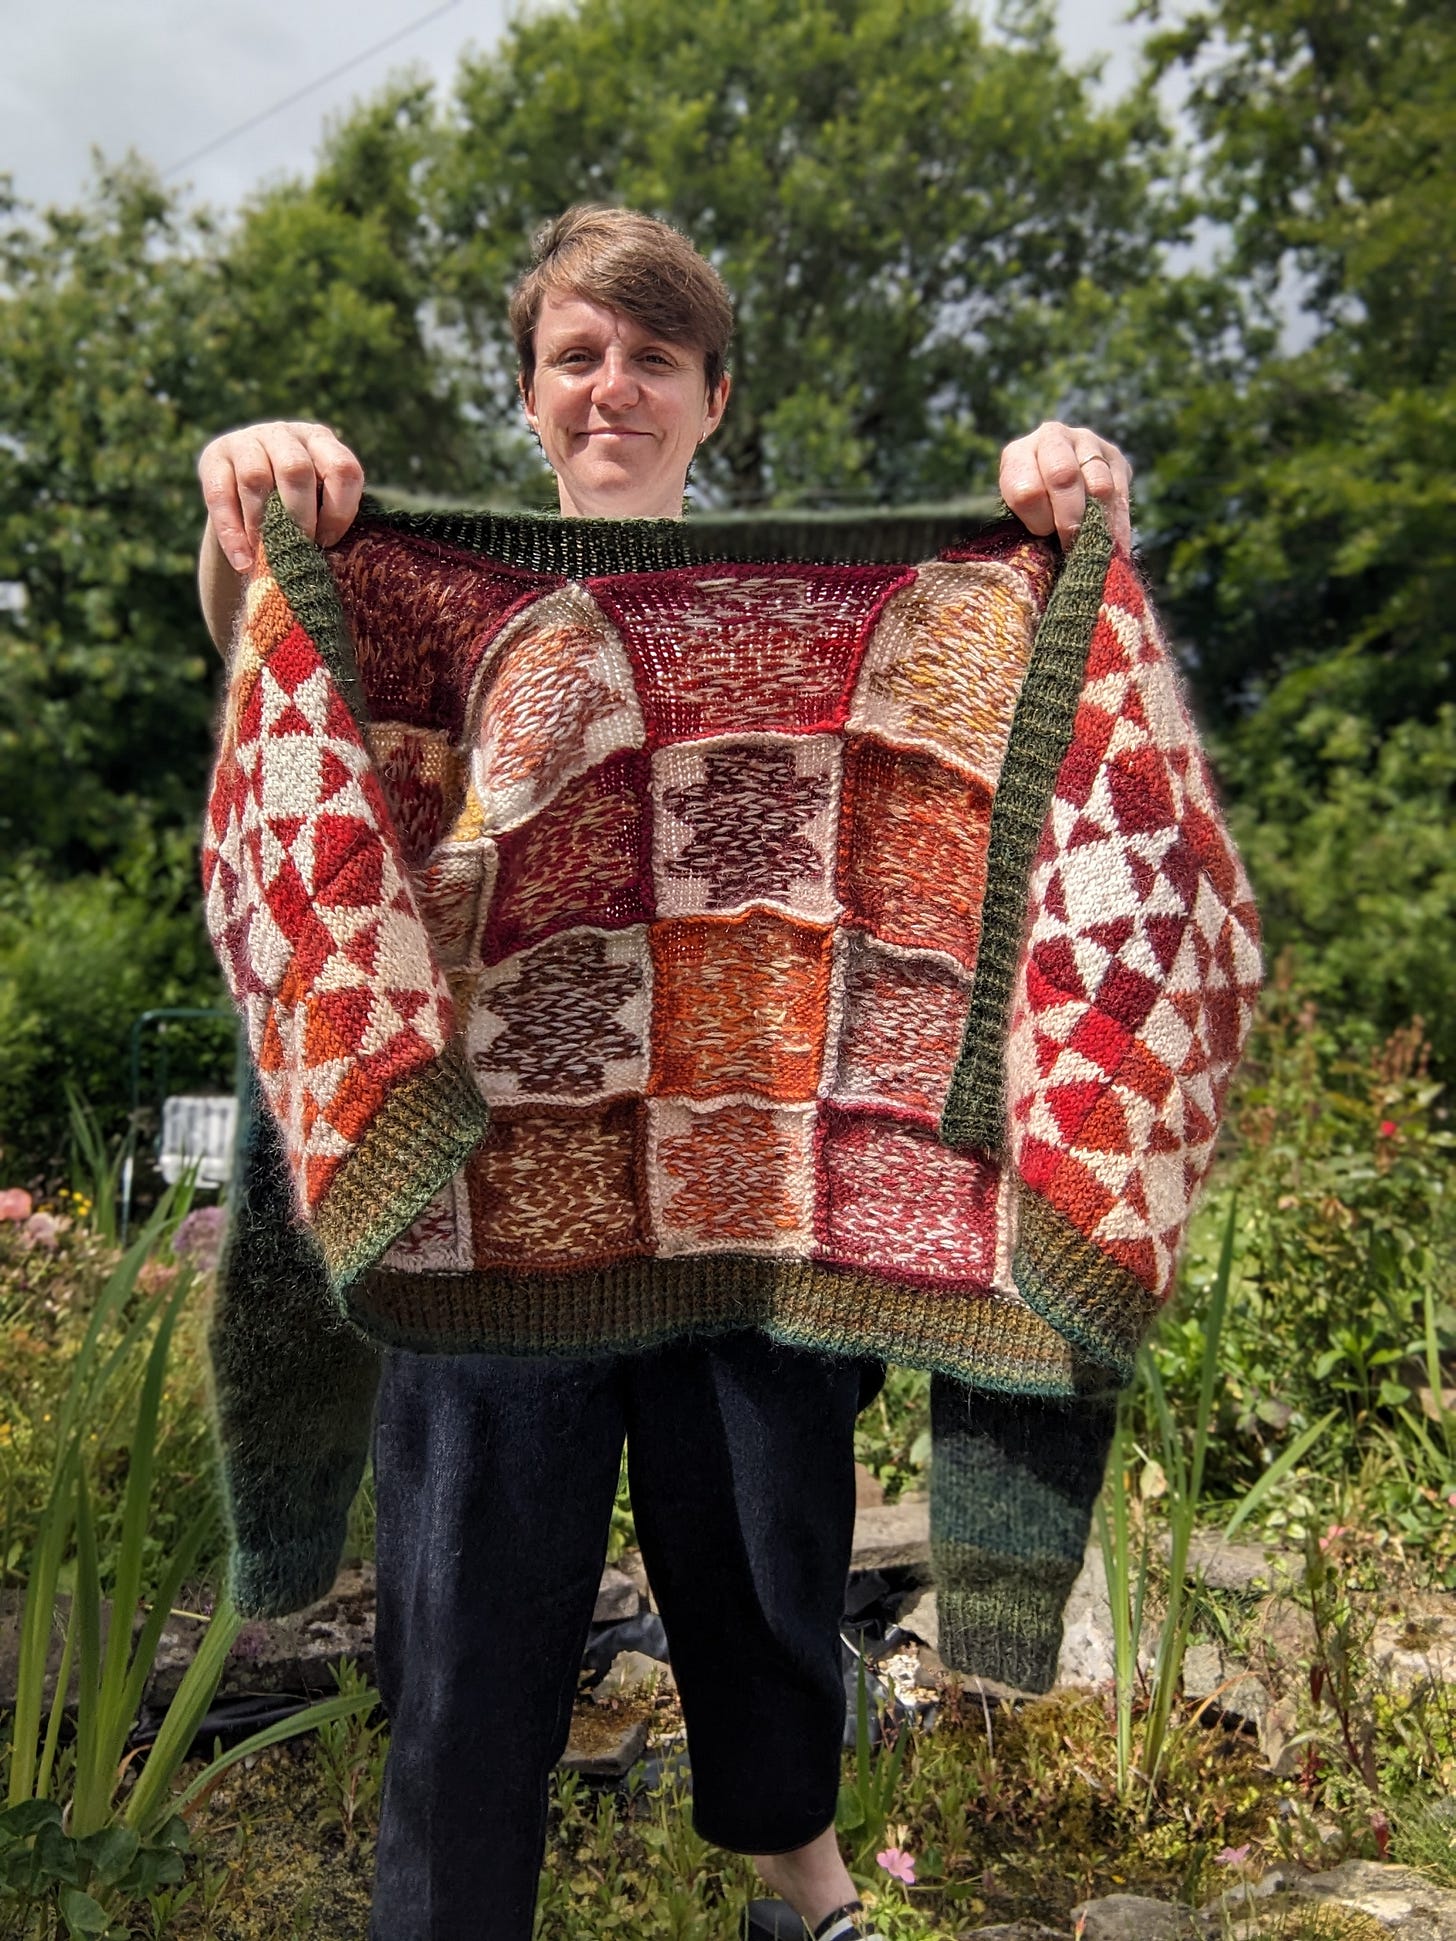
I steam blocked my squares as I went, using the iron and a press cloth. You then arrange your squares in a 2 x 4 design for the two front panels and 5 x 4 for the back. As you sew the squares together, the points for the stars should touch, meaning you’re sacrificing the first stitches on each side of the square to a seam. I pressed these open on the inside, to make it look neater and sit nicely against my body.
The last steps are to pick up and knit the sleeves, bottom band and neckband. I sorted all the shades of green from my tapestry yarn for these sections, holding them double with green mohair. You can see in the photo above, the different shades give a subtle stripe or variation in colour through the green sections. I like how that’s a nod to the tapestry yarn materials, whilst being subtle enough to not be too busy on the eye, or competing with the colours of the body.
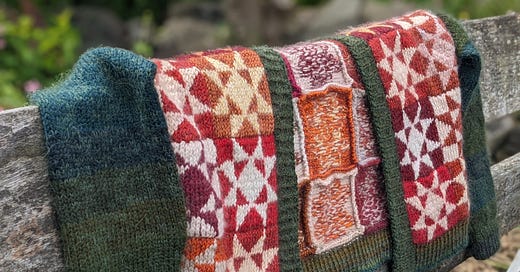
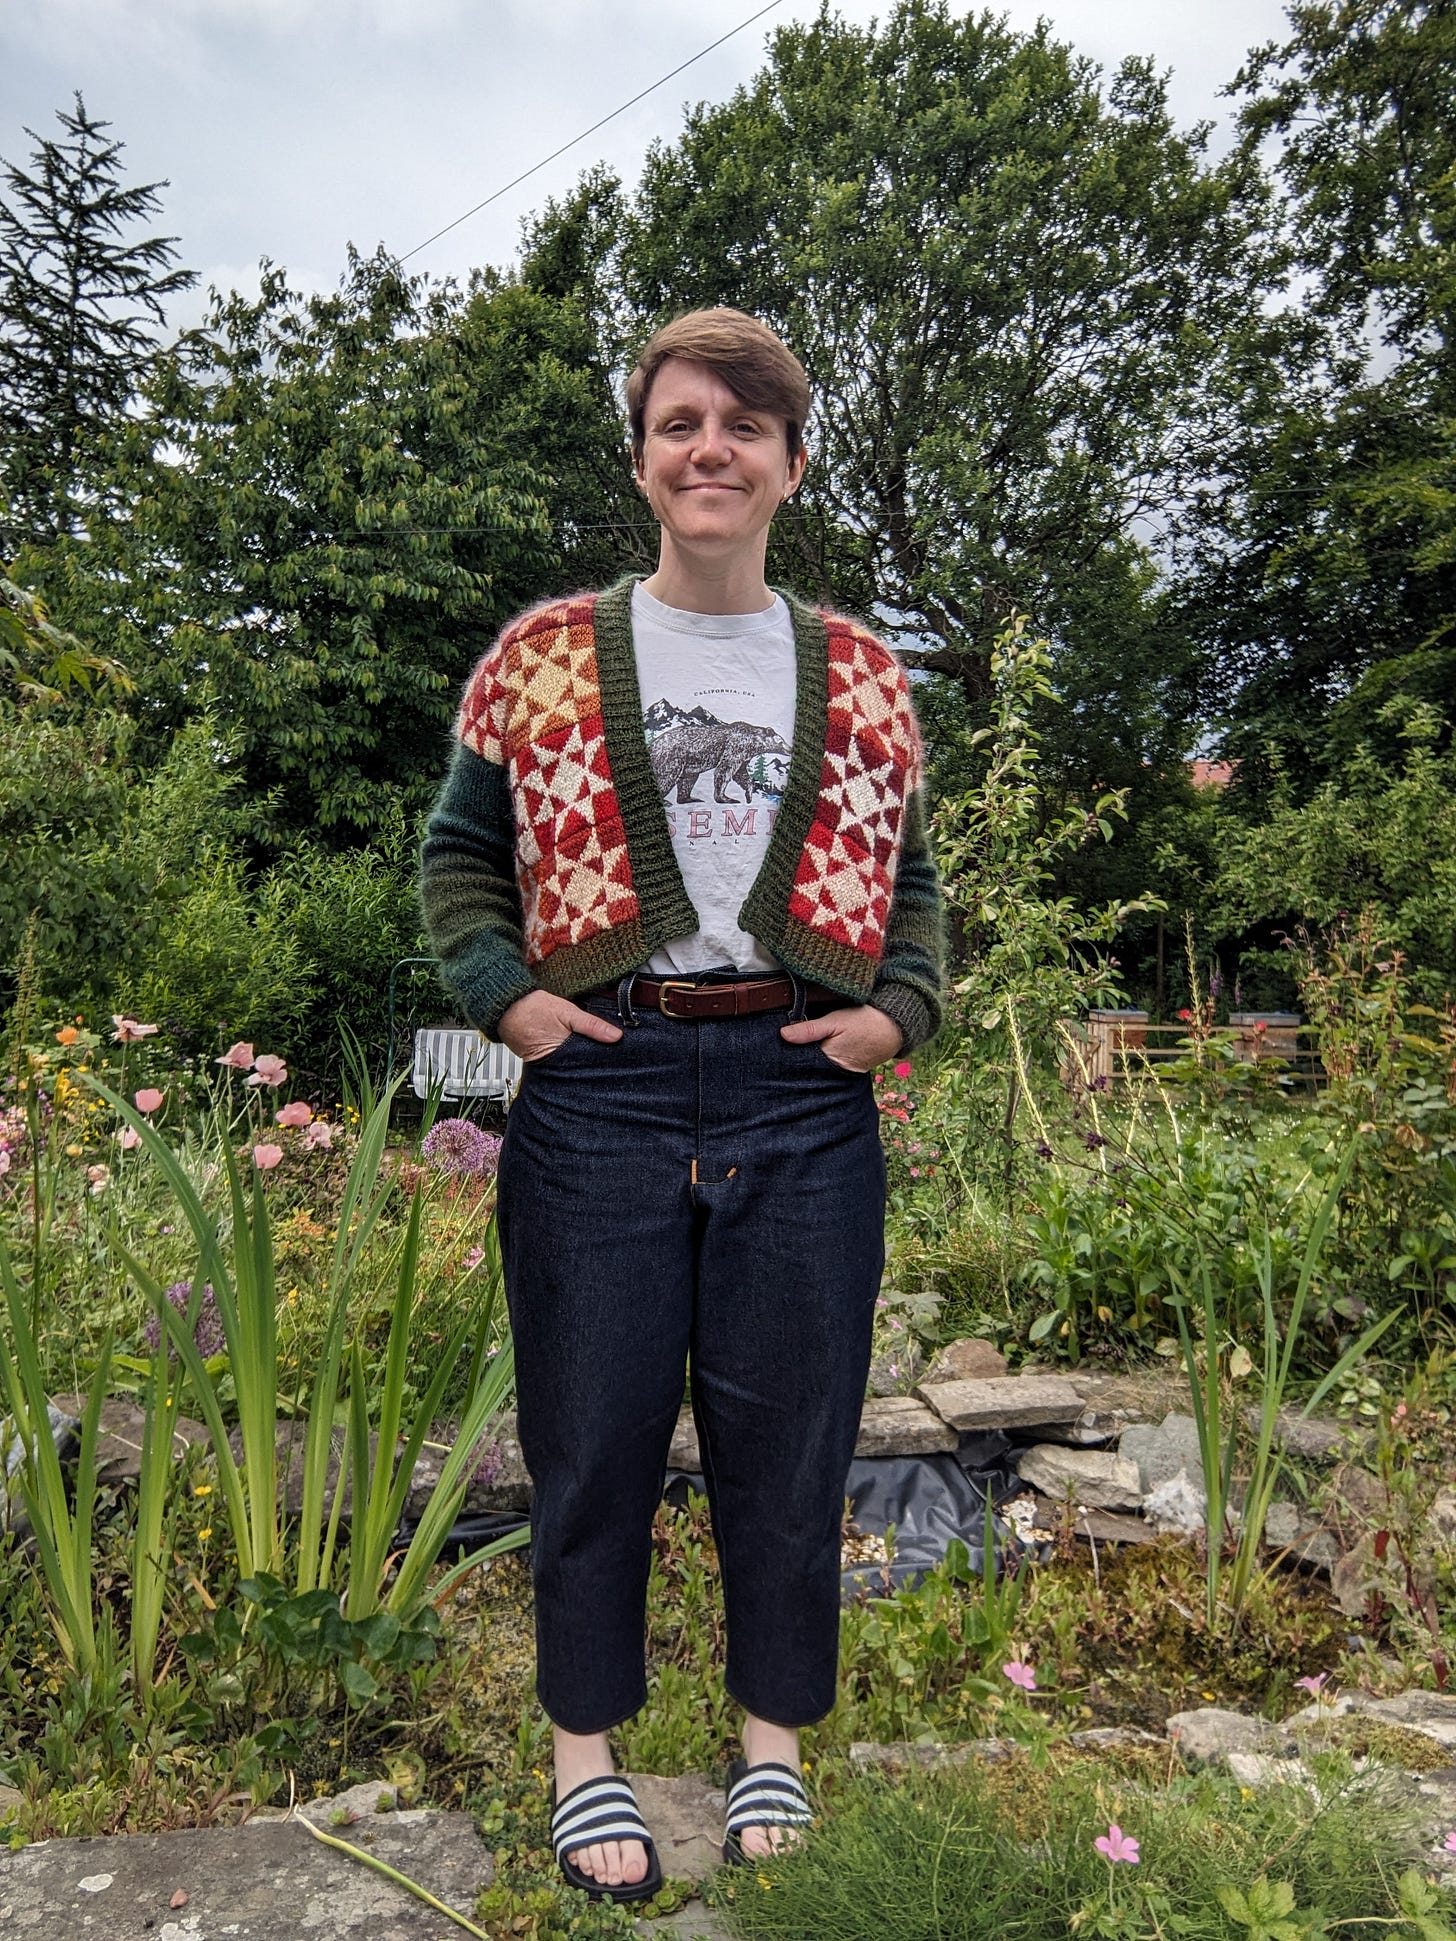
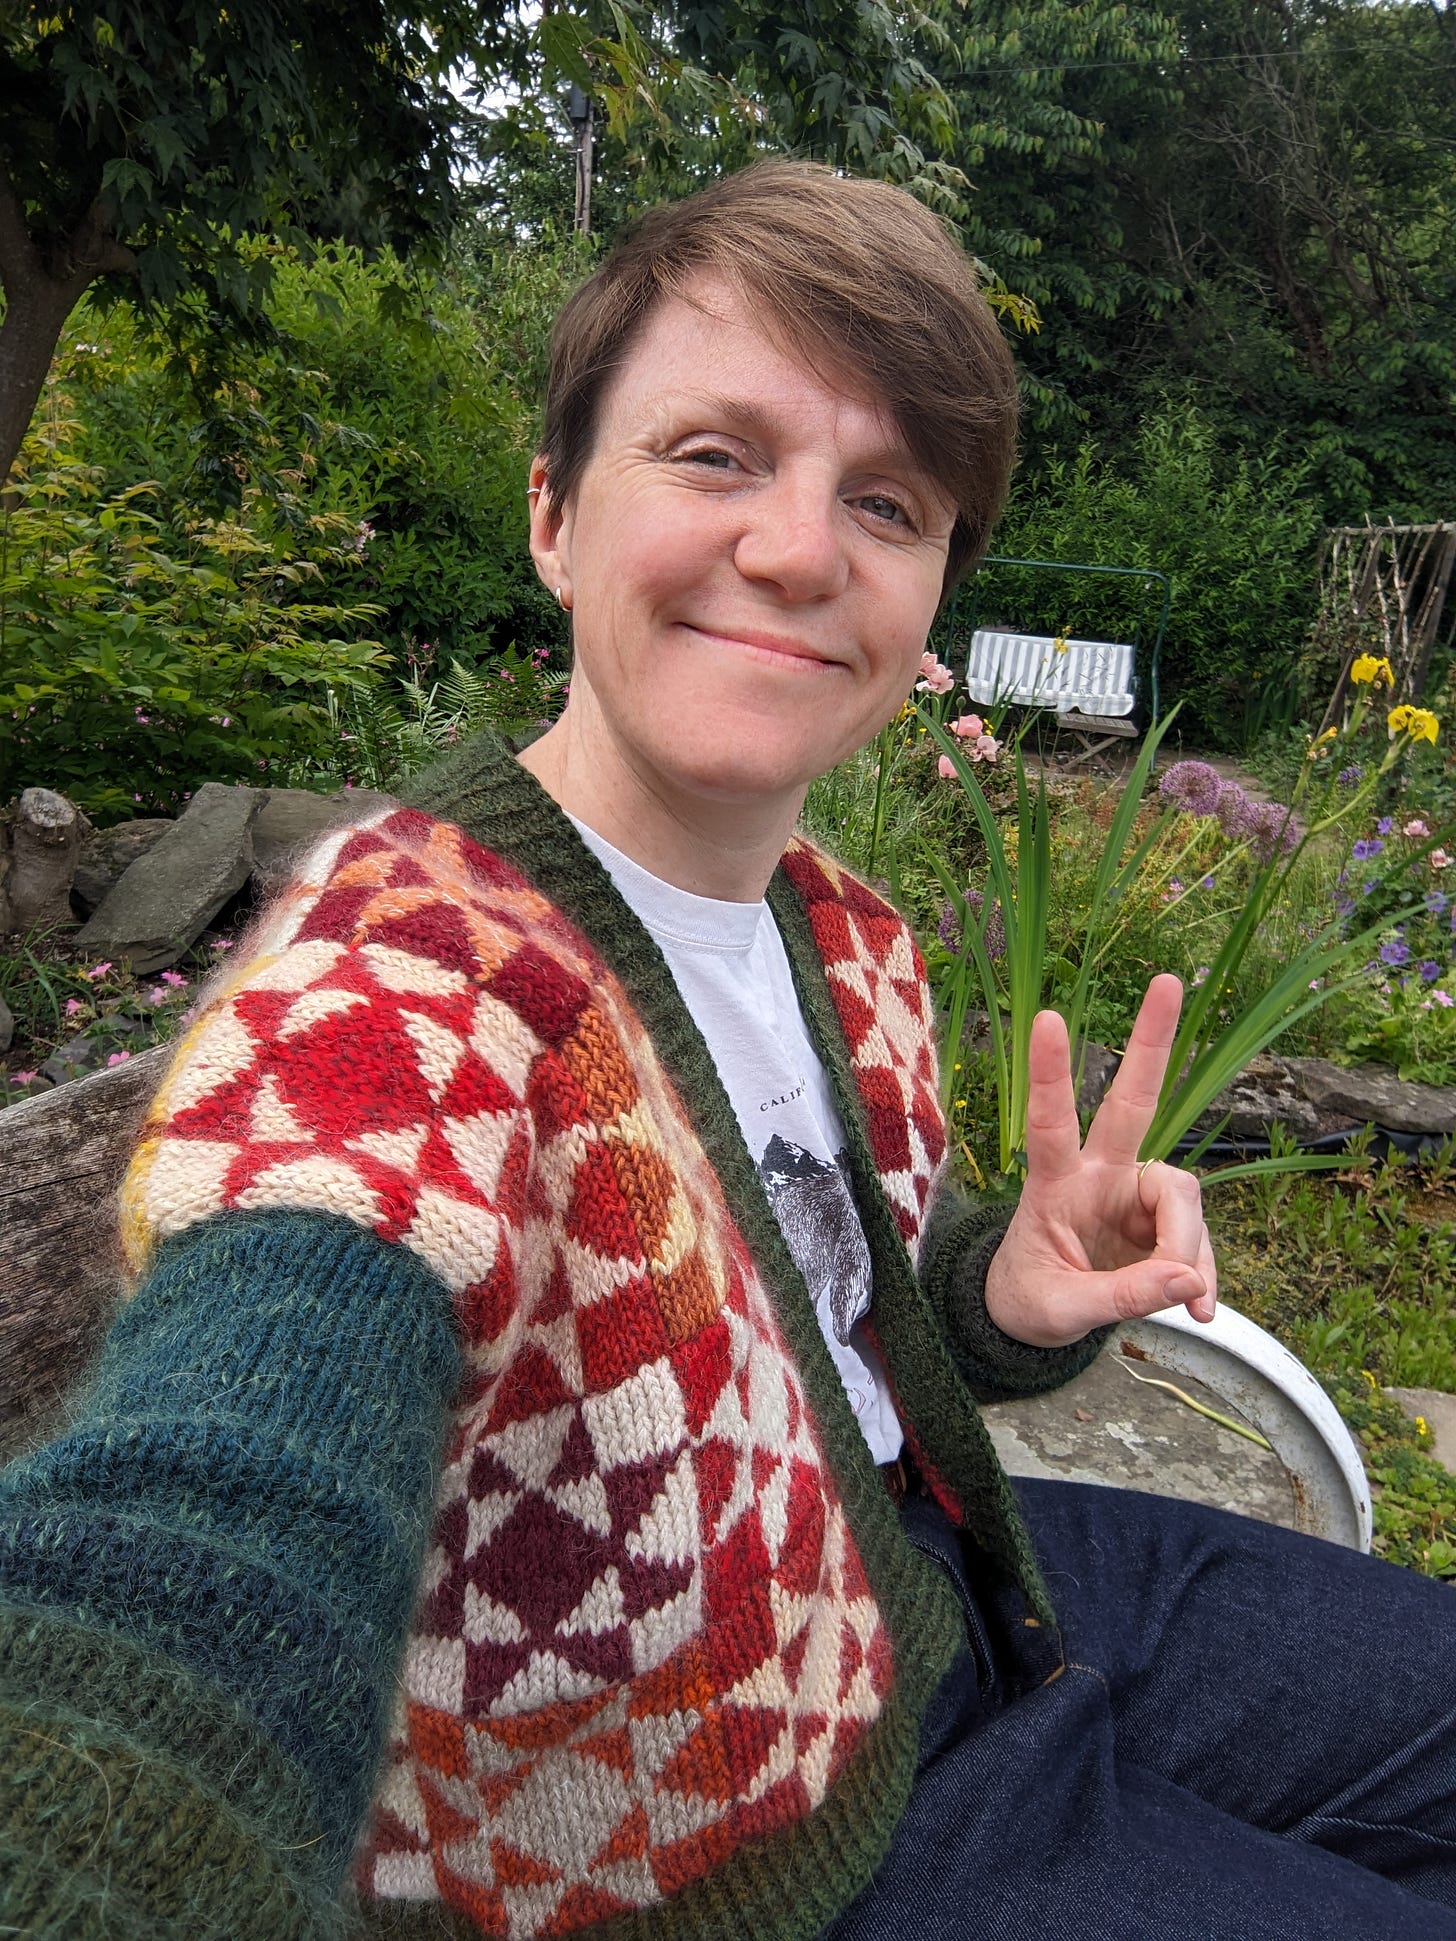
And here is the final cardigan! I’m really pleased with how it turned out, it feels very wearable, despite being quite a style departure for me. I don’t really wear loud prints, but somehow the autumnal colours plus the greens, means it slots straight into my wardrobe. I’m wearing it here with my Modern Sewing Company Worker Trousers, click the link to read about them.
I’ve yet to sew a Craft & Thrift label into the back neck band, I like to wait until I know a finished object is a keeper before I sacrifice a label. This piece is definitely sticking around though, and I’ve already cast on a second one for my Mum. I’ve chosen size 2 for her, and I might try a longer length. The beauty of this pattern is that you can alter the length or width as you go, by adding or removing rows or columns of squares. I also think this design would look lovely as a blanket on a bed, so I may start knitting the blocks with any leftover yarn, saving them up as I go to eventually turn into a bedspread!




A great cardigan and great use of wool threads.
It’s amazing, I really 😻 love it