We’ve recently moved house and are temporarily living with my in-laws. We’ve sold our flat, and put most of our possessions in storage. It’s been a months-long process of decluttering, purging, selling, and recycling all our old things. It’s been very cathartic in a lot of ways, and I’m already looking forward to another round of jettisoning once we unpack. There’s nothing like managing without something for several months to make you question why you owned it in the first place.
The flip side of this process is the items you do need, like an ironing board, that you no longer own. At this point in time, I’m loath to spend money on items I know I can do without, since everything will have to be moved again. Obviously for a lot of these objects, I can borrow from my in-laws, but their ironing board is a ‘muckle’ beast (read: large. I’ve learned a lot of Scottish words and idioms over the years from my mother-in-law). I can’t be bothered to wrestle it from it’s inconvenient location in the airing cupboard, with the recycle bin in front of the door, and a handbag hanging off the leg, without accidentally banging it against the thermostat or bringing down the pile of laundry perched precariously nearby. You get the picture of how sharing with family is going…
My old ironing board was of the table top variety, the type that is small and innocuous, and can be (relatively) easily folded away onto a shelf. I’ve never wanted to own a free-standing one, they’ve always seemed like a giant pain in the arse to me. They take up a lot of space to store, trap your hands opening them up and closing them down, and never seem massively stable to hold a device capable of burning skin. Even the table top type are an awkward size and shape, and mine was old and broken, so went to the Great Recycle Bin in the sky (RIP) when we moved. So when I saw, over on Minimalist Machinist’s Instagram, that she had an ironing mat, I swore I would never own an ironing board again. So much easier to store! Can be used as a bench cushion! In that same reel, you can see Rachel crumb quilting. I had never come across this process before and was instantly motivated to try. Definitely check out Rachel’s Instagram if you can, she’s an incredibly inspiring individual.
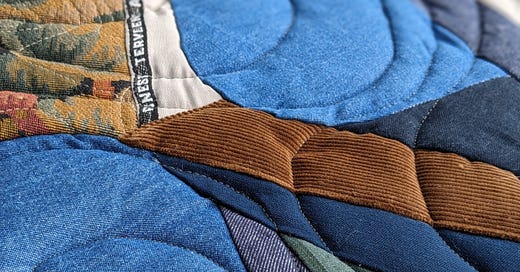
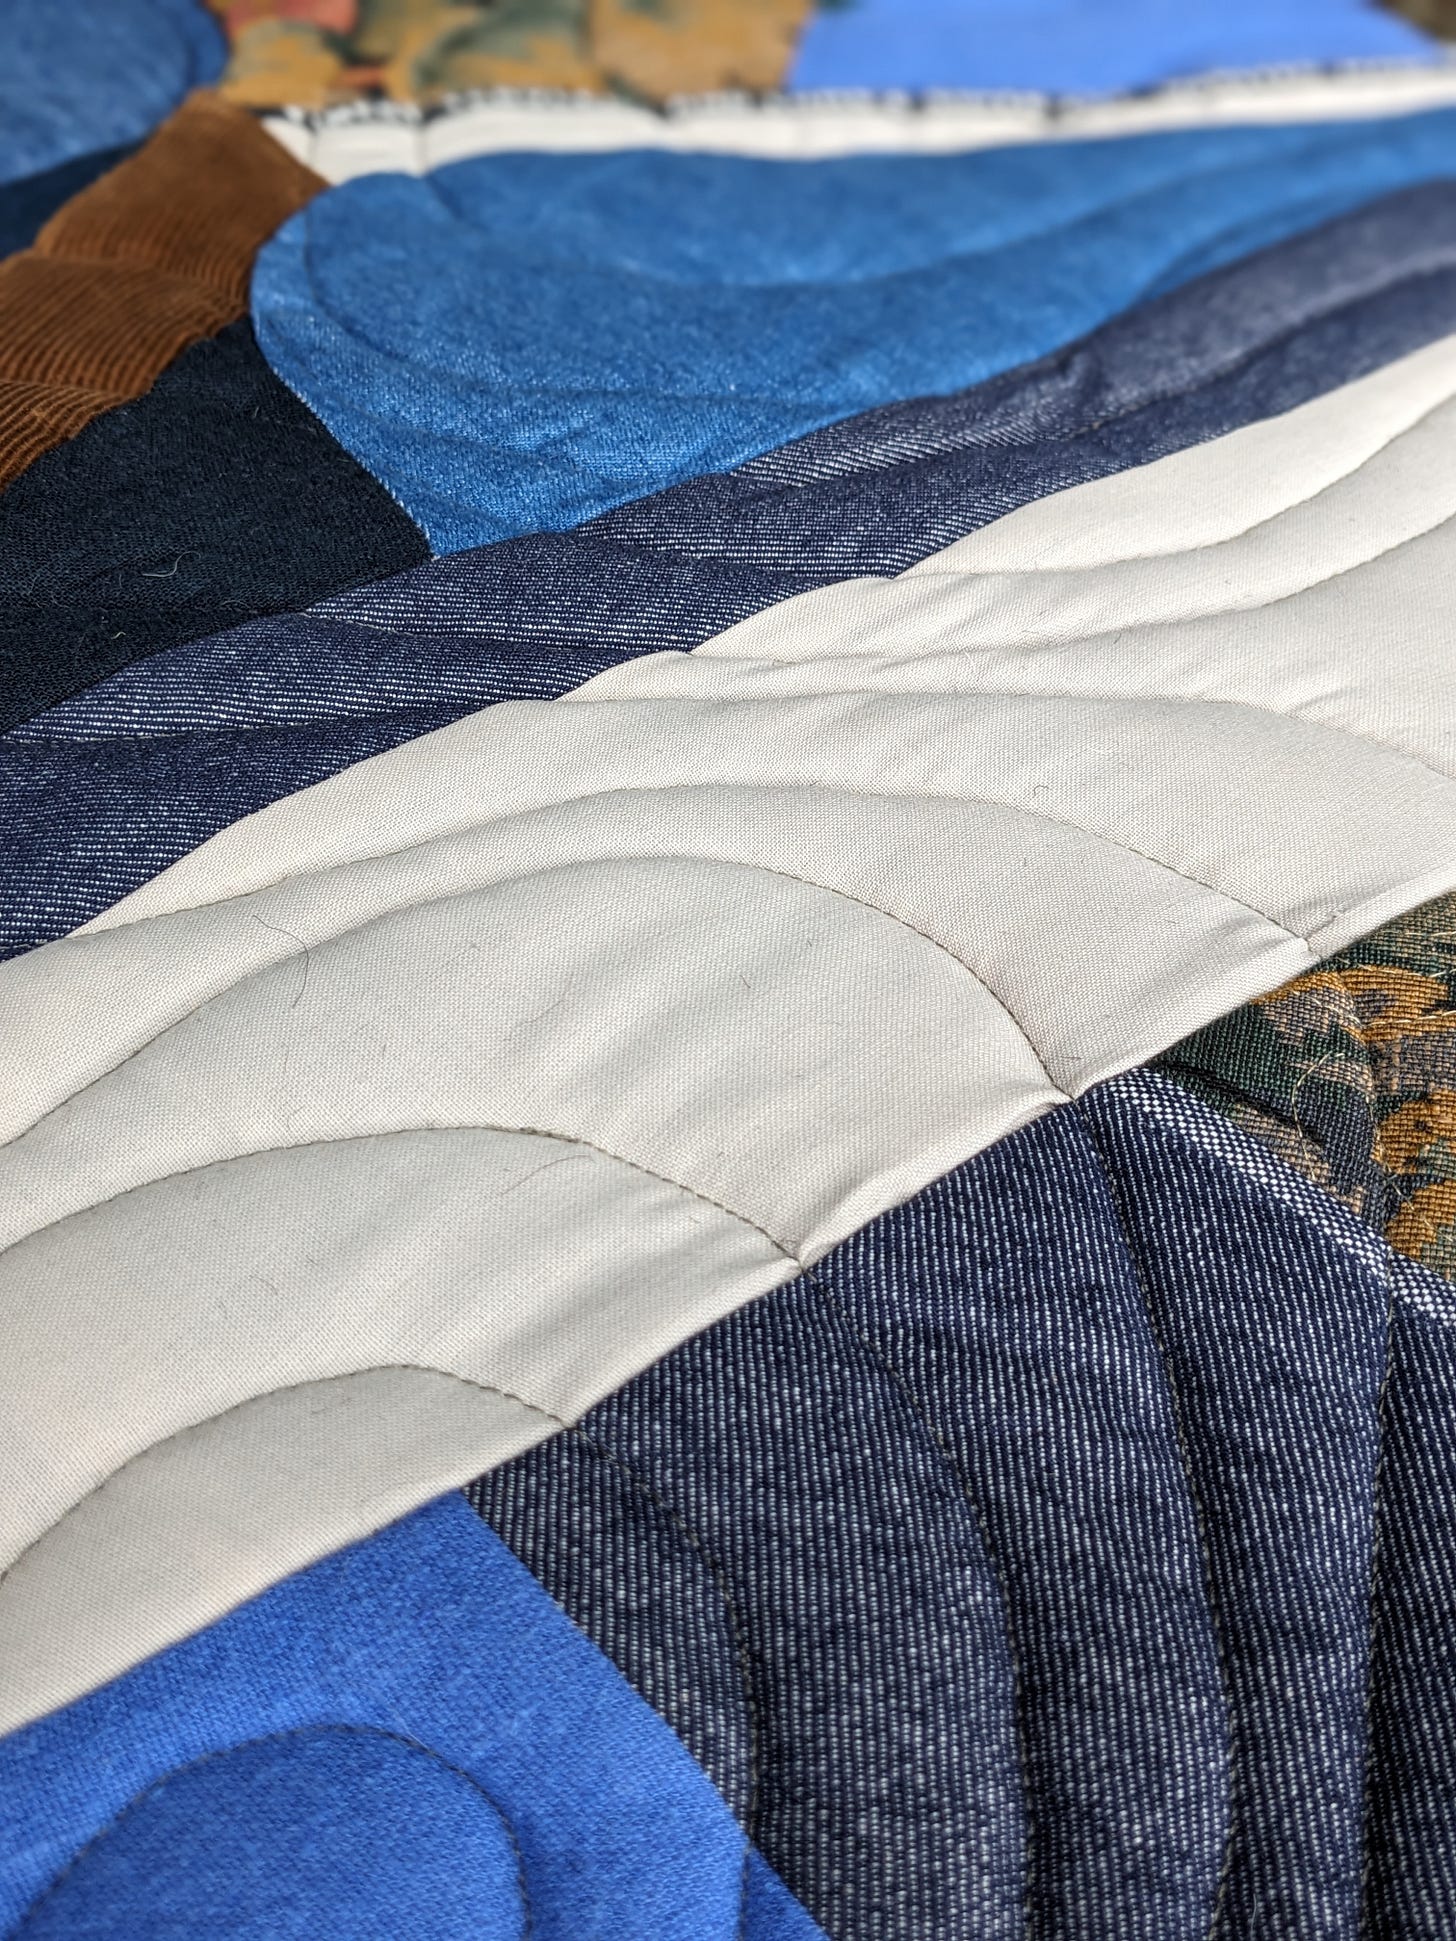
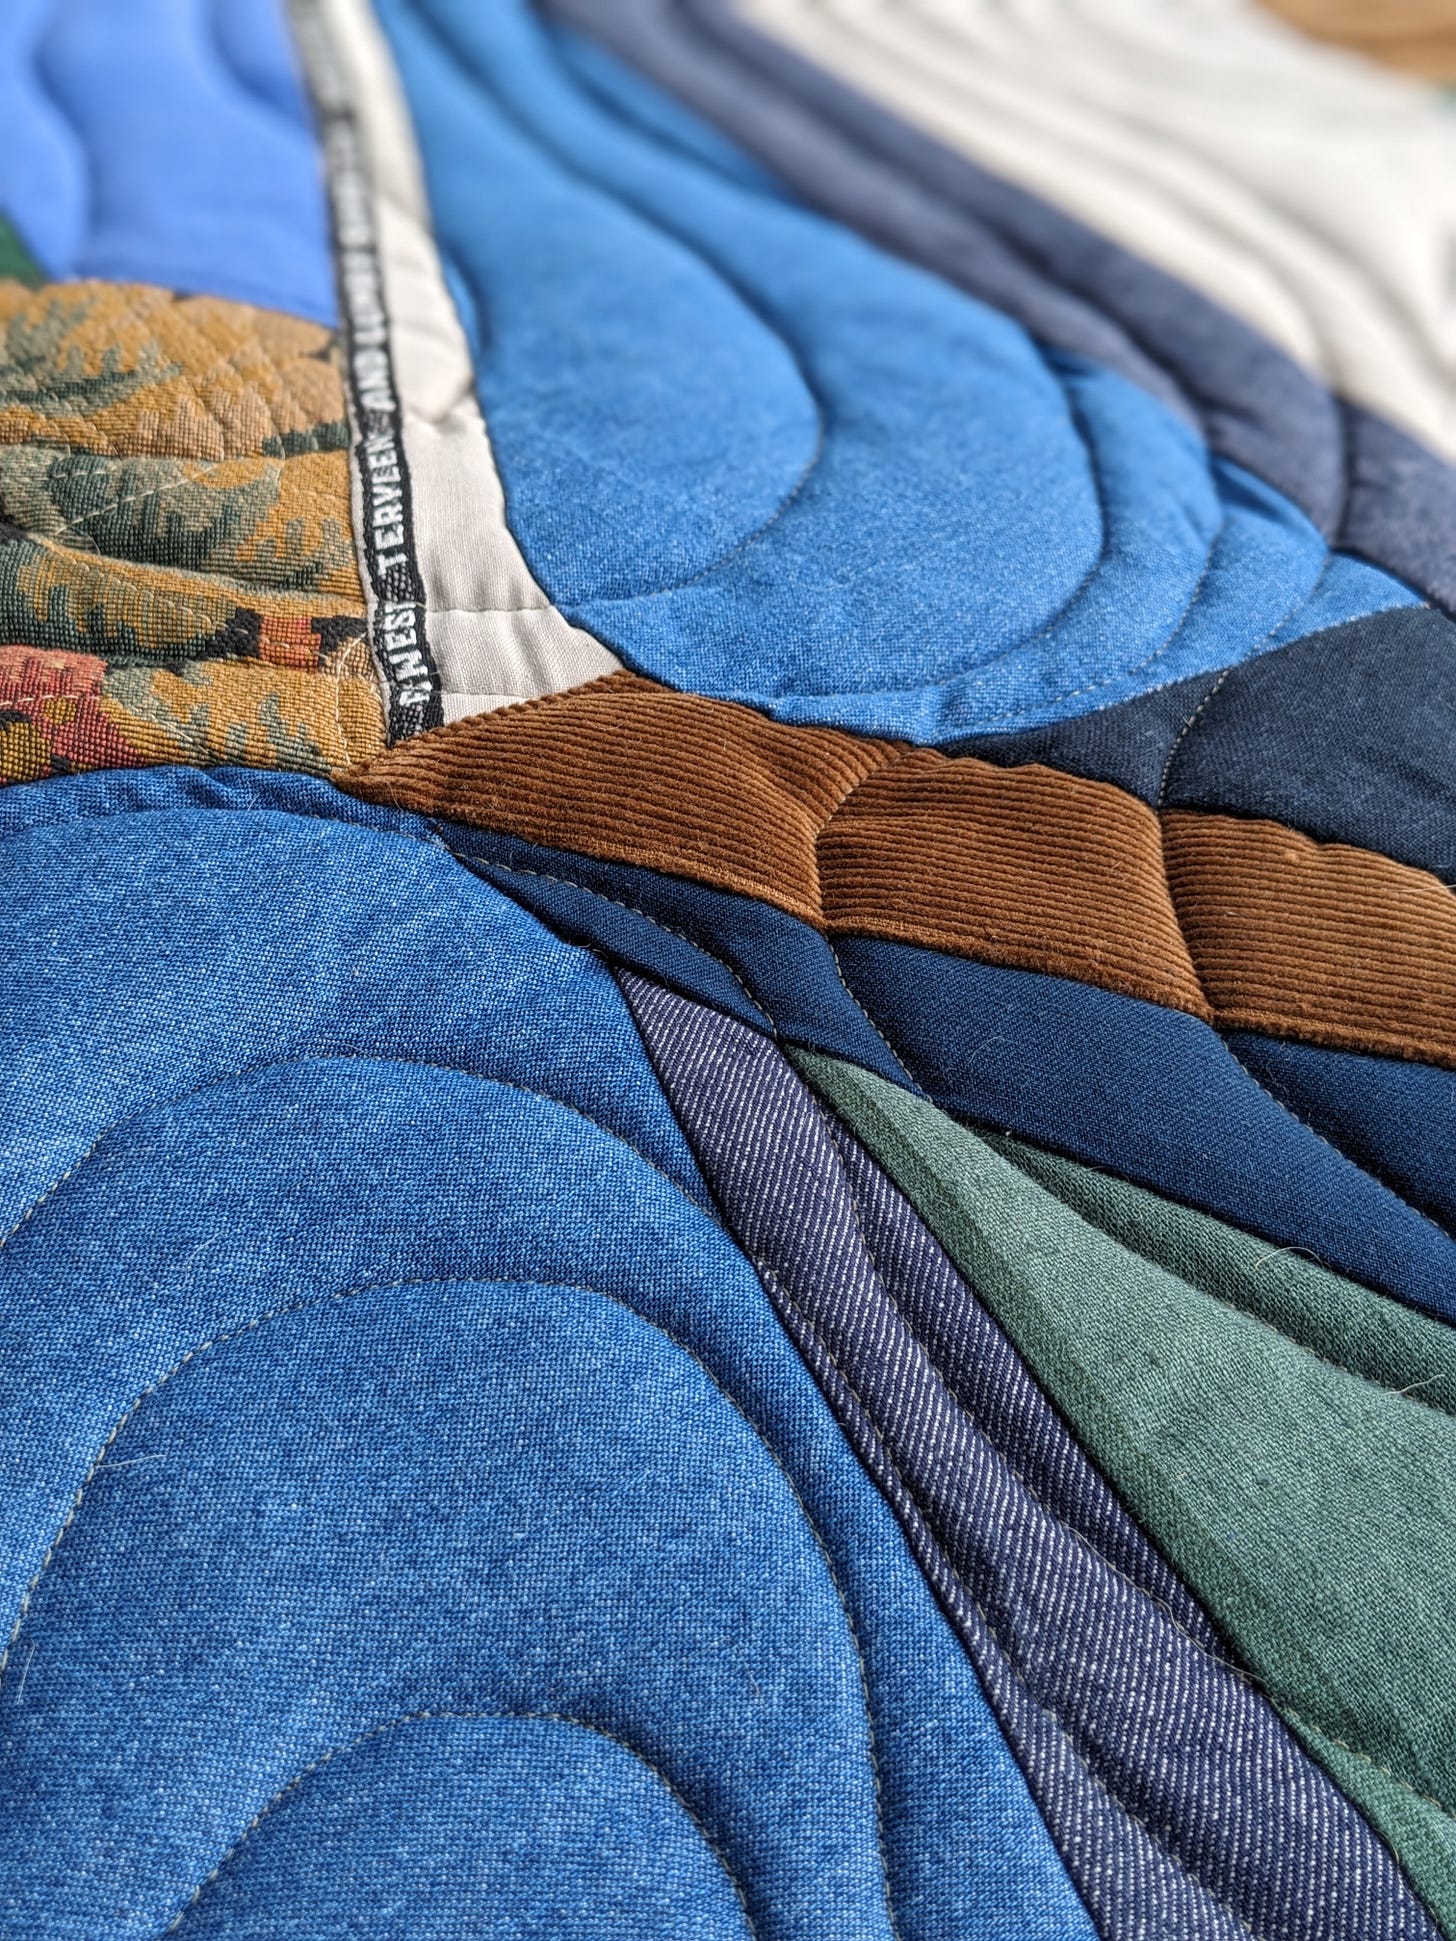
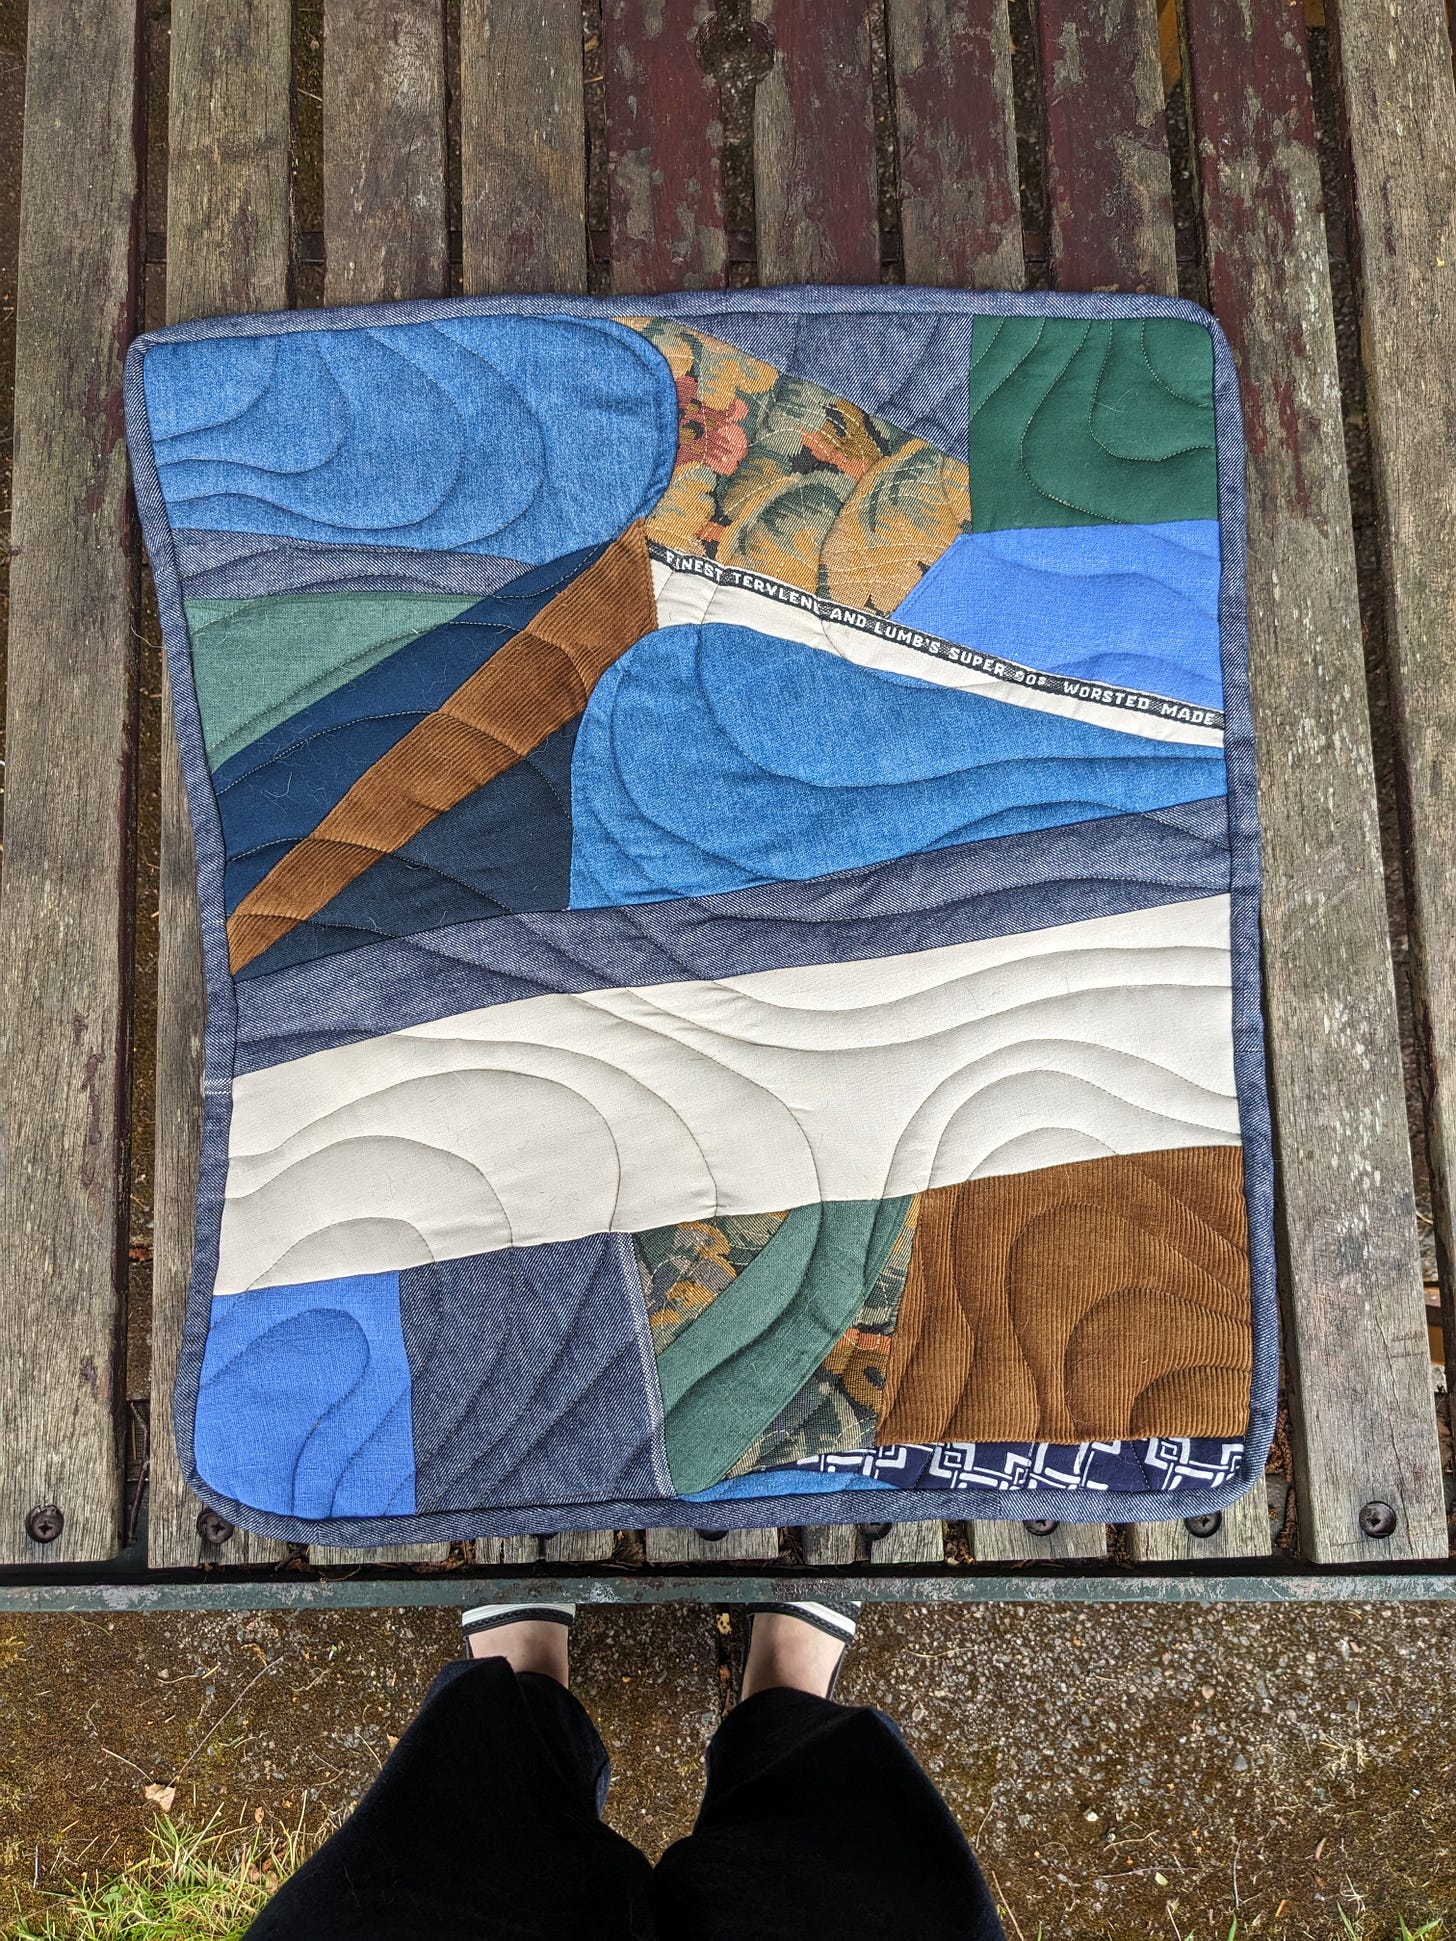
Everyone who sews generates hoards of scraps and remnants, which I personally don’t have an issue bagging up every so often for the textile recycle bin. Equally though, it’s nice to have a means of using them, that isn’t scrunchies (no hair) or lavender bags (no interest). Creating new fabric from them, to then be used for other projects, instantly made sense to me. With crumb quilting, my understanding is you use small and often irregular pieces of fabric, to create new fabric via quilting. In Rachel’s case, she quilted directly onto a batting layer, which is a method I’d never seen before. It makes the whole process more organic and meditative, less prescriptive and precise. Much as I love traditional quilting, the accurate nature of the work doesn’t often appeal to me. Crumb quilting directly onto batting feels much more natural to my approach to sewing.
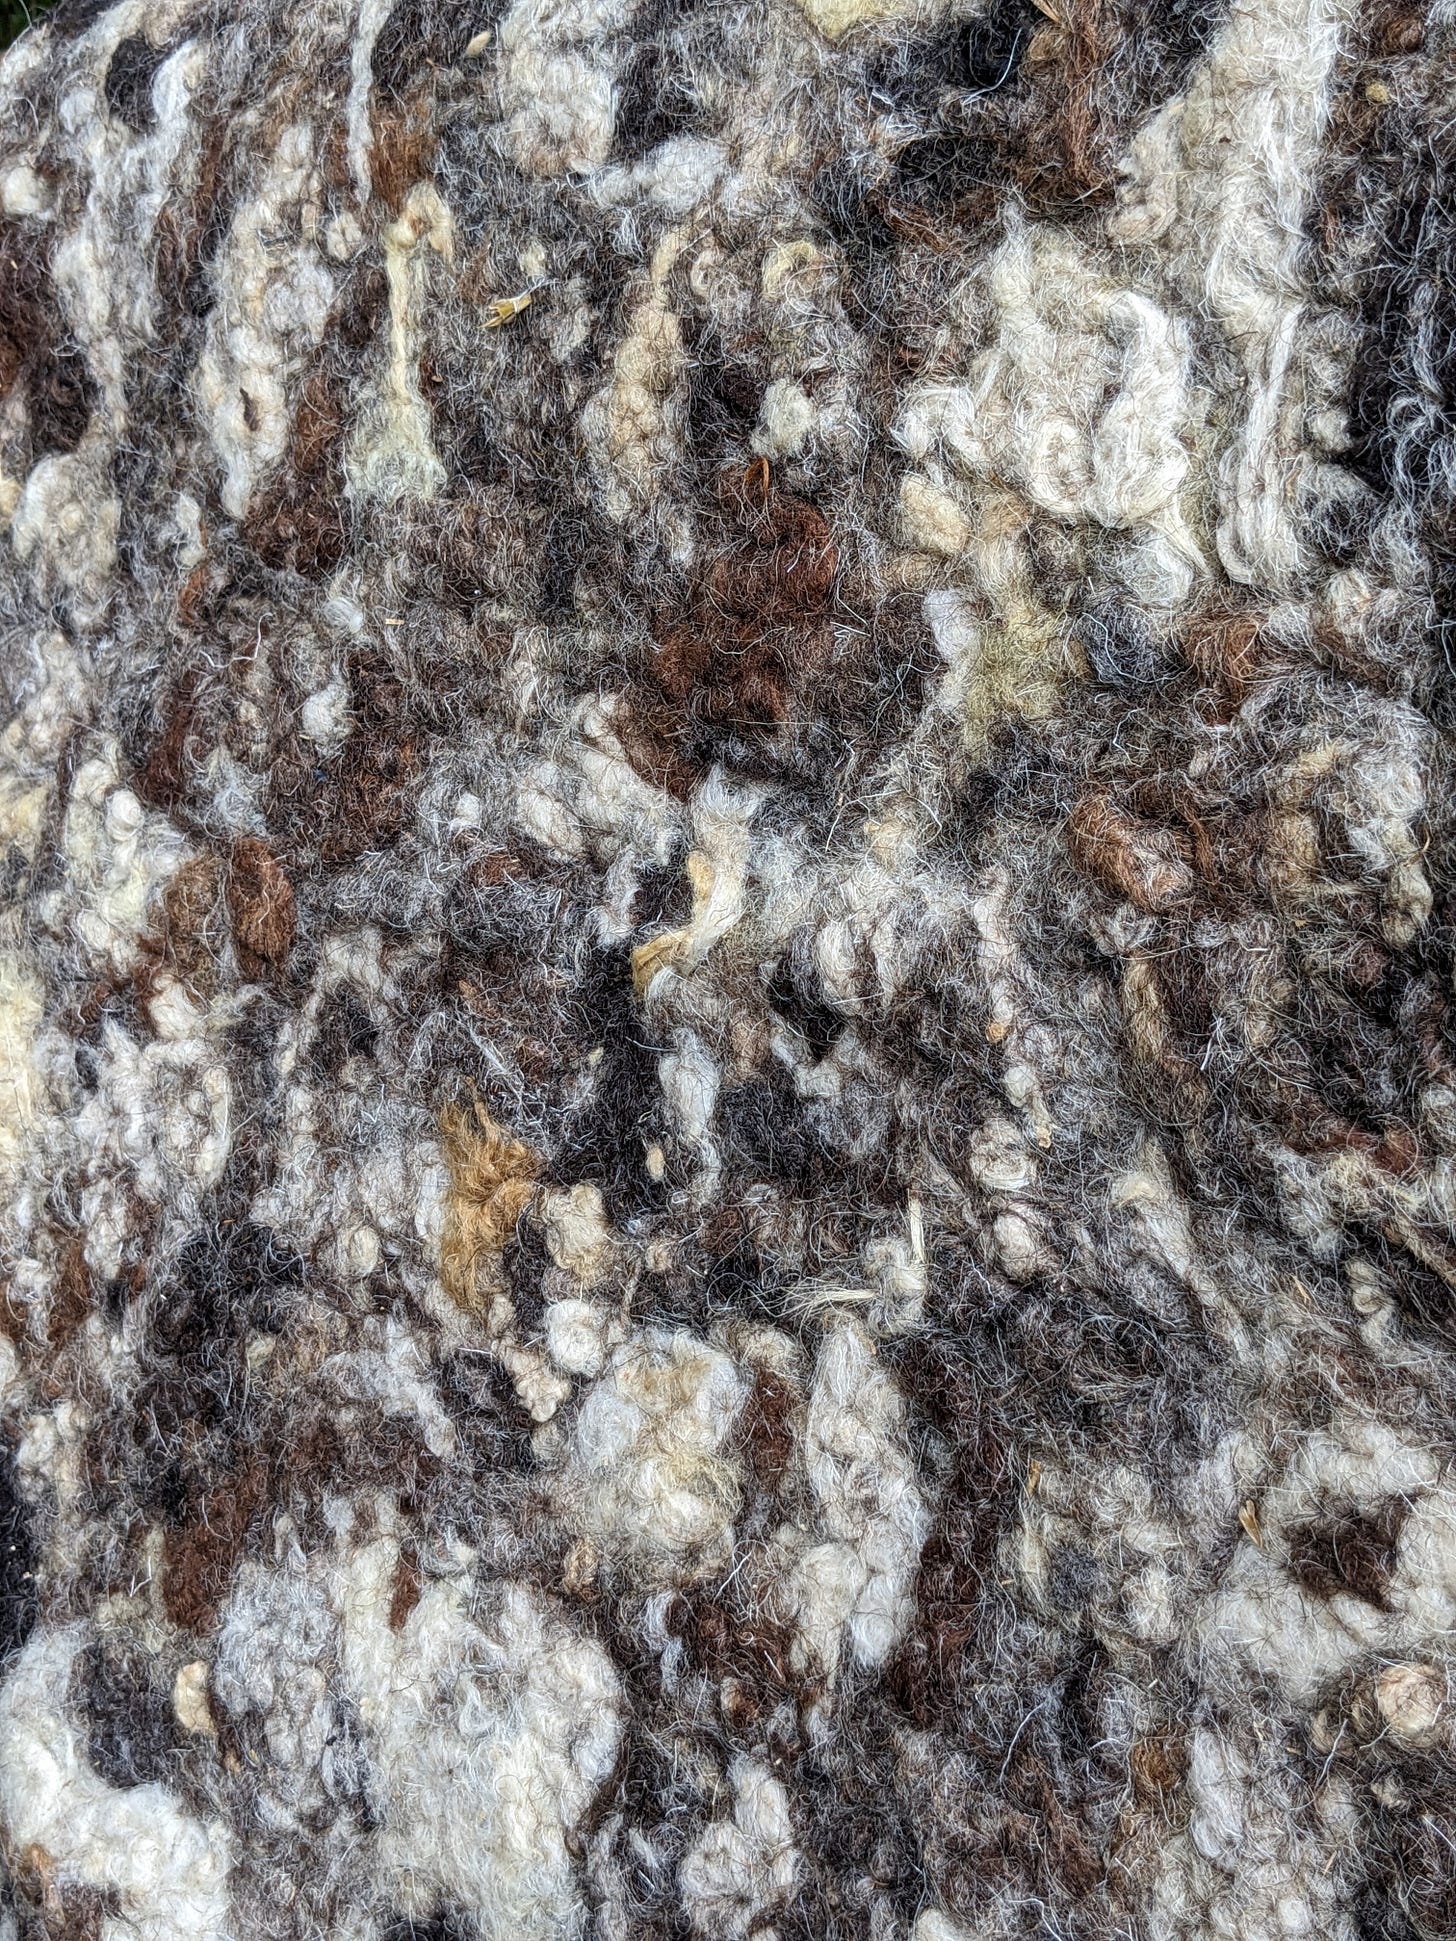
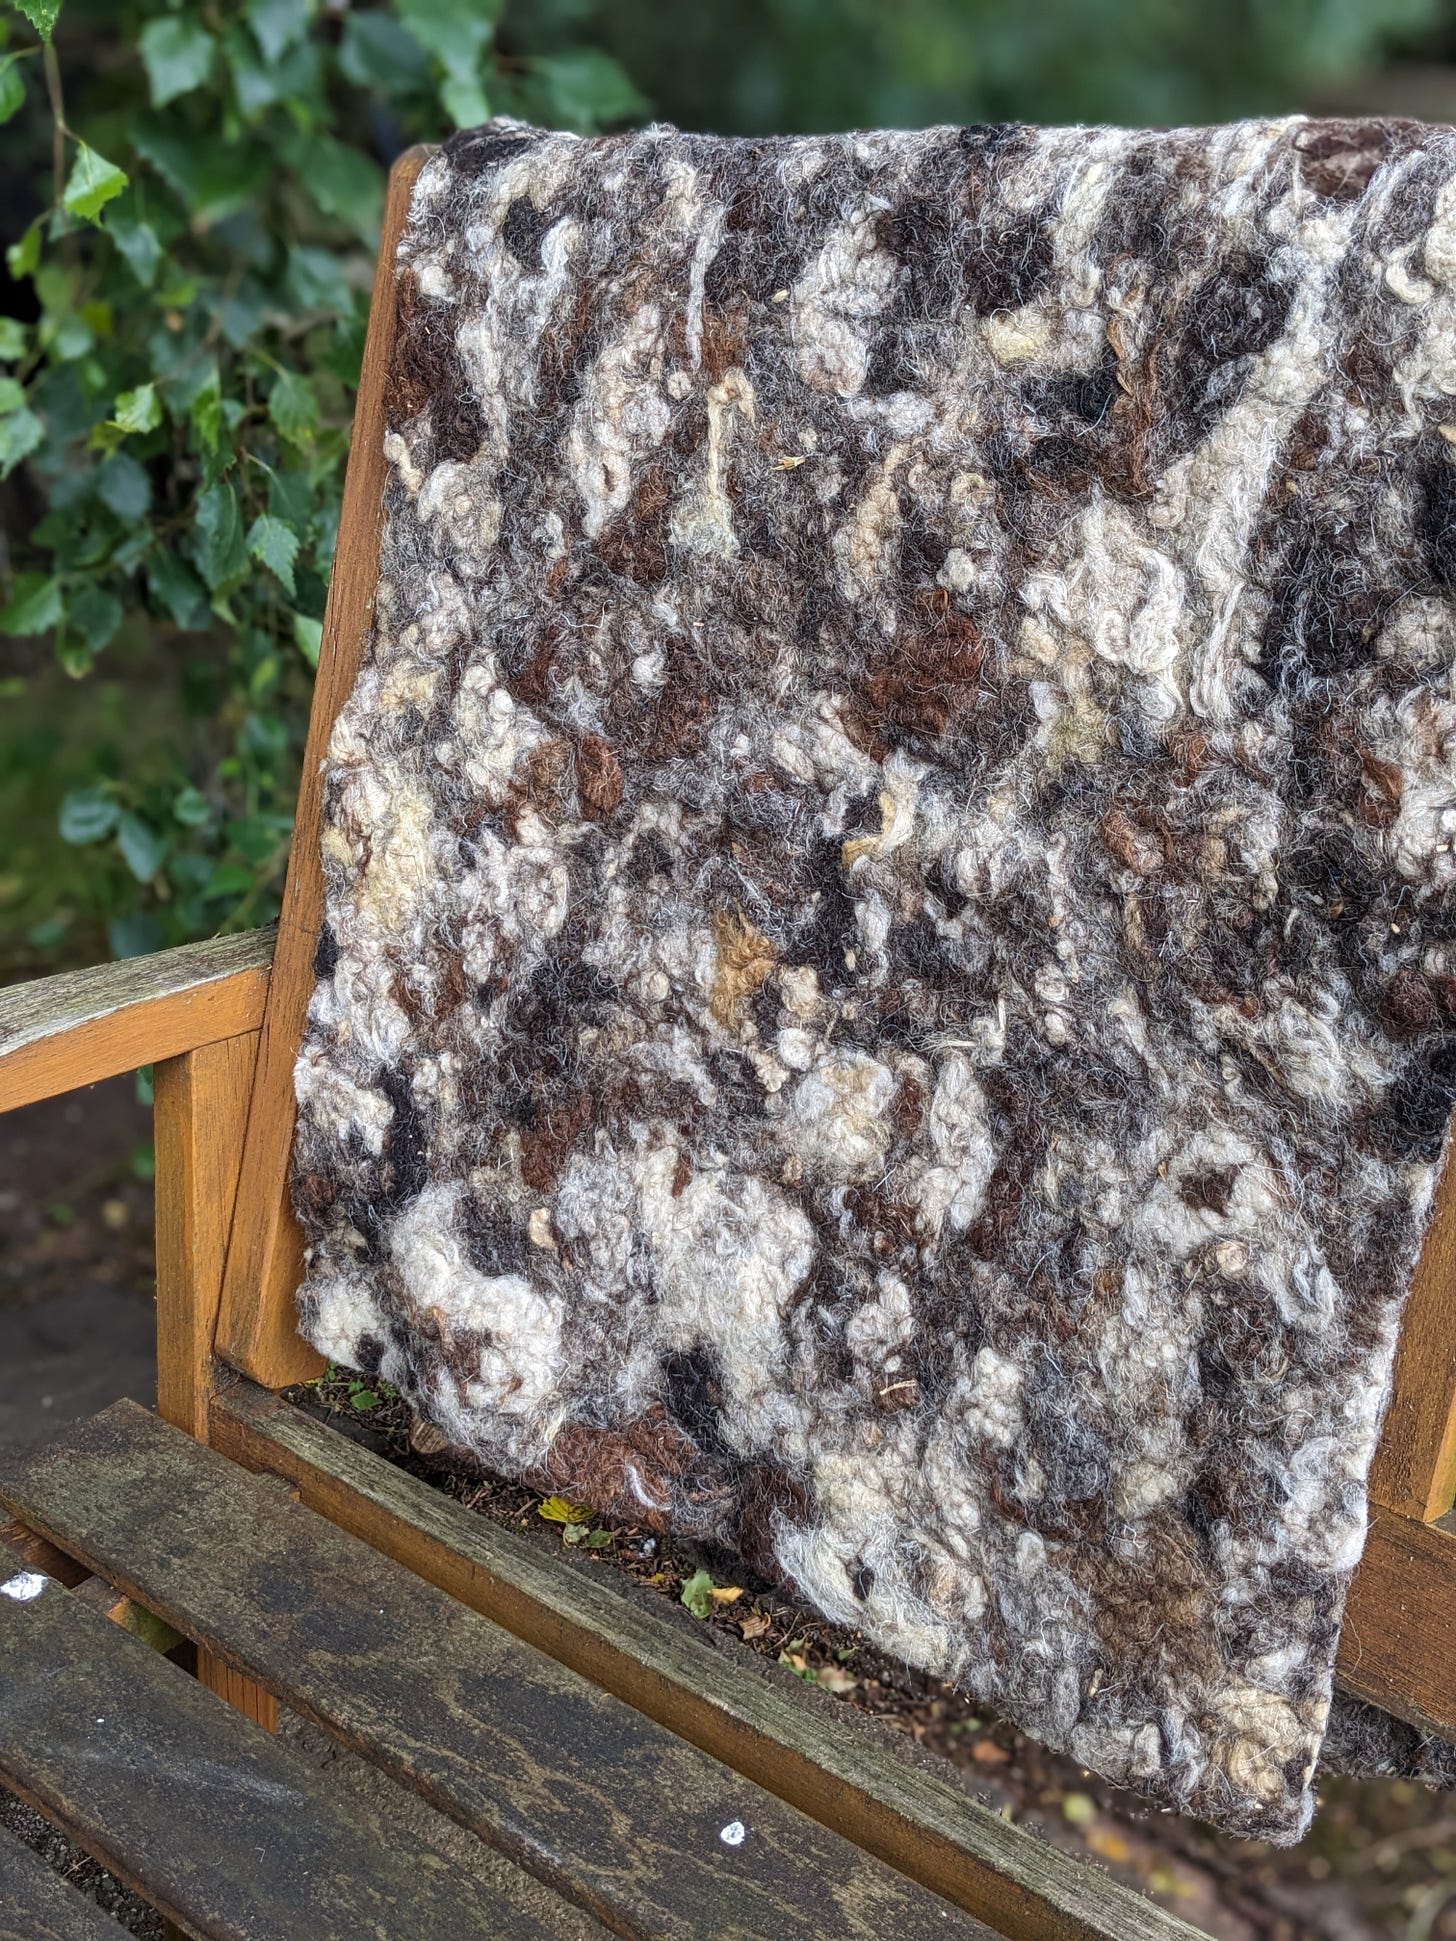
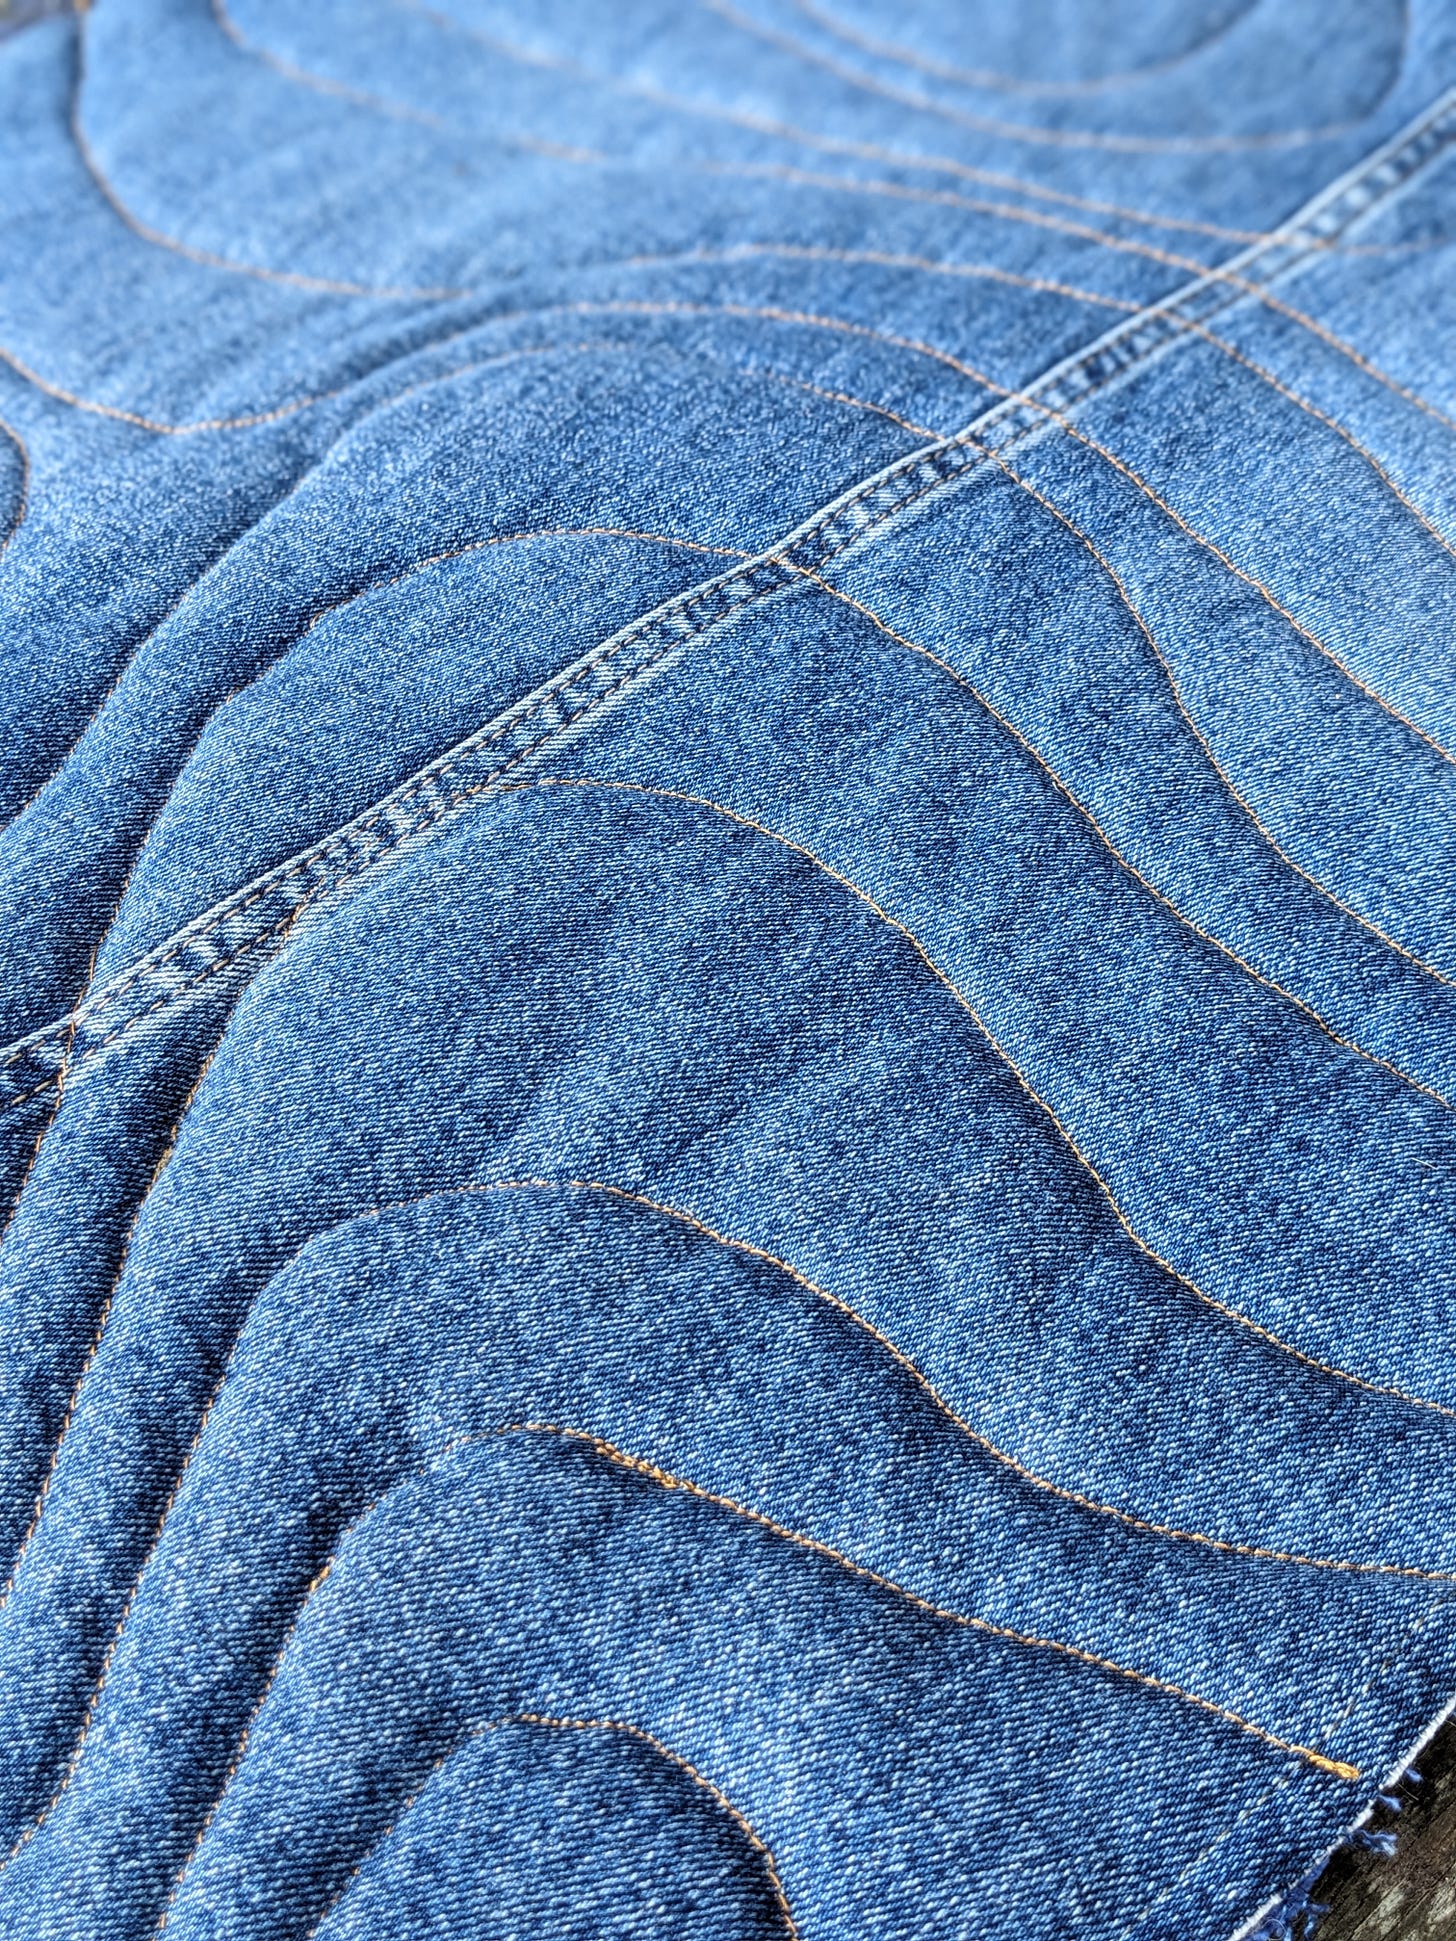
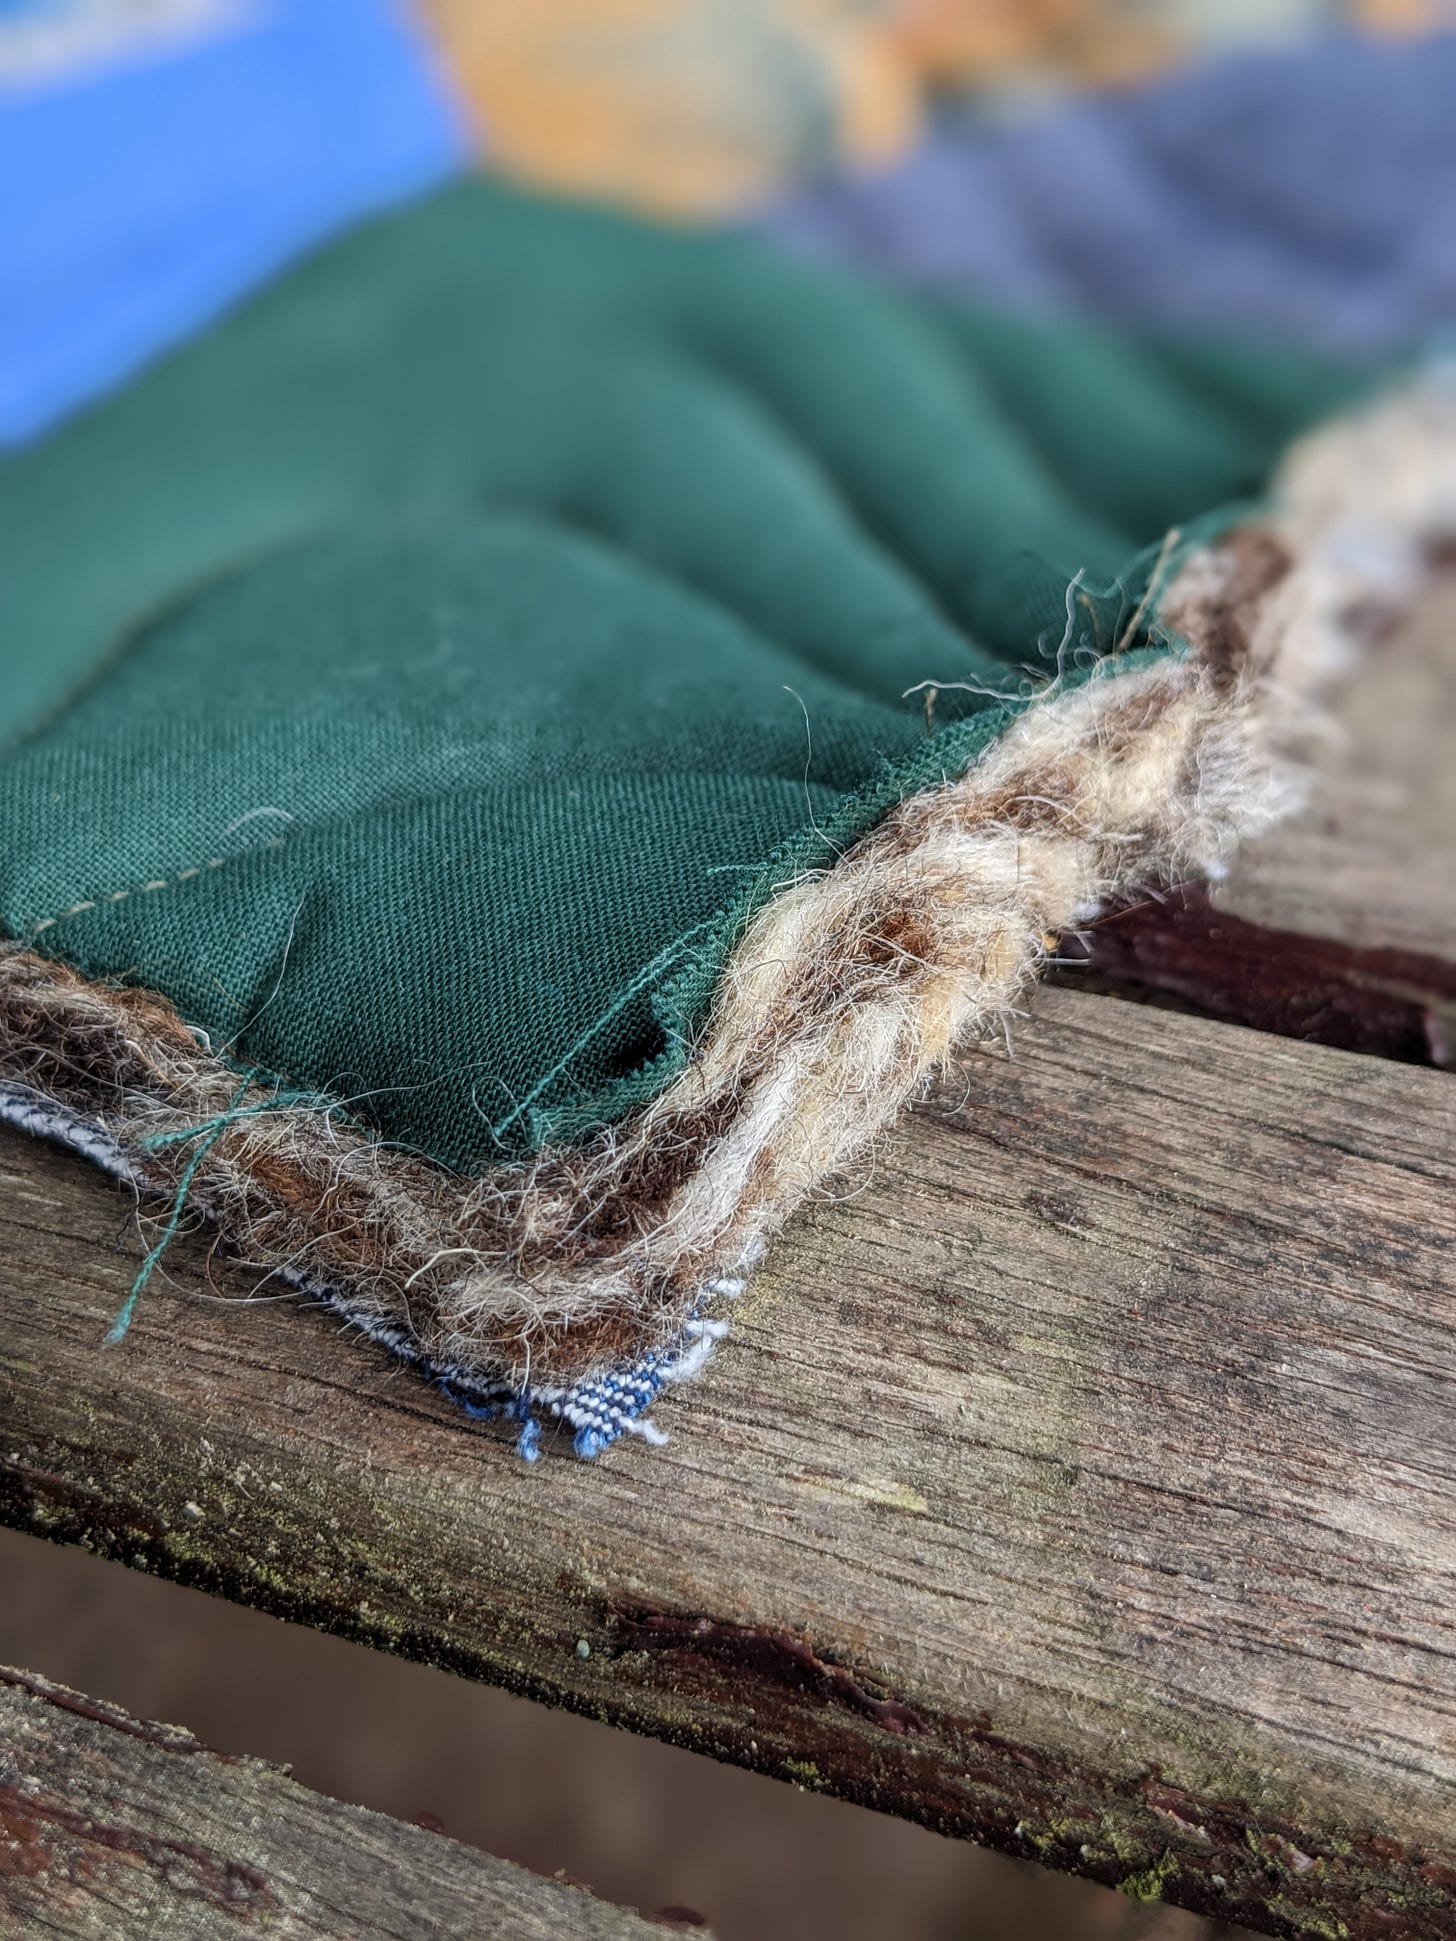
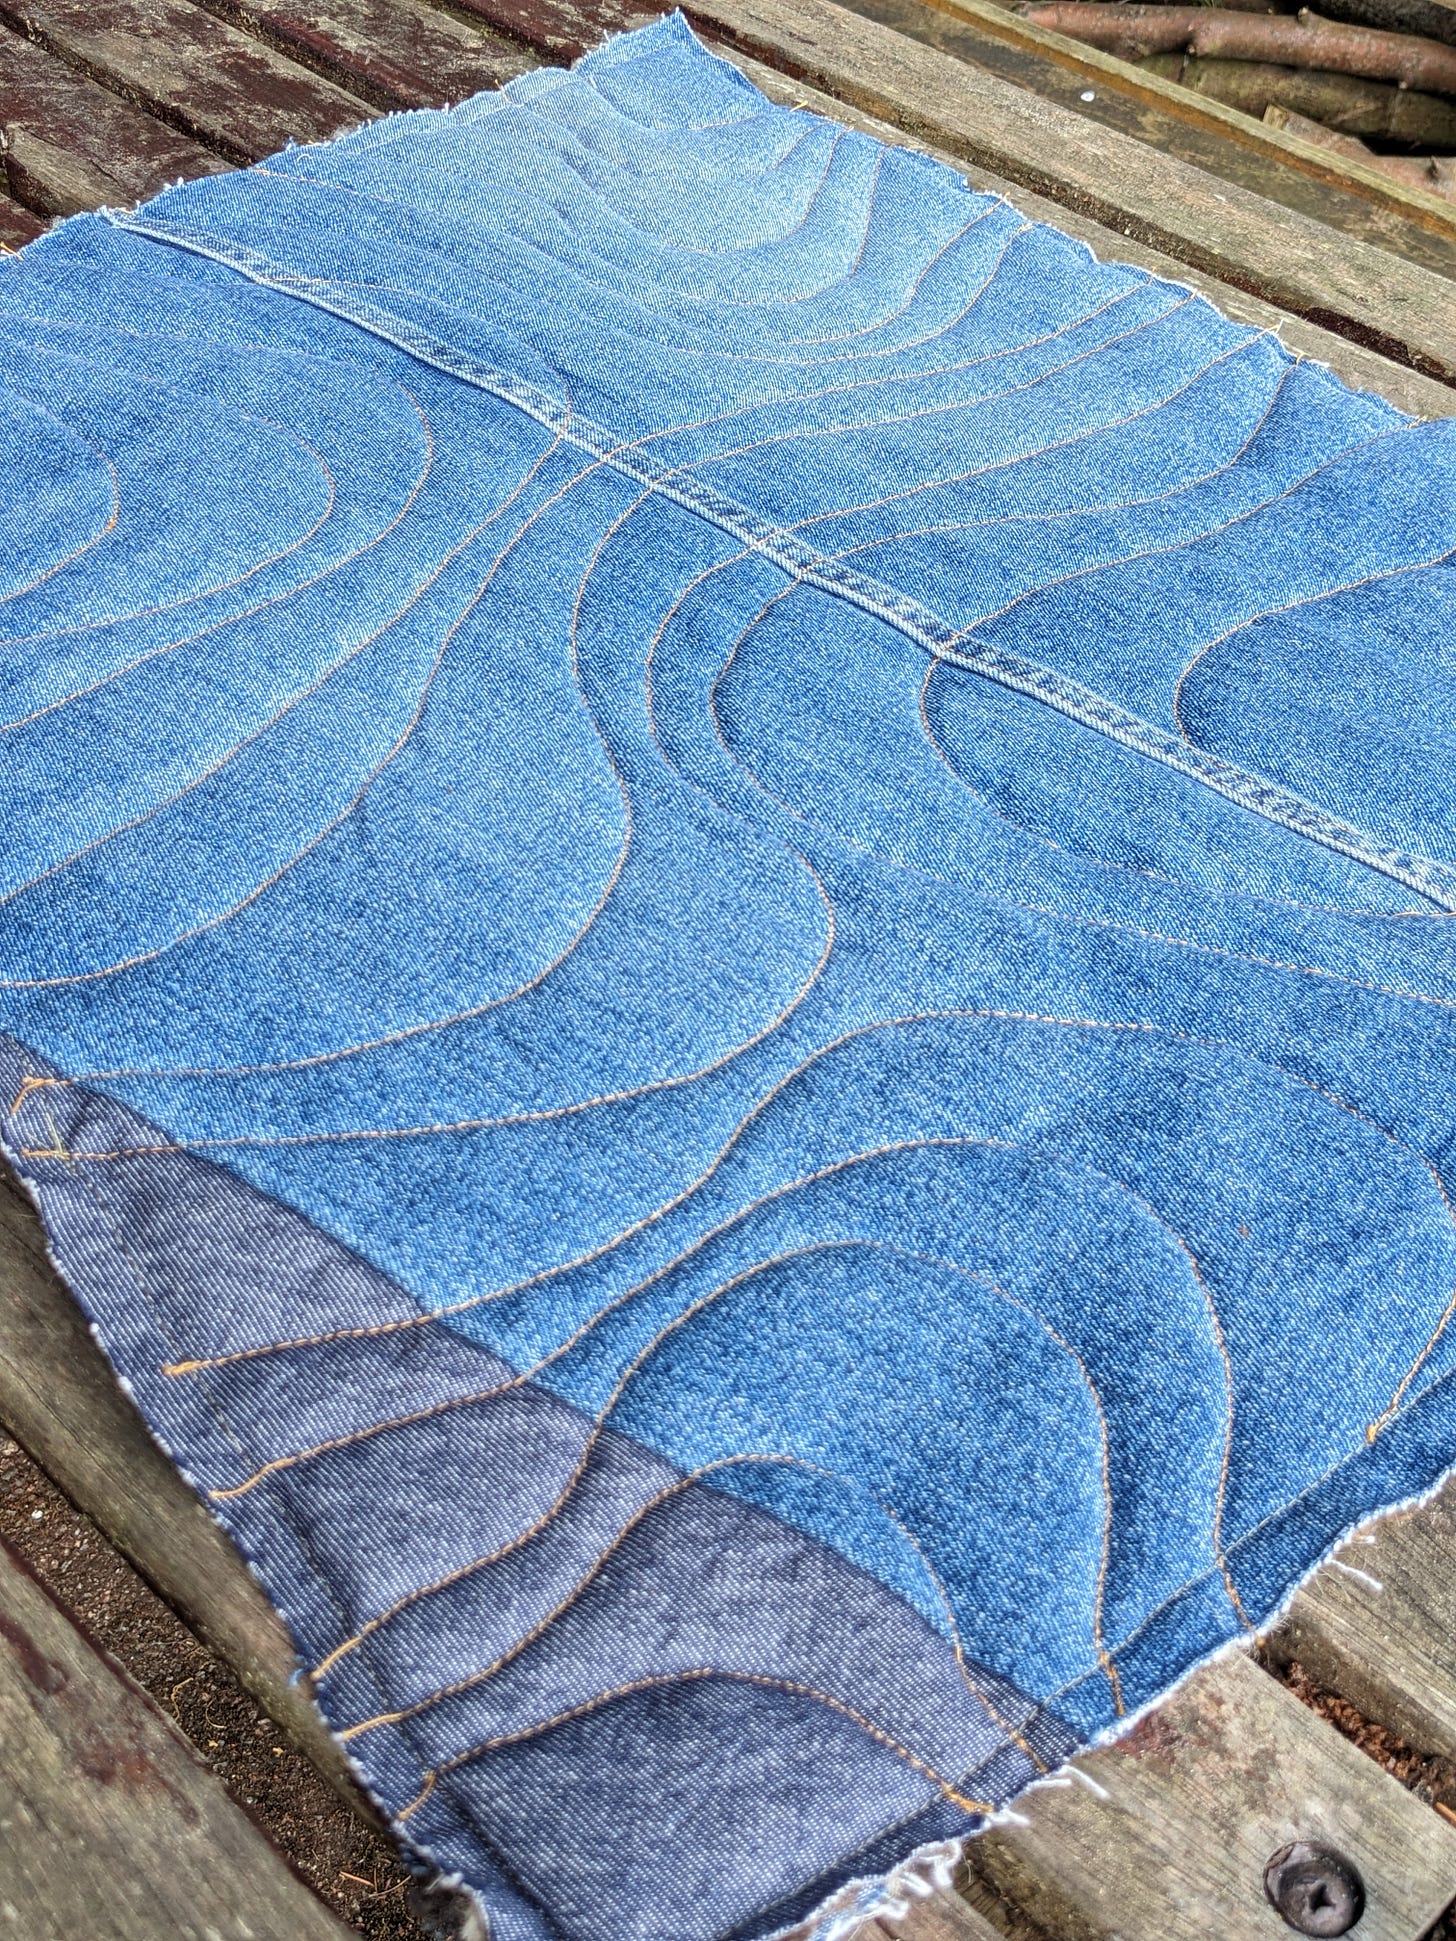
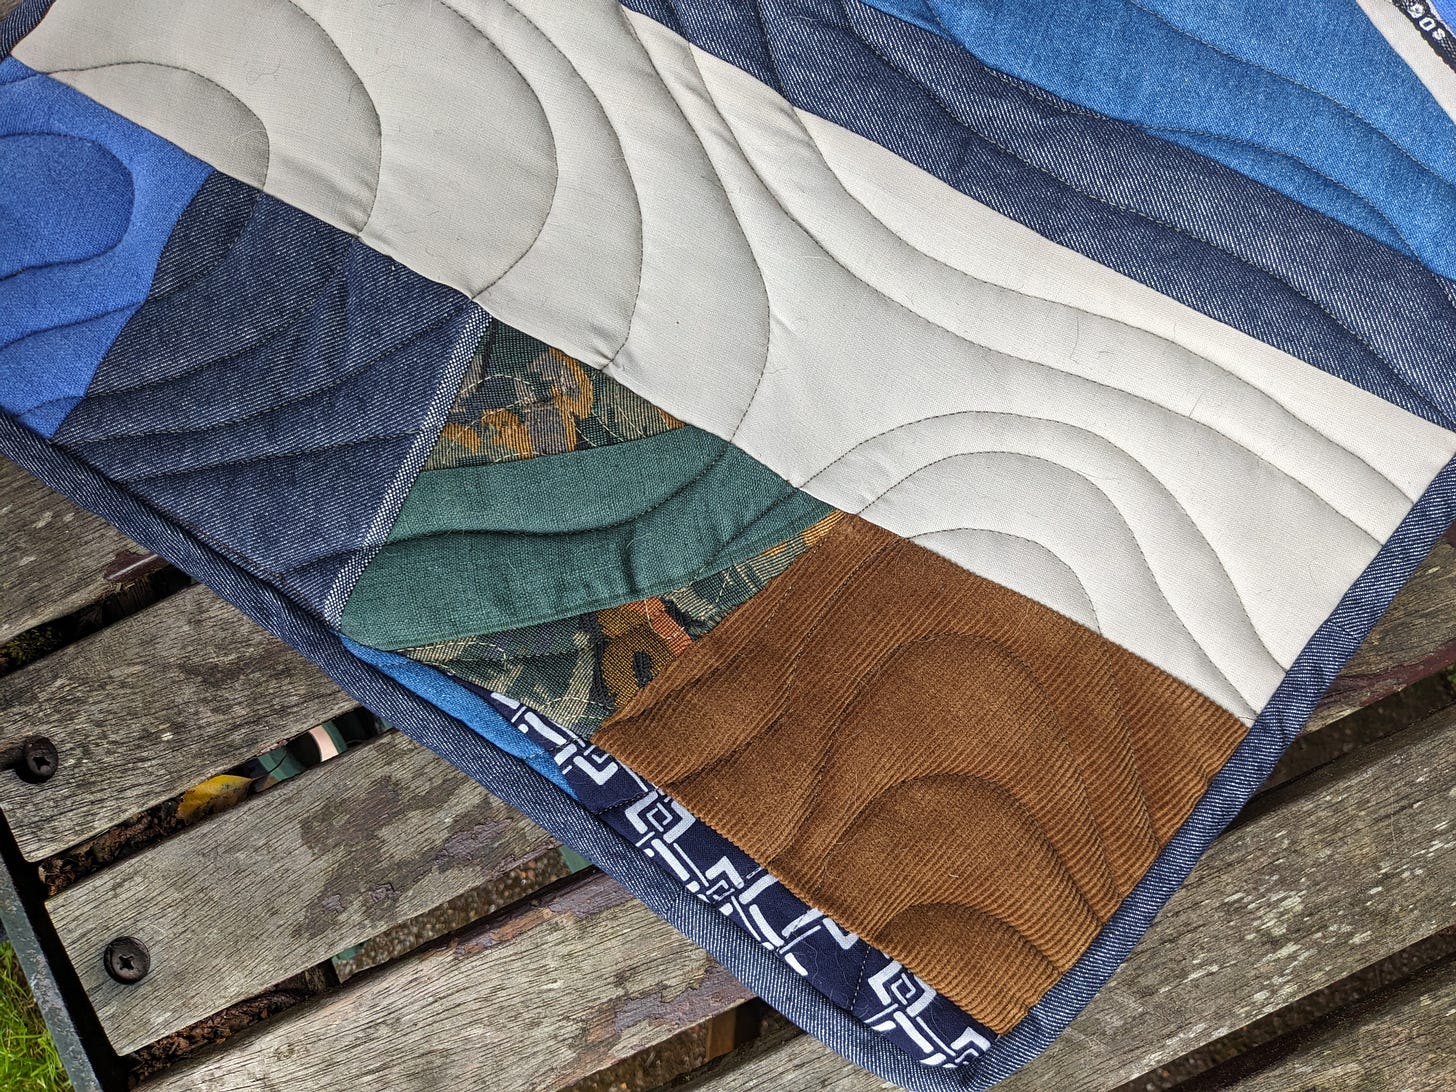
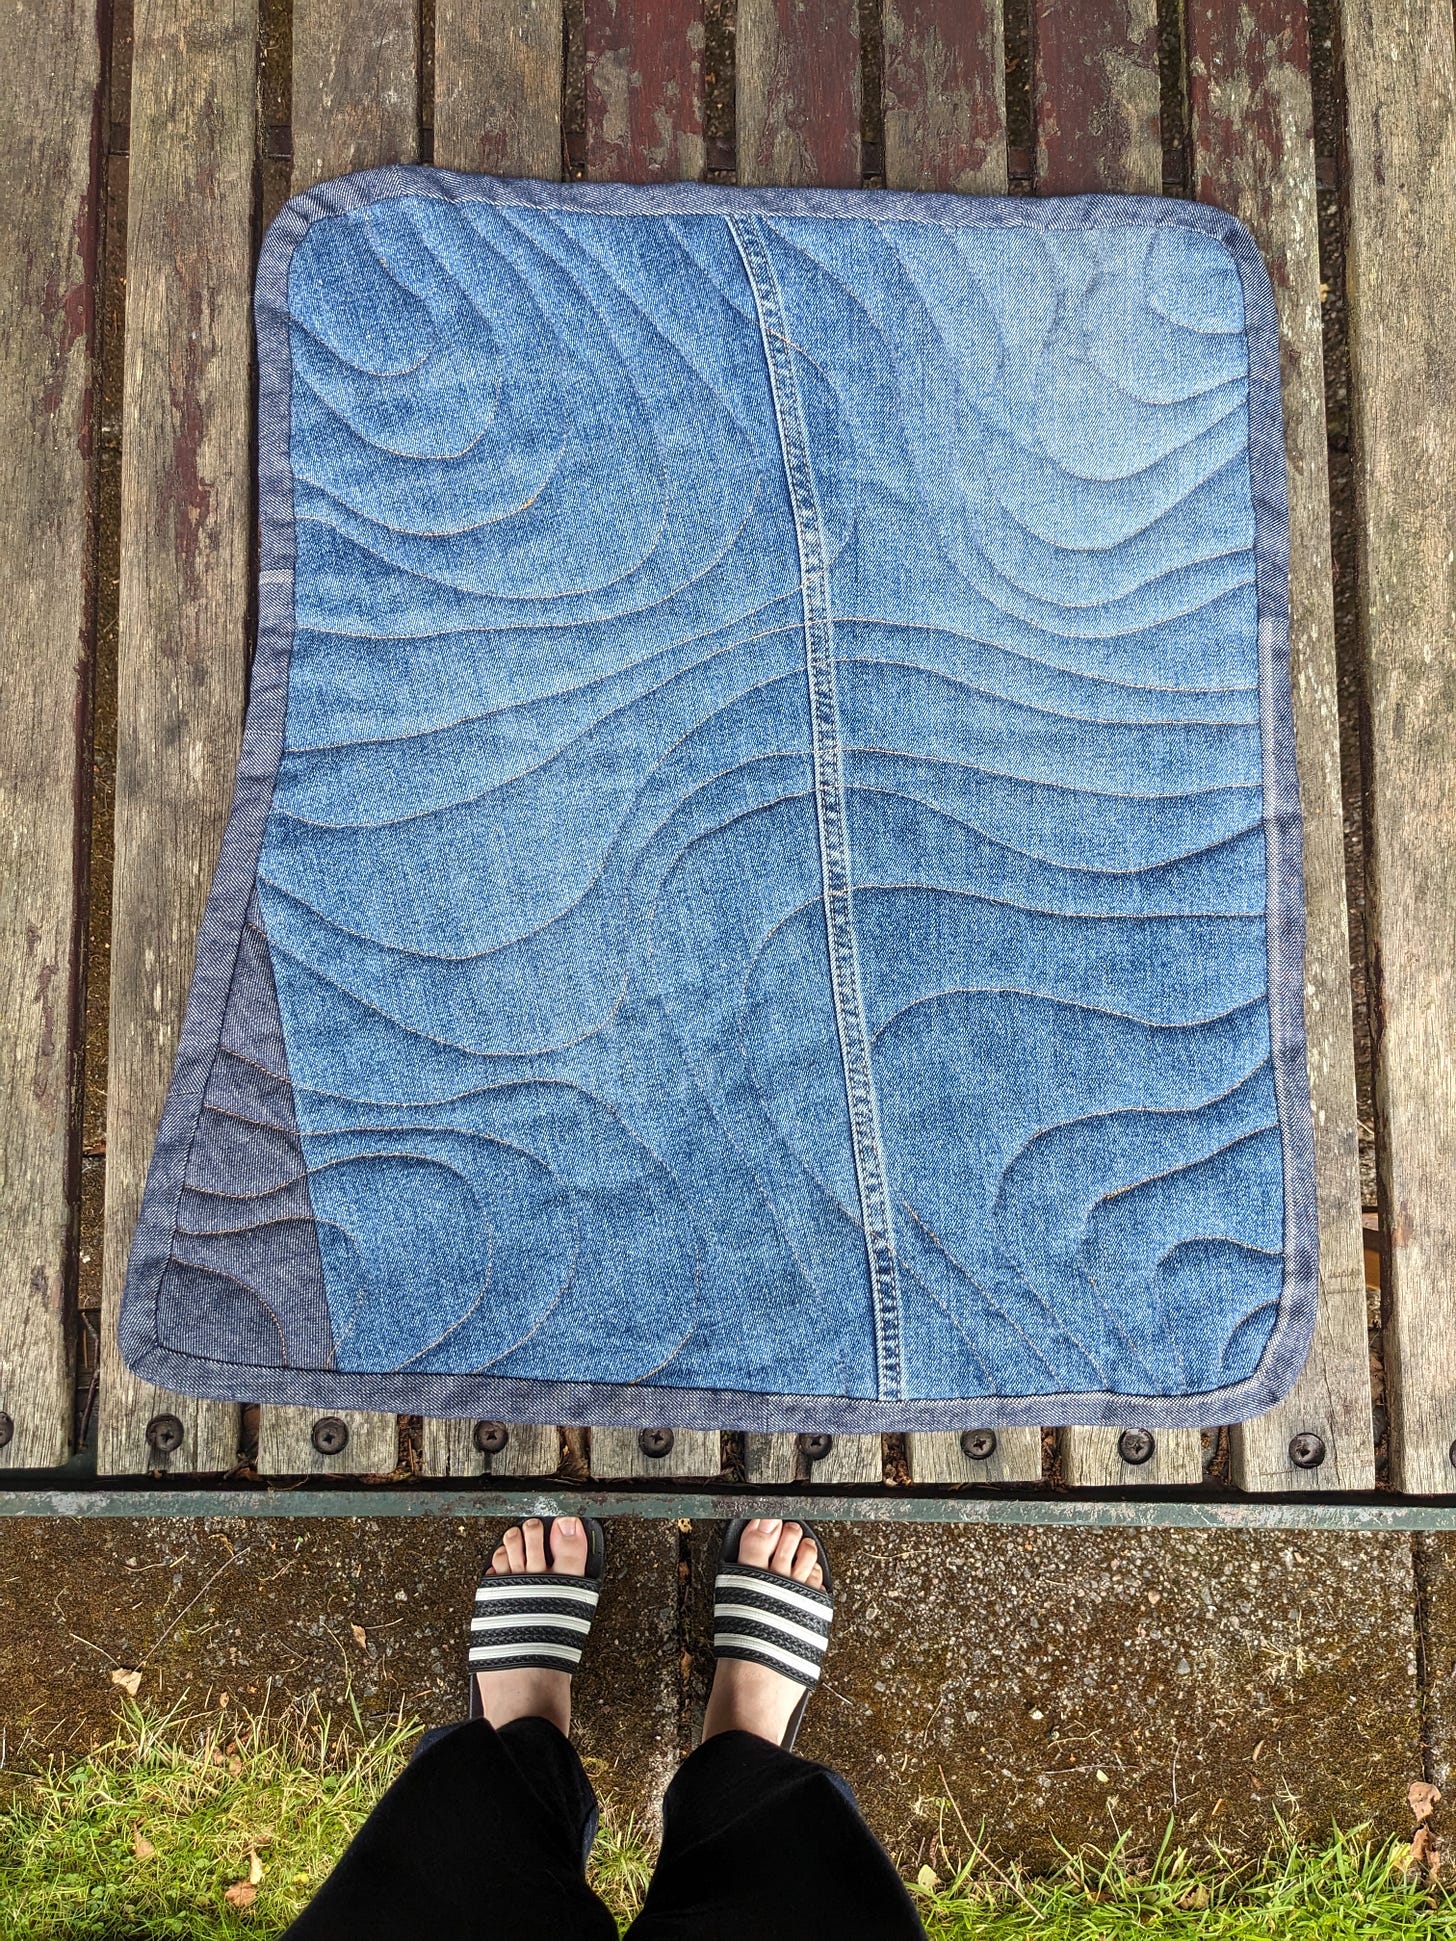
I started with a wool sheet my Mum had given me, it had been an insulating layer in a fancy hamper she was gifted, made by WoolCool. Made from 100% sheep’s wool, it’s compostable and biodegradable and a great innovation for sustainable packaging. I really liked the colours and texture of the wool and was initially planning to only quilt onto one side and leave the other side with no embellishment. Sadly though, this wool sheds CONSTANTLY. Little bits of black and brown prickly wool pieces everywhere. It originally came in a biodegradable bag, presumably to keep this shedding contained. I thought perhaps the shedding would settle after a while, after the fabric had been handled, but no. It was impractical to keep the wool uncovered, so I crumb quilted directly onto the wool, then added a sturdy, hard wearing backing in the form of denim salvaged from an old pair of jeans.
I then quilted through the three layers, in an organic pattern inspired by Deborah of Dastardly Line. She has an array of beautiful patterns for long arm quilting, definitely check out her Glasgow studio if you’re looking to get your fabric quilted.
Once the fabric has been quilted, I used scrap denim, cut on the bias and pieced together, to create the bias tape for the edge. I machine sewed one side and then hand sewed the other.
The resulting pad is sturdy, highly heat resistant, and absorbs most of the steam from the iron. I made sure to only pick scraps I knew were 100% cotton or wool, to minimise the risk of the heat from the iron causing any inopportune melting. It started off as a rectangle, but the nature of the wool batting meant it stretched out as I sewed. I don’t mind the wonky, organic resultant shape. It’s going to be used for ironing, and probably as a seat pad for my sewing bench when I’m not ironing. It can be popped flat under the table, or I might create a leather hanging loop for it, once I have a permanent sewing area. Either way, it was a fun experiment and I love the texture and three dimensional nature of the fabric. I will definitely be using the crumb quilting technique again in the future. It would make sturdy fabric for a variety of projects and is a great way to use up remnants and scraps.




It is most satisfying when crafty skills are used for decluttering and upcycling. Thank you for sharing your project. Very inspiring.
As spring is beginning in my part of the world, your decluttering and reusing is very inspiring!
And thank you for putting words around why I hate ironing so much.. I'm now imagining how pleasant it could be to use a quilted mat instead of a beastly board.