Grab yourself a cuppa and get settled.
When Helen’s Closet came out with the Wildwood vest, I was really taken. I don’t think I’ve ever clicked ‘add to cart’ as quickly, the quilted vest struck me as something that would be practical throughout the year. I wanted to make it lined with shearling, so I scoured Vinted until I found a larger sized shealing coat in the right kind of material. For £5, it was a bargain AND recycled.
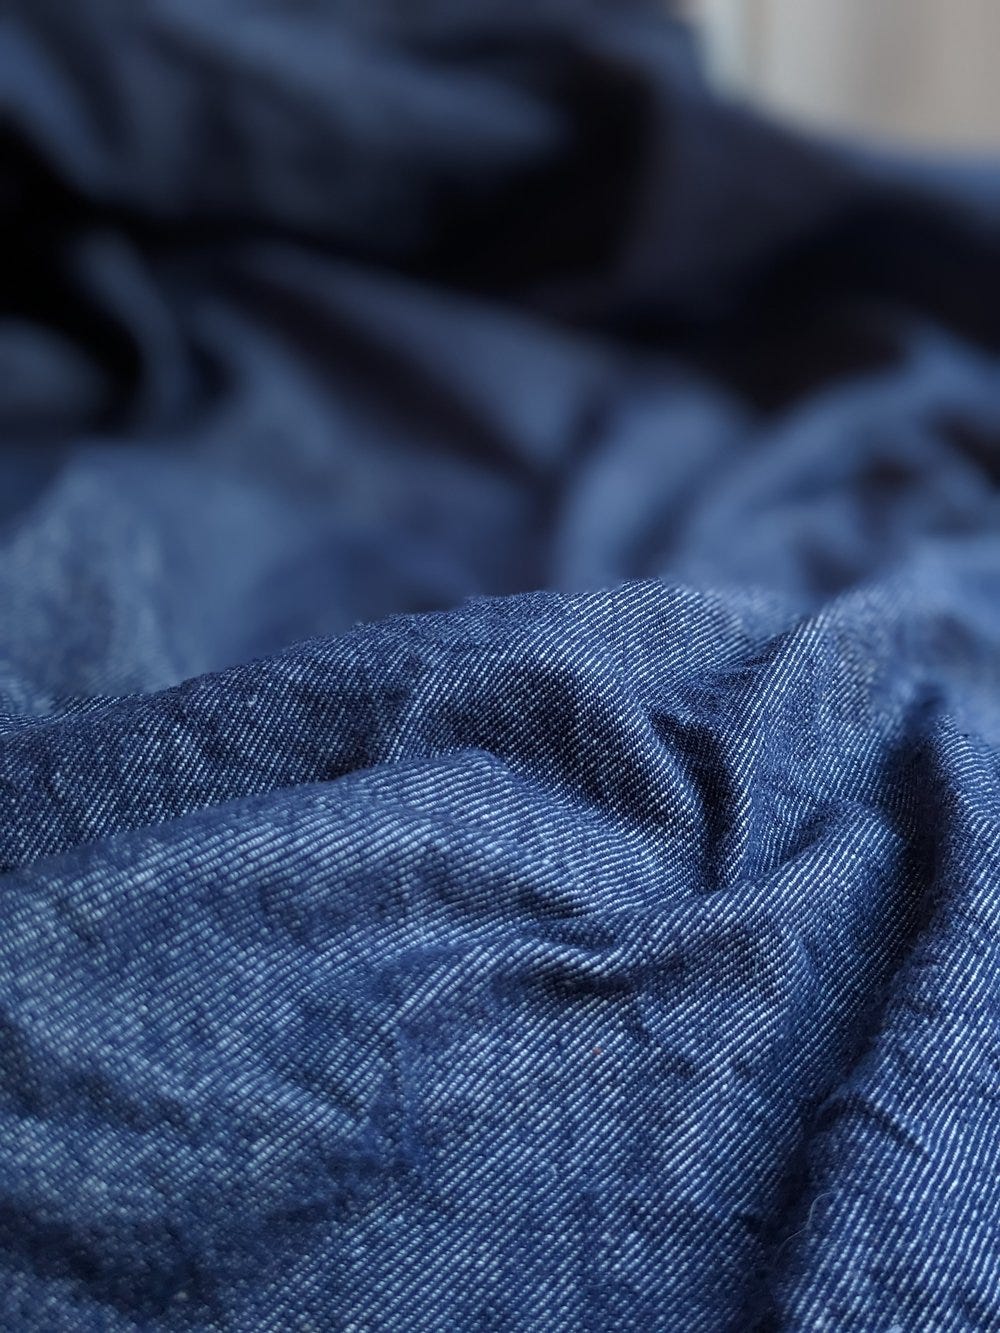
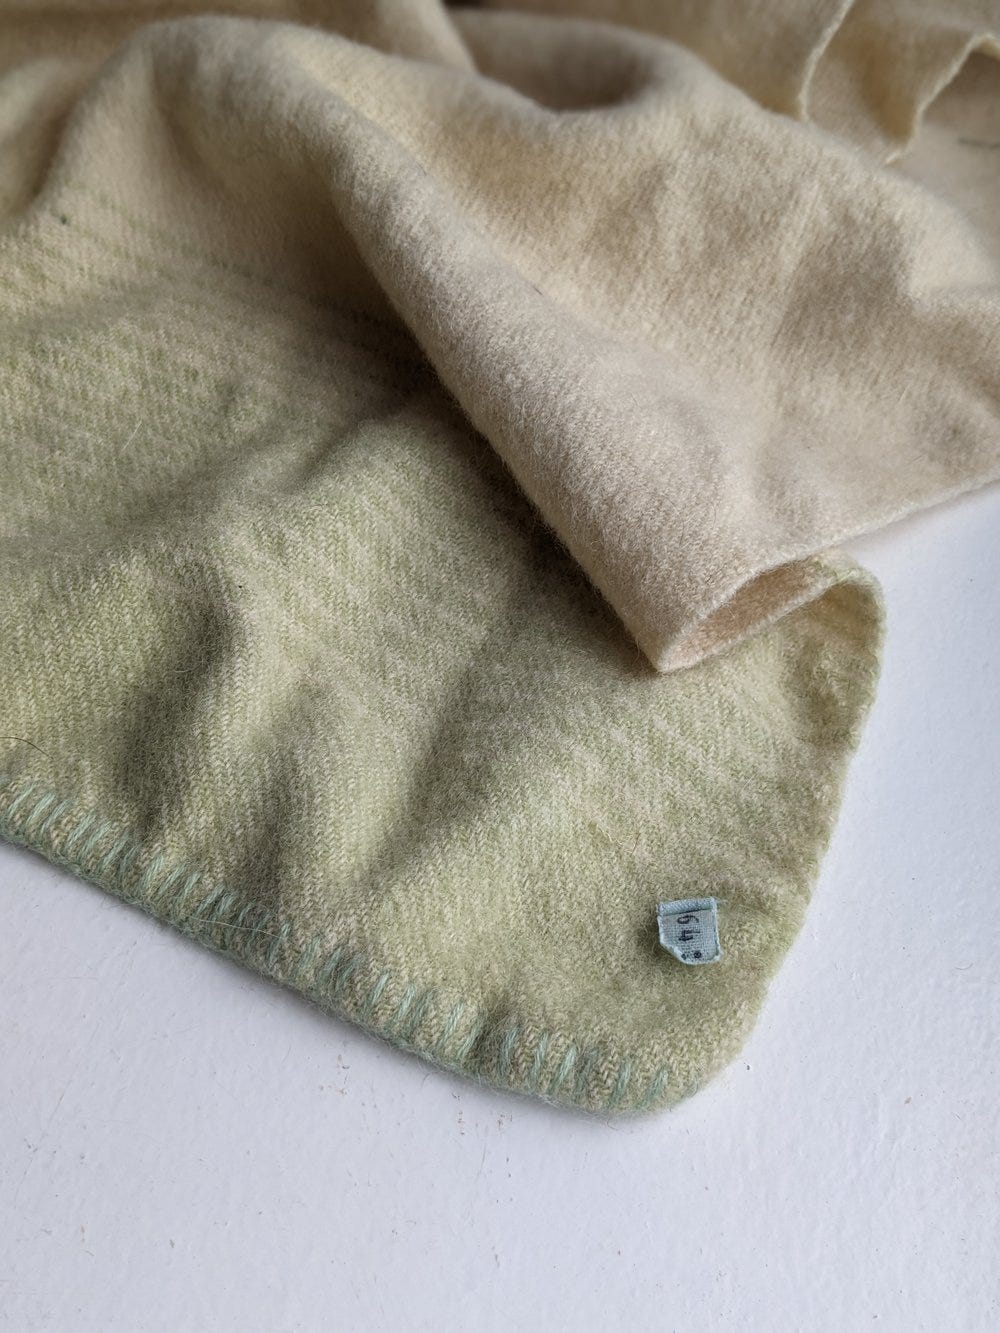
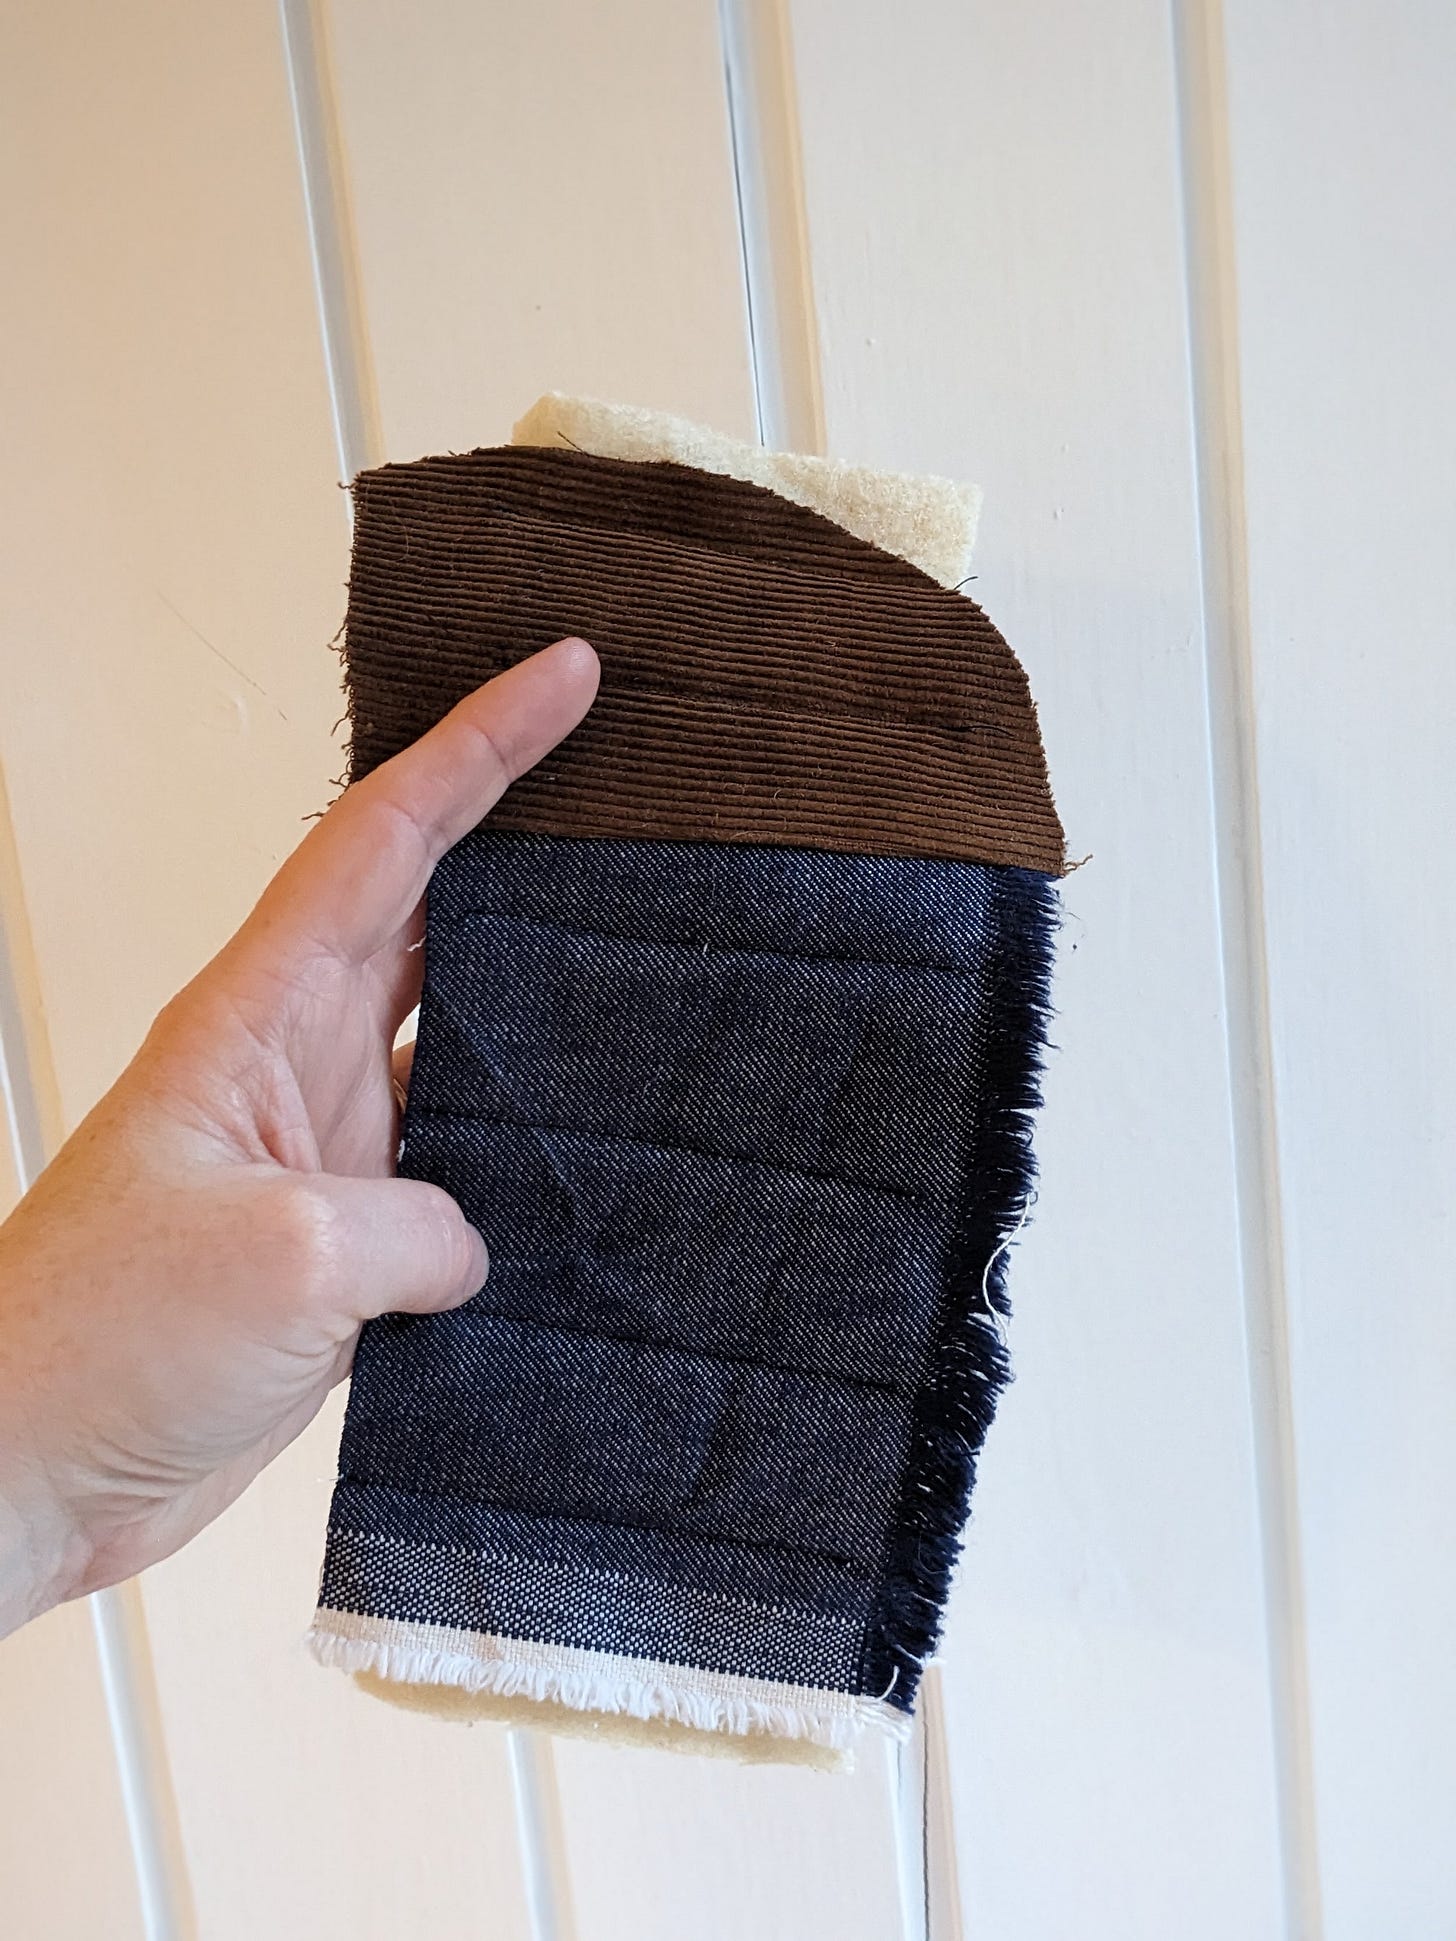
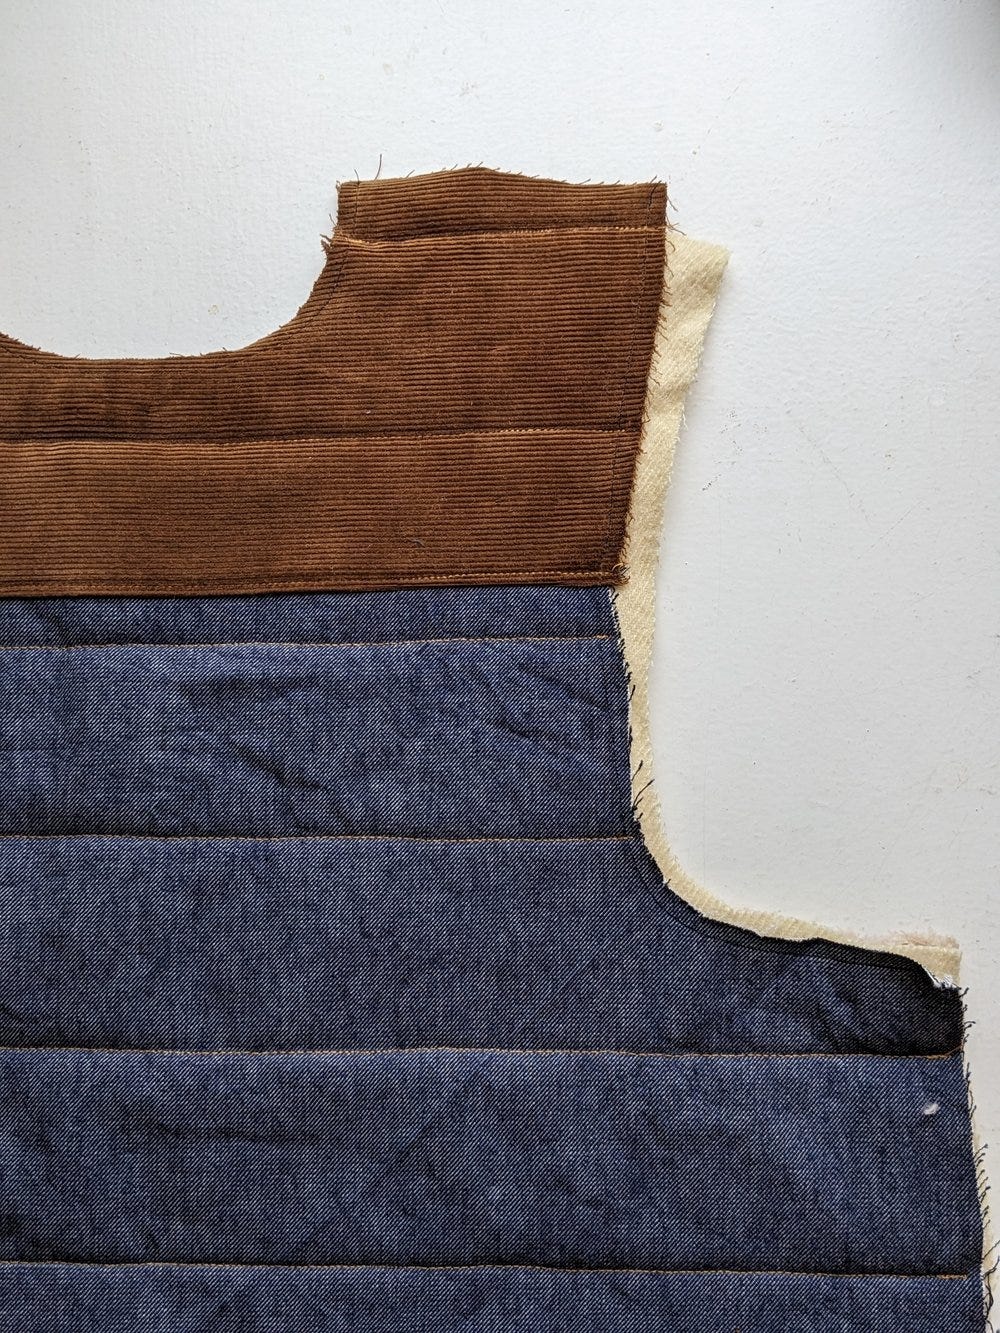
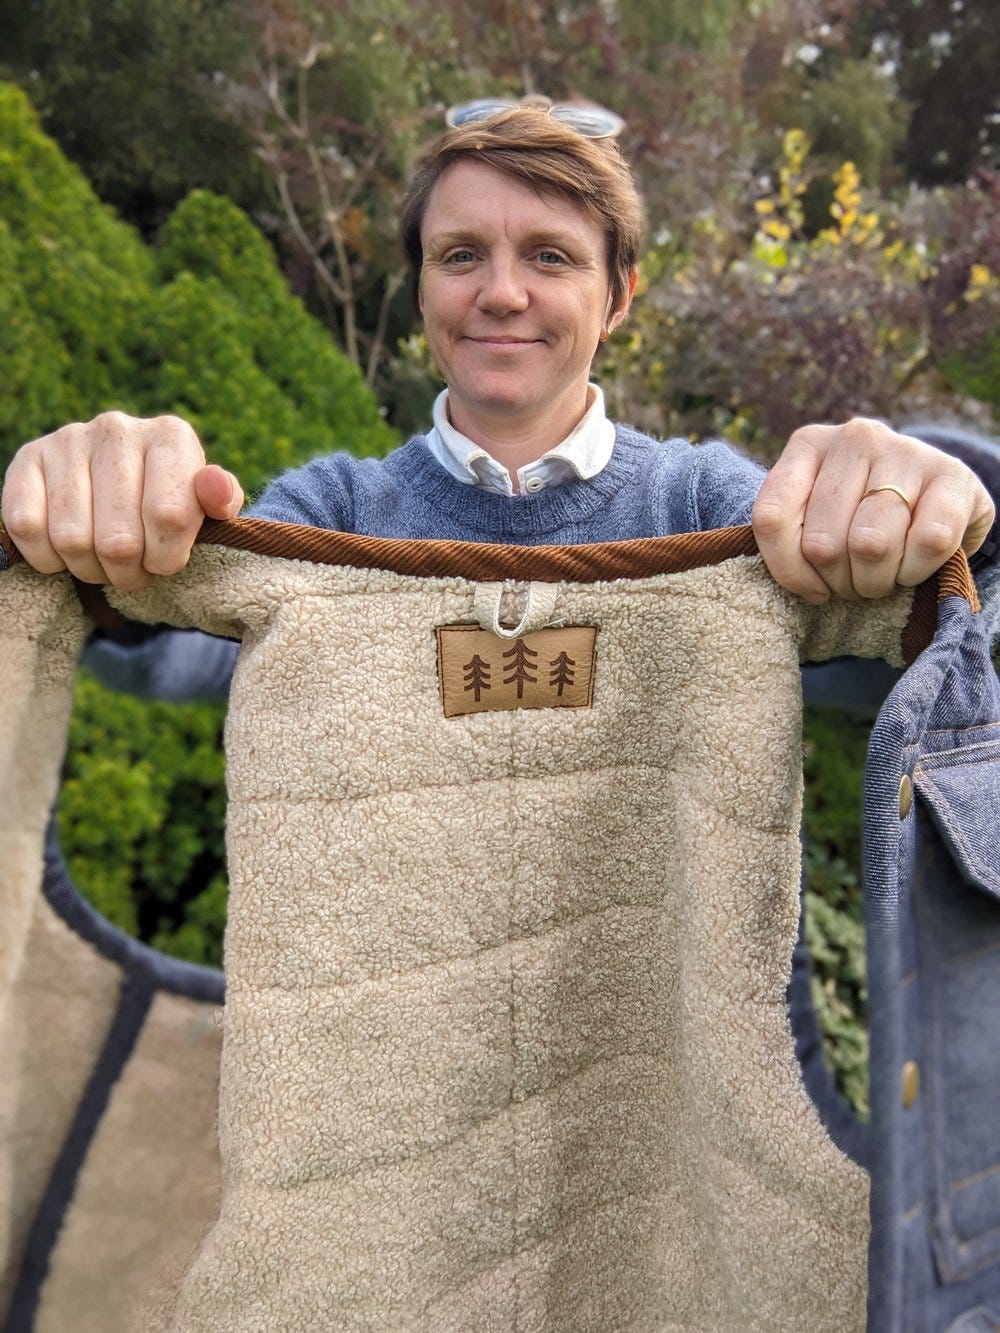
The denim was from my stash, bought as deadstock from Roberta Cummings on Instagram, whilst the wool batting I rescued as a blanket from work, washed thoroughly and cut around the holes. I love making clothing from old or recycled fabrics, it’s so satisfying to see something old or worn, upcycled into an item greater than the sum of its parts. I started by making a sample, to make sure my sewing machine could handle quilting through three layers of quite thick fabric. I wanted to have brown cord shoulders, using remnants left over from my brown Morgan cords, so I sewed together a scrap of cord to a remnant of denim, then enclosed the wool blanket material between that and the shearling to create a sample. My machine coped with it a lot better than I was expecting so I knew I could cut out the remainder of the pattern pieces without worrying.
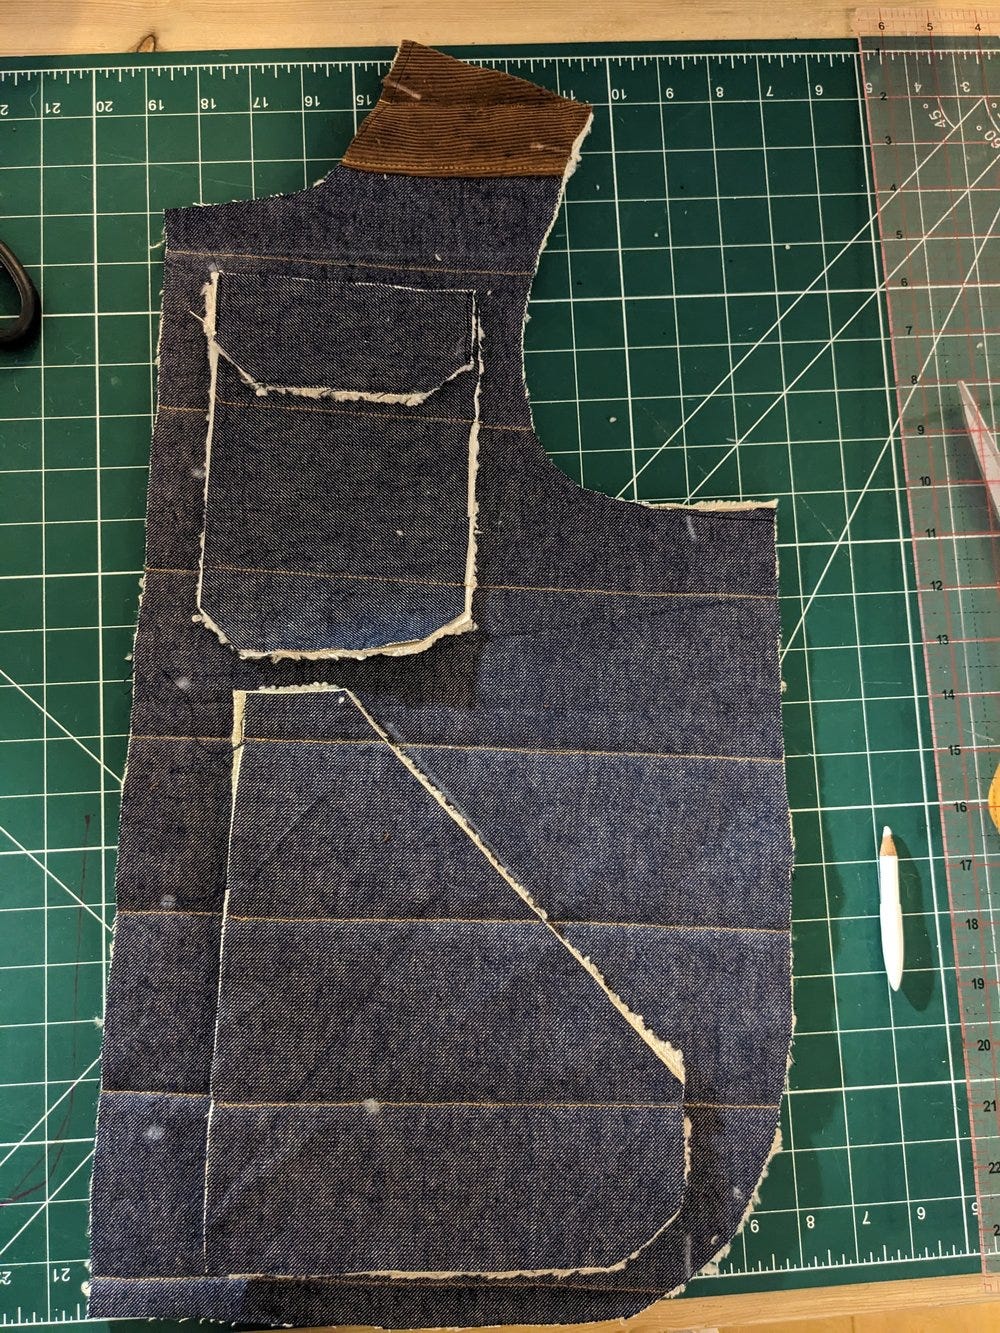
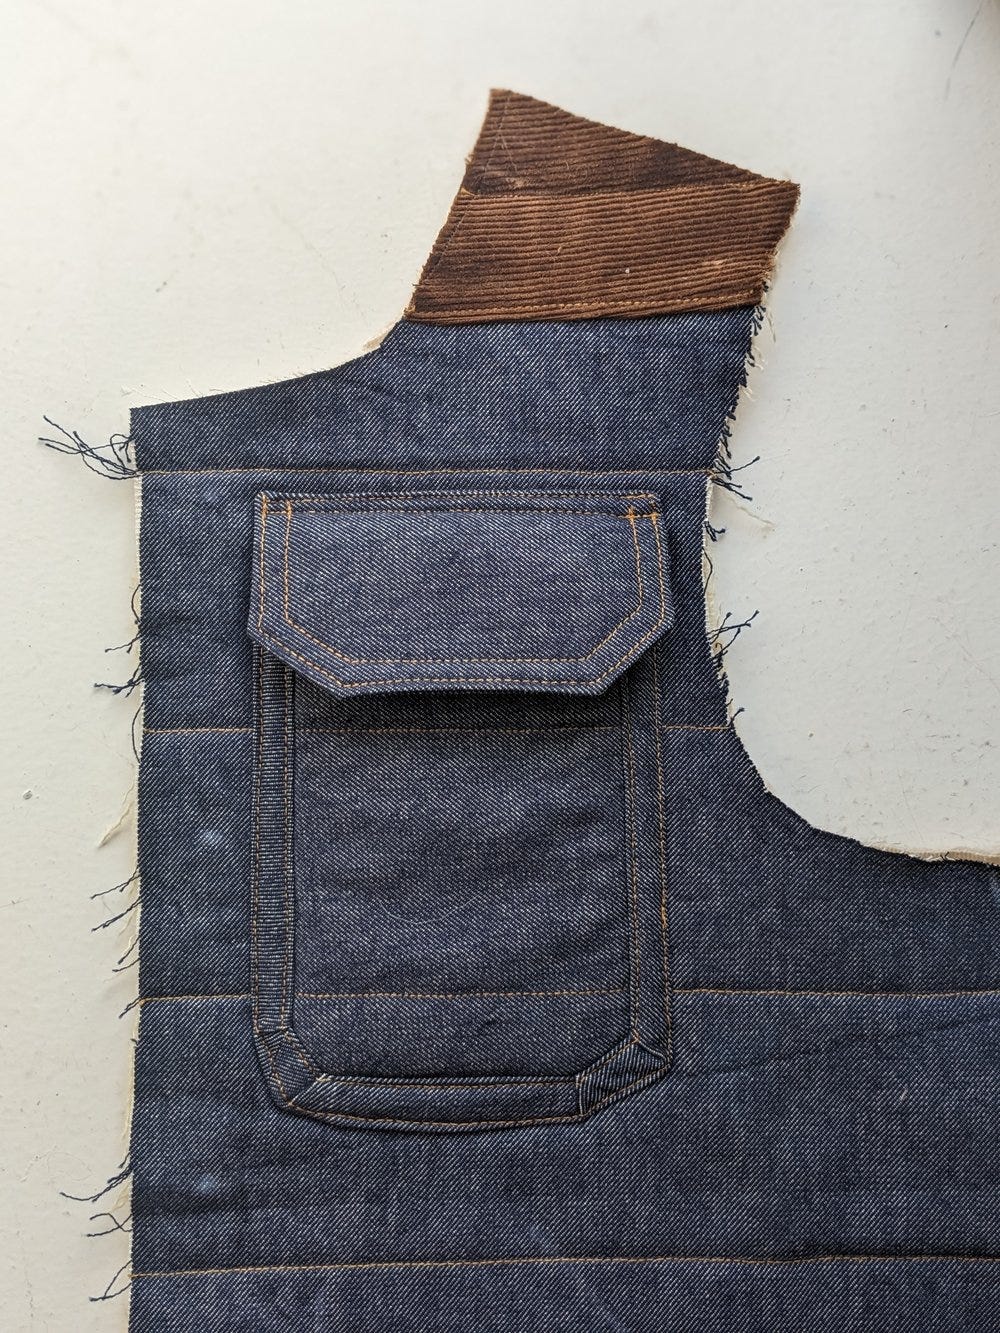
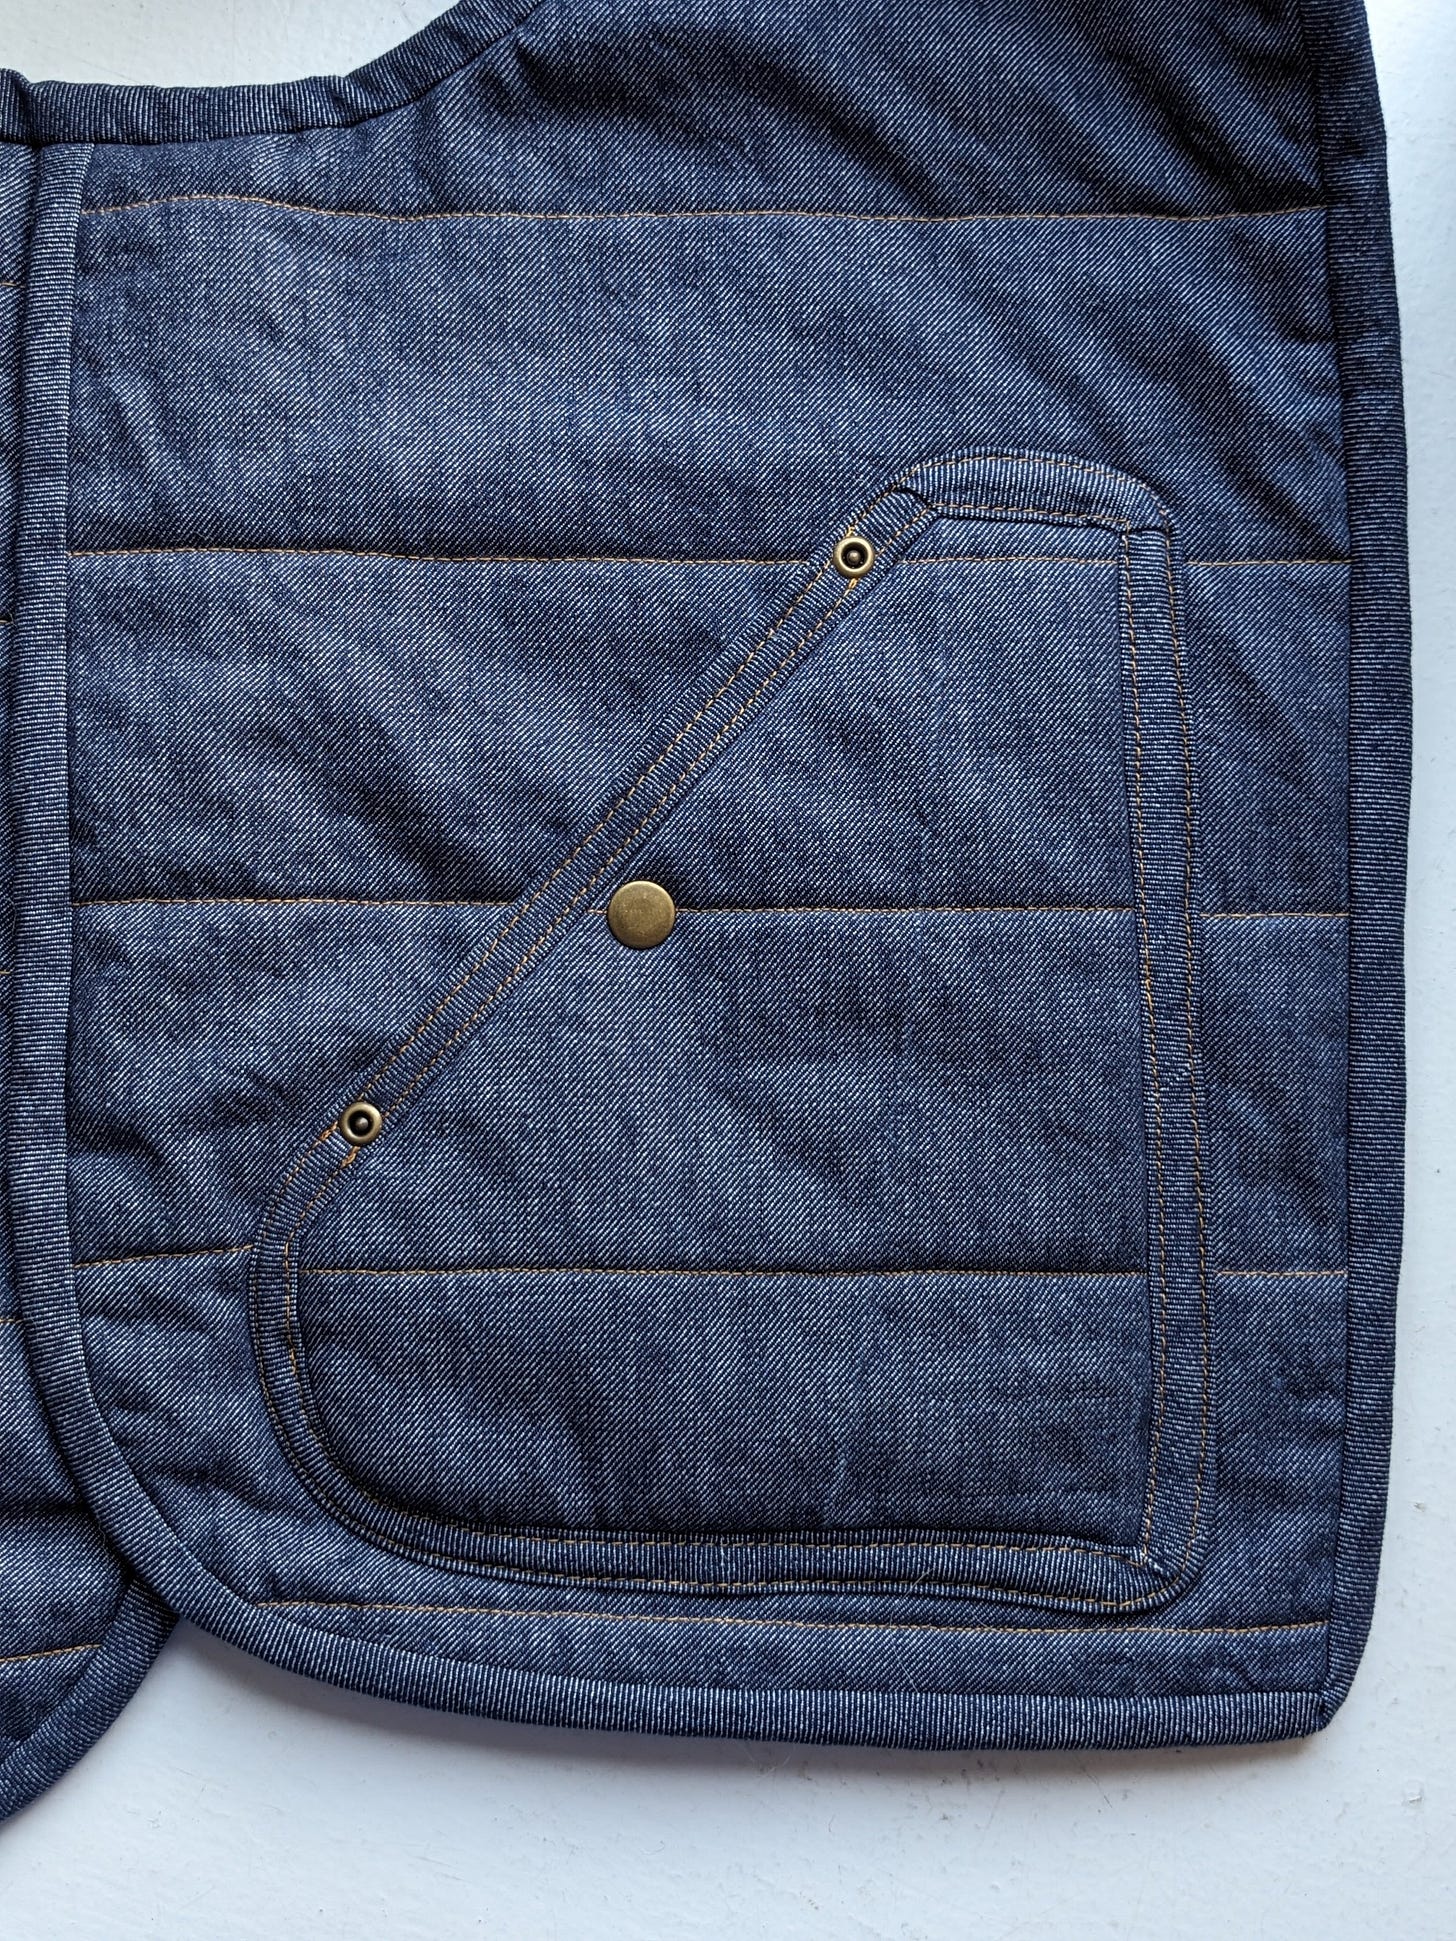
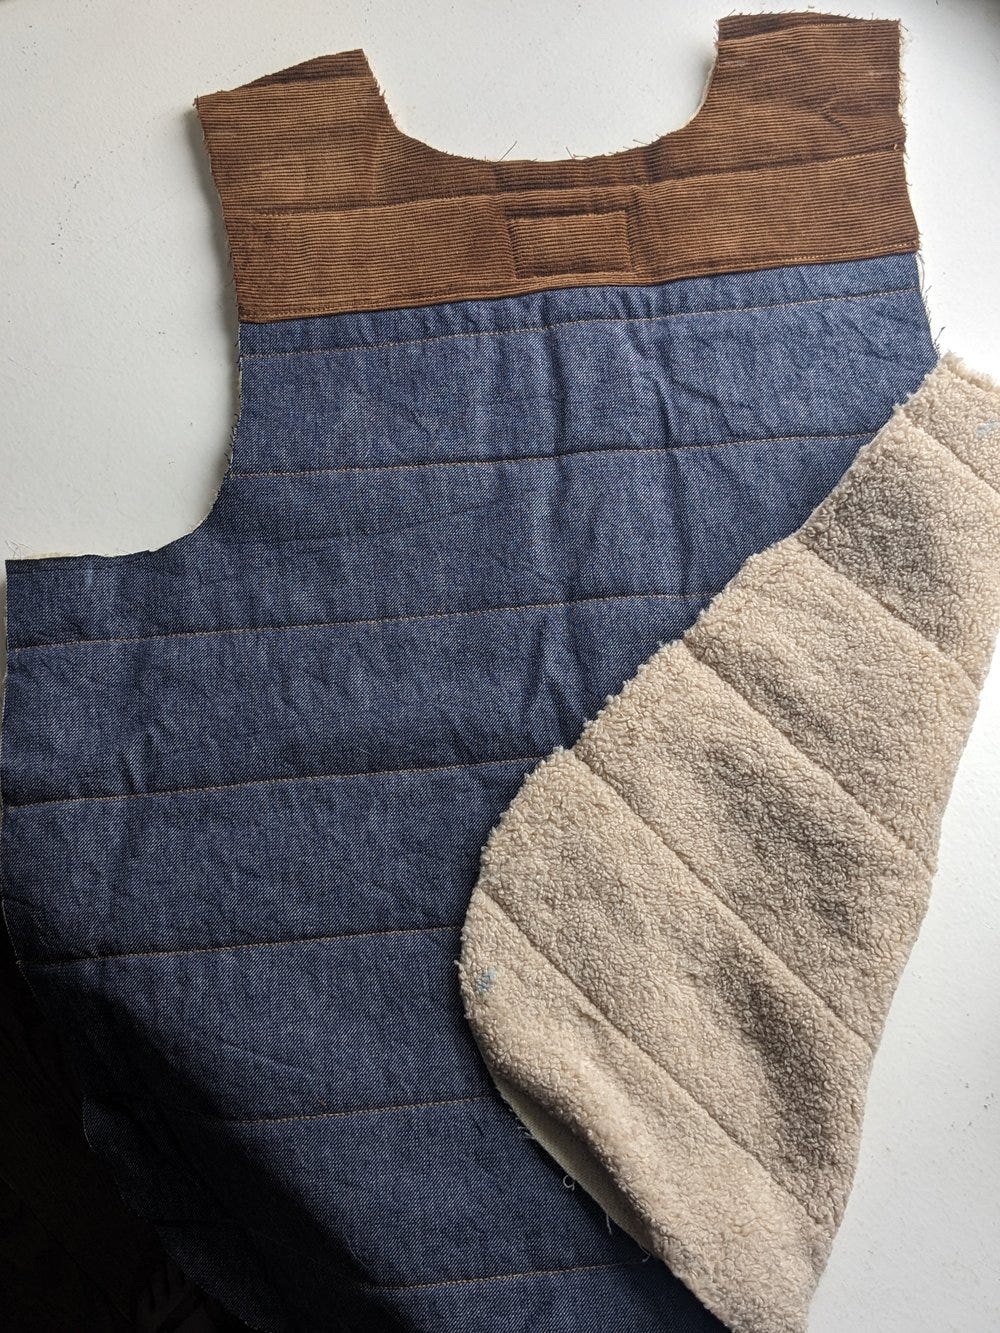
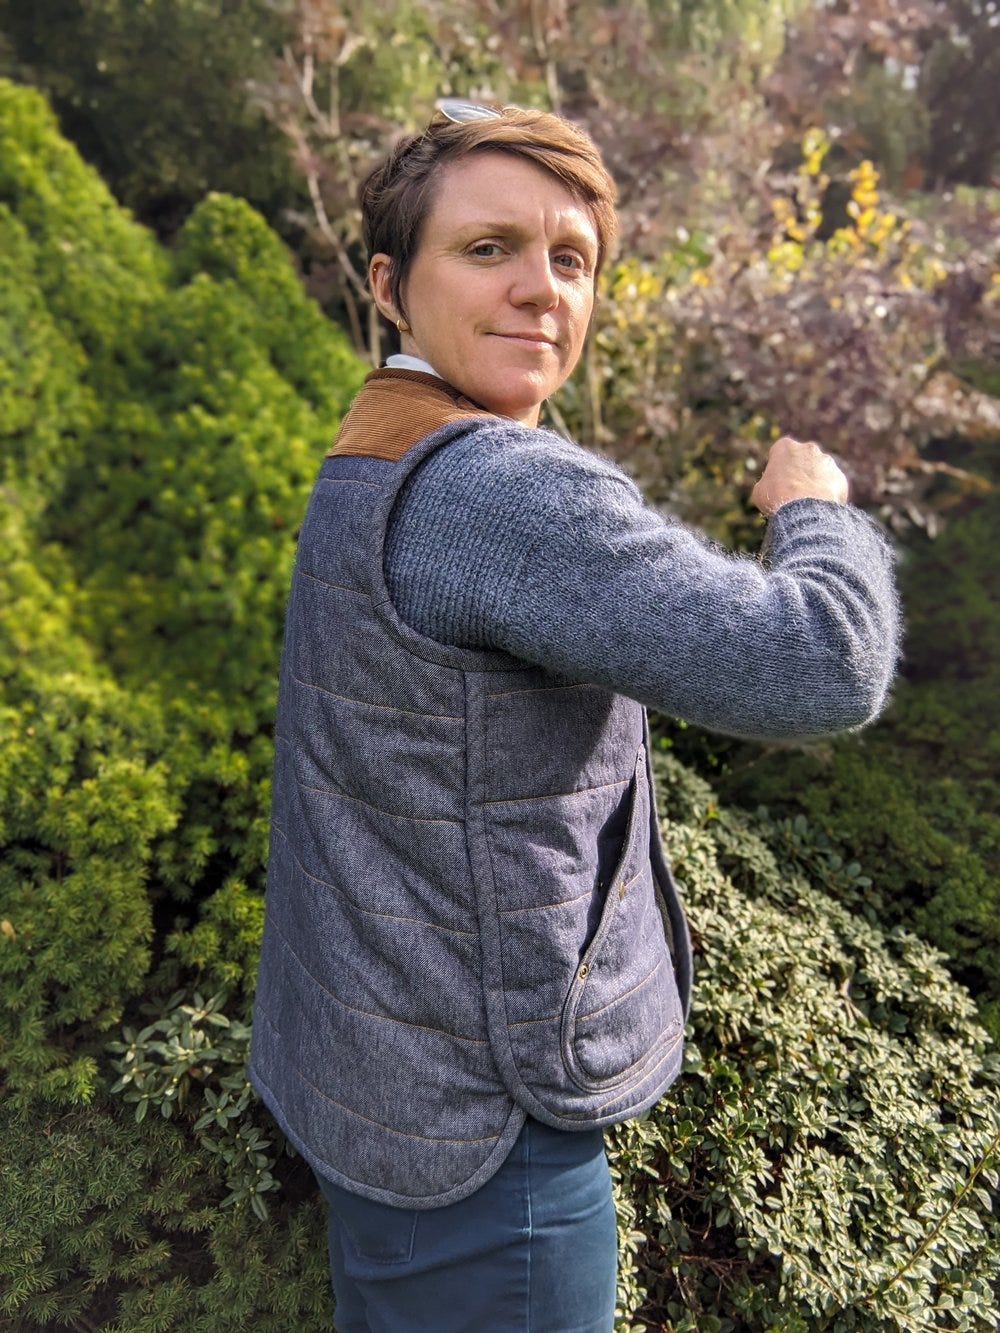
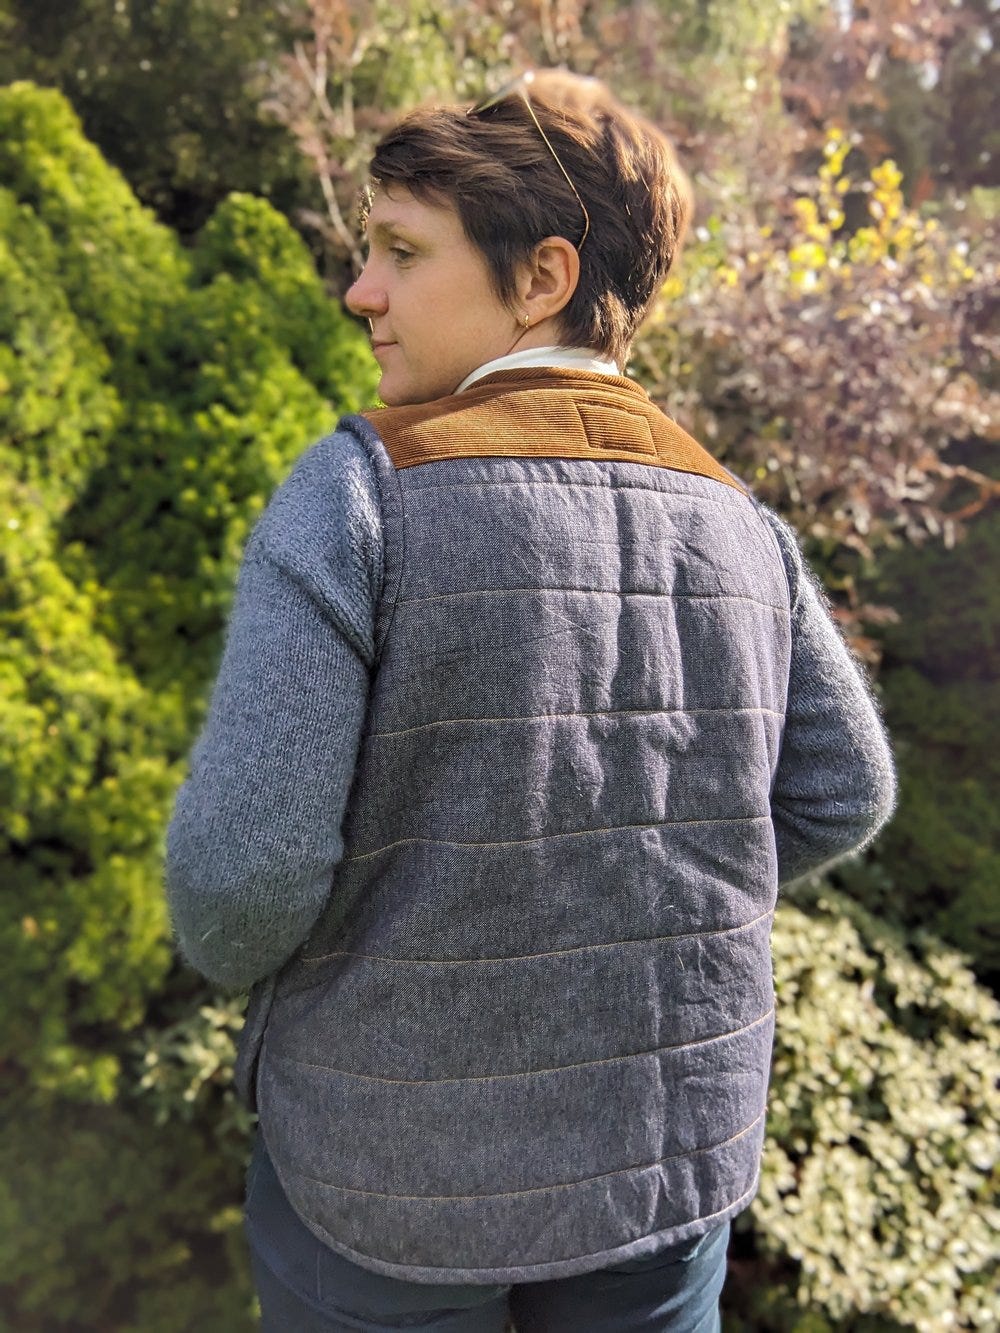
You start by quilting the fabric for the two front pieces, pockets and back. I also wanted to add a chest pocket, for my phone. I find when I keep my phone in a waist pocket, it digs into my stomach when I bend down and I’m not a fan of that feeling, so I prefer a chest pocket for my phone. This was my only pattern alteration and was a bit of trial and error to get the right size and pocket flap. I’m pleased with how it looks though, so it was worth the effort. Trying to line up the quilting lines was a bit of a pain in the arse, but I’m glad I took the time. If they’d been misaligned I think it would have made the whole piece look obviously homemade.
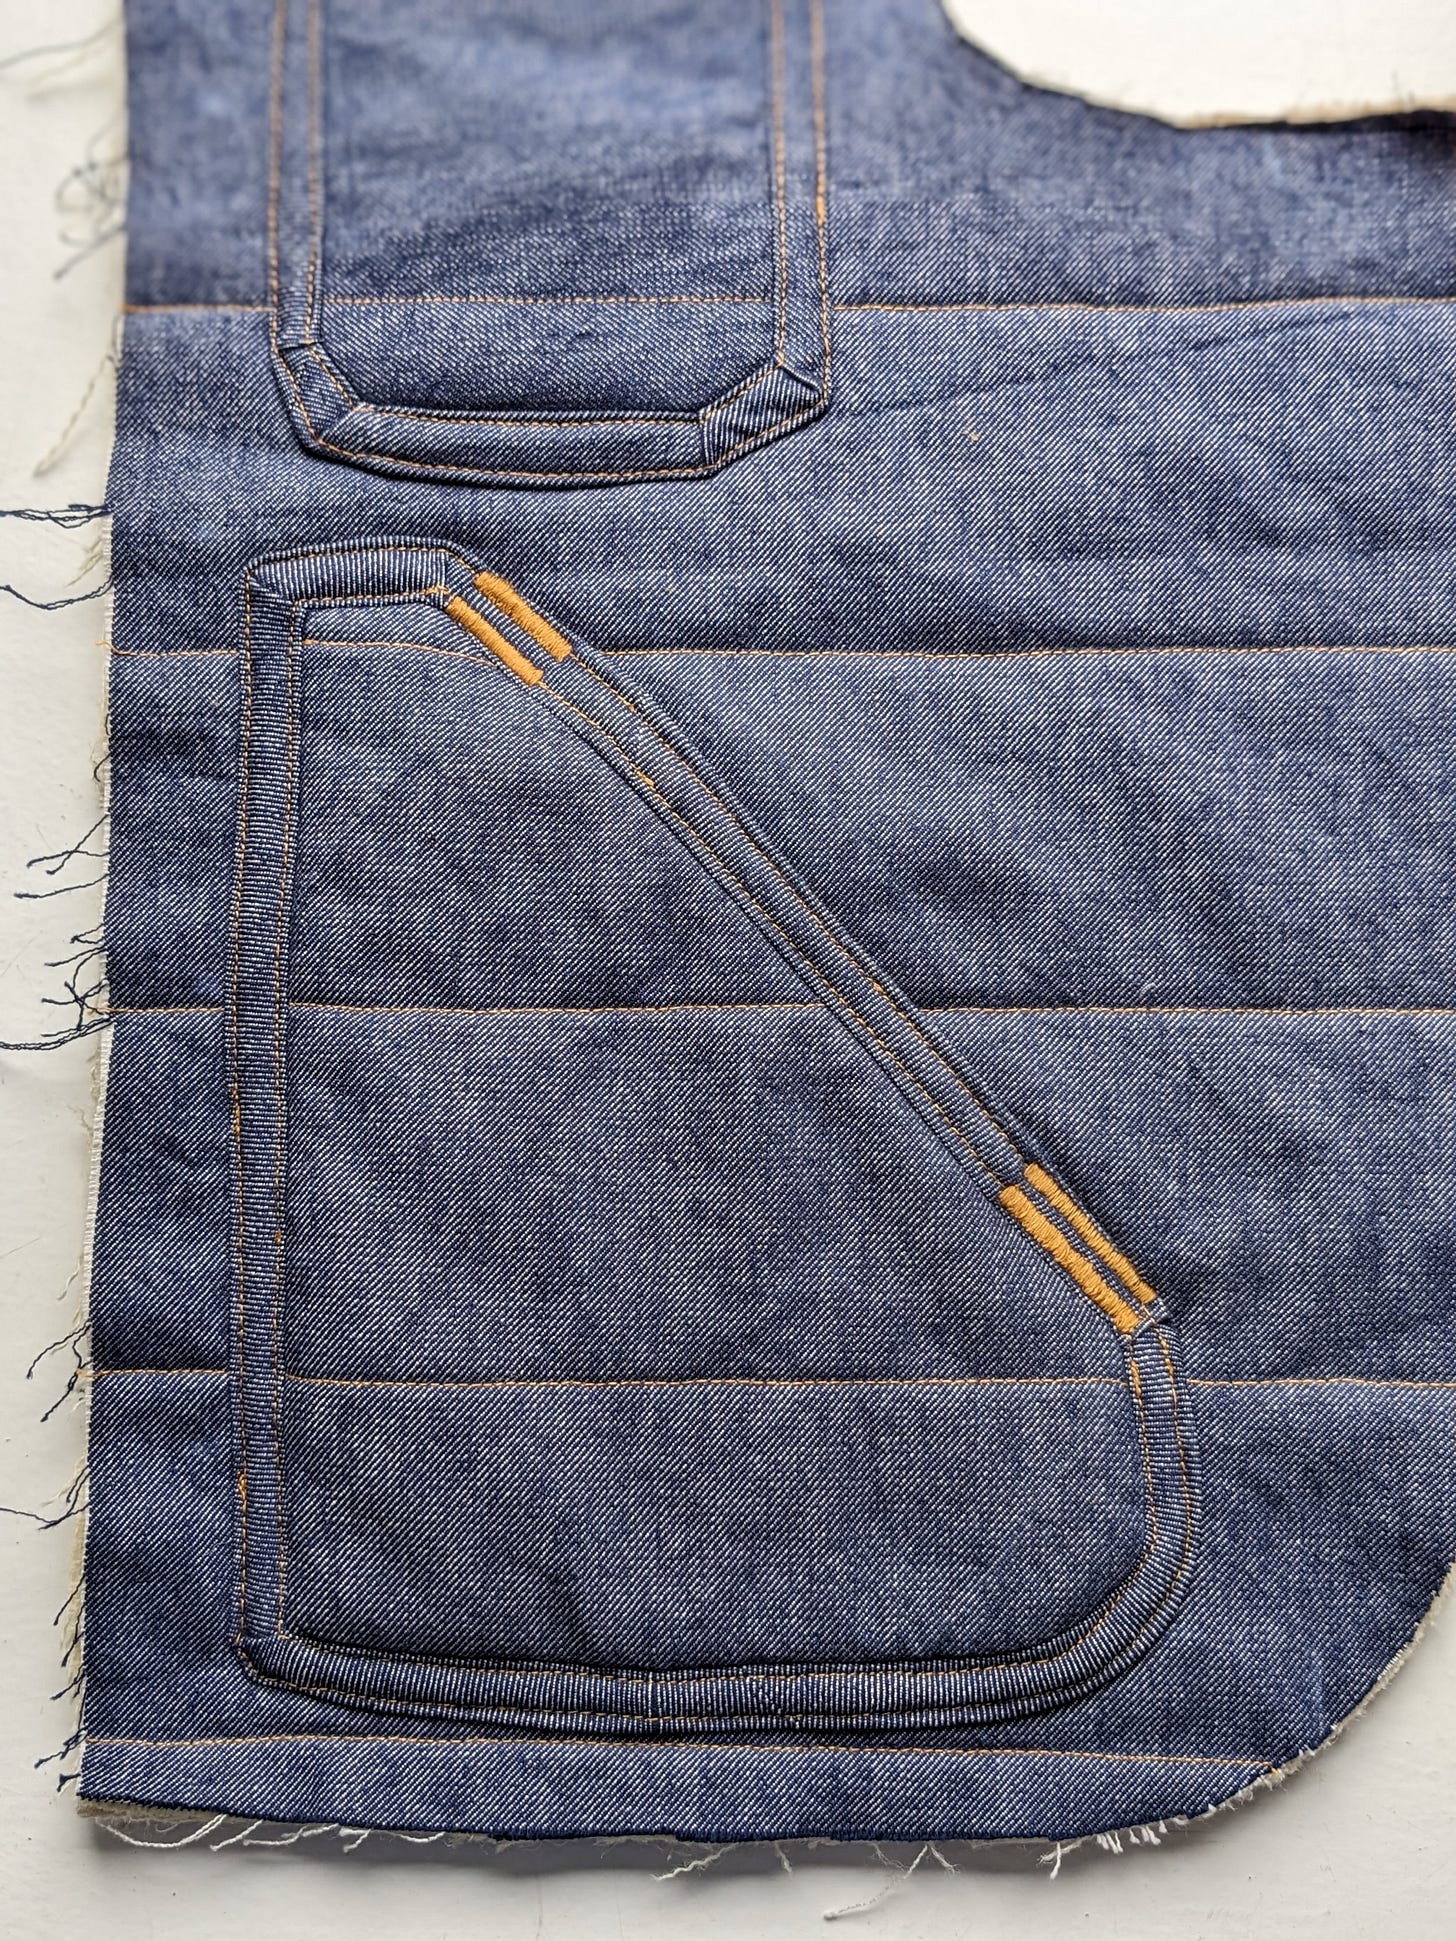
You then bind the edges of the pockets and body pieces with bias binding. I chose to make mine from the denim I was using for the outer layer, I didn’t want to introduce a new fabric or colour, I wanted to keep that design element quite minimal. I was worried denim bias tape might be a bit heavy but it worked pretty well and wasn’t too difficult to sew. I used my normal method of machine sewing on the outer side and hand stitching on the inside. Not gonna lie, it’s a shit tonne of bias tape to cut, press and sew. I’m happy with how it looks though, so it was worth all the effort in the end.
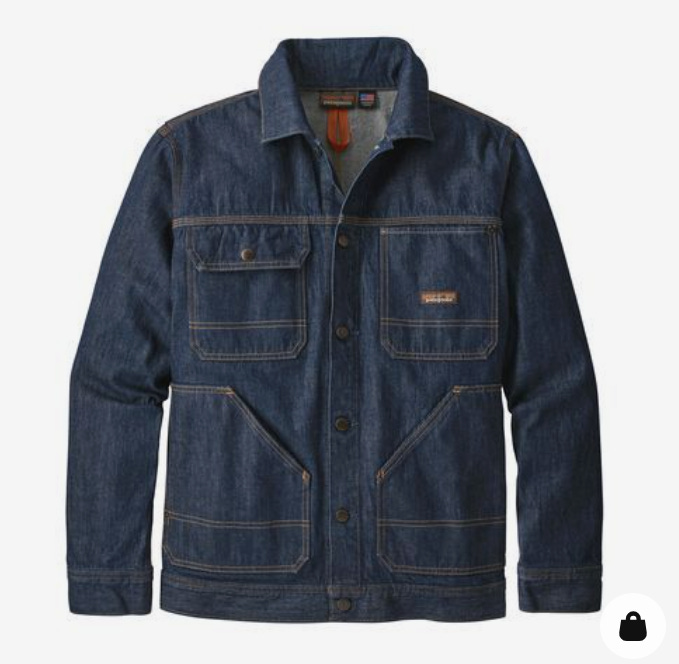
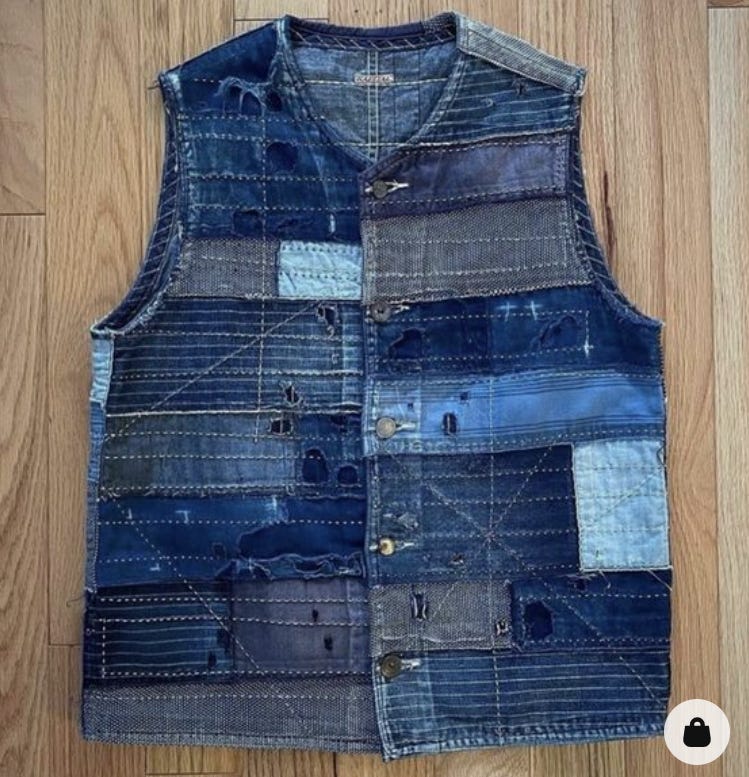
I also squared off the corners of the neckline, the pockets and the bottom hem, where it meets the edge of the front closures. I was aiming for something akin to these images below, taken from my style inspiration board, a kind of menswear-inspired, rugged outdoorsy look. It did, however, make applying the bias tape a lot harder around these corners, I understand now why Helen has those corners curved. Bias tape naturally wants to bend around a corner, not flex at a right angle. Lesson learned.
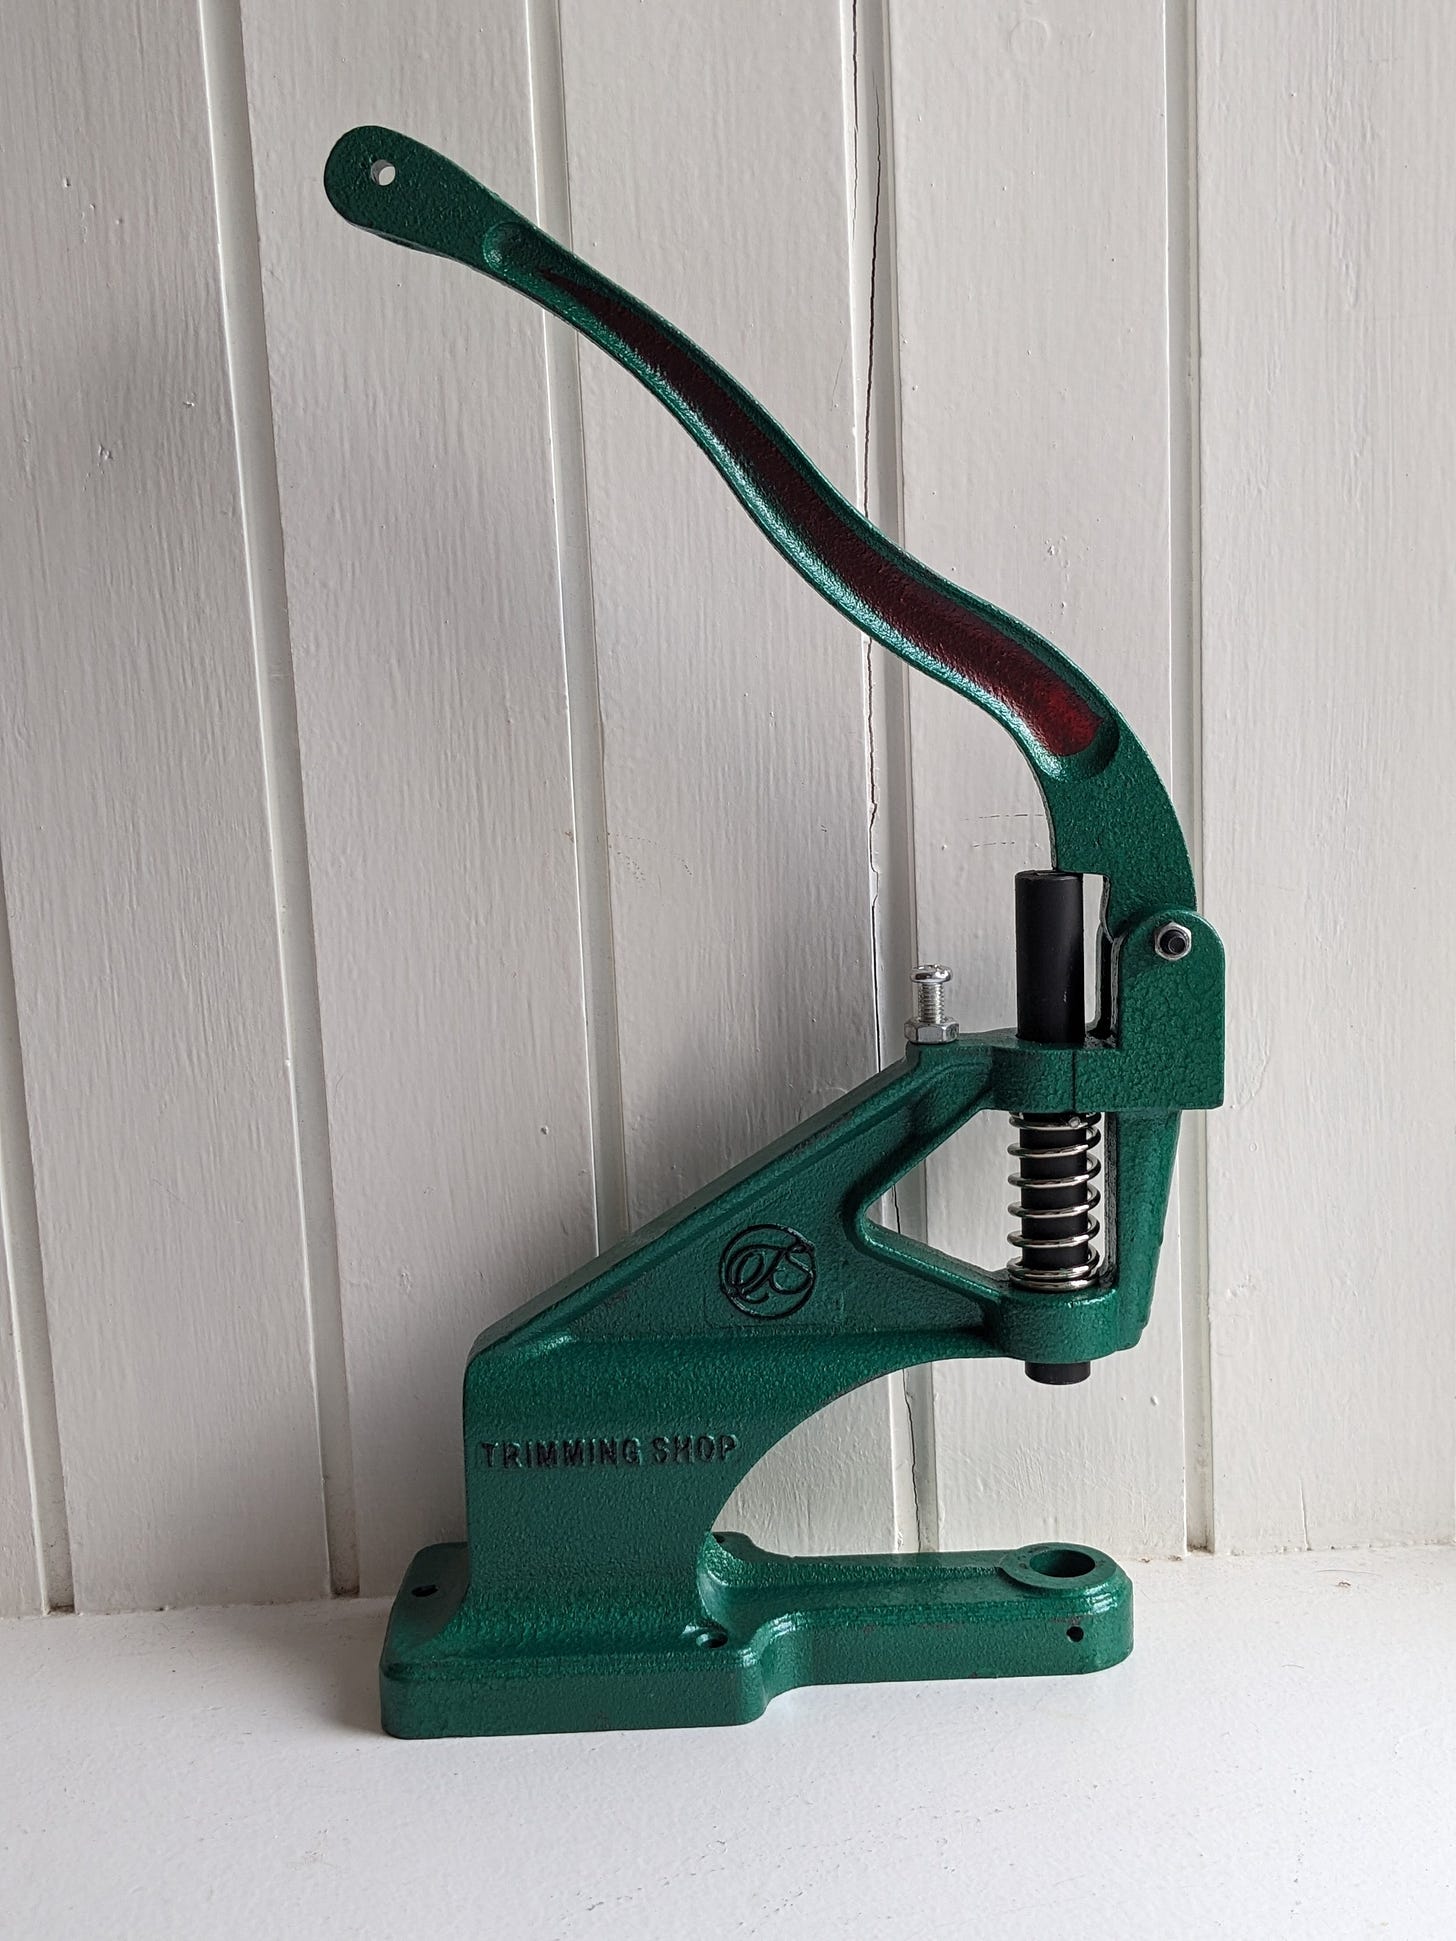
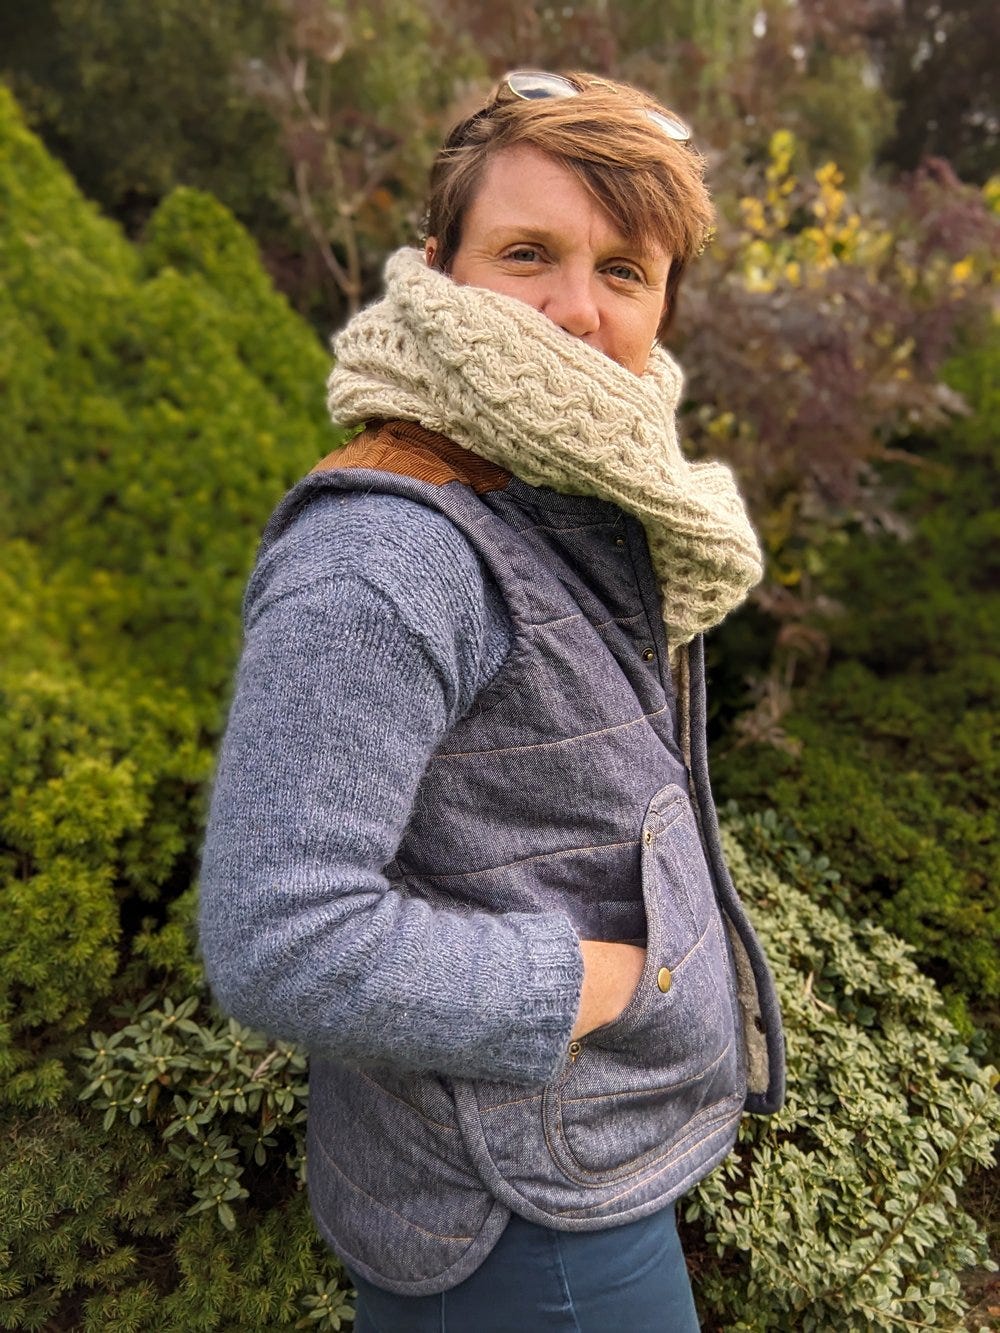
You can see in the photo of the pocket above, I originally opted for bar tacks along the pocket opening. I accidentally stretched out one of the pocket openings whilst sewing it in place, the hand opening is cut on the bias so I should have stay stitched to prevent this happening. I figured I would tidy it up using bar tacks, but these went in with varying degrees of success. After living with them for a while, I eventually went back and removed them all and replaced them with rivets using my new Hulk hardware press. I personally think this look is much more smart and minimal, I’m glad I took the plunge and bought the hardware press. I make enough bags, trousers and coat projects that I know this press is going to get a lot of use. I also applied snap fasteners to the chest and main pockets, they’re very chunky and satisfying to use.
After finishing the outer edges with bias tape, I was able to start pinning the front and back body pieces together to try it on. I was slightly concerned it was giving bullet proof vest vibes but I tried it on over a variety of layers - t-shirt, thick wool sweater, regular cardigan - to ensure it would work throughout the year. Helen has you machine stitch the front and back pieces together but I was pretty sure I wouldn’t be able to do this without forcing the thick layers through my machine. I didn’t want to risk spoiling the look of the final vest with wonky topstitching so I hand stitched the front to the back along the shoulders and side seams. The added benefit of this method is the ease with which I could unpick and resew the seams, trying it on as I went, until I had perfected the fit.
Helen also suggests adding some elastic to the arm scythes, to reduce gaping. I experimented with this and realised I only needed it on the front, not the back. You can see below the slight gathering in the front arm scythe caused by the elastic, but it gives a nice snug fit around the top of my arm.
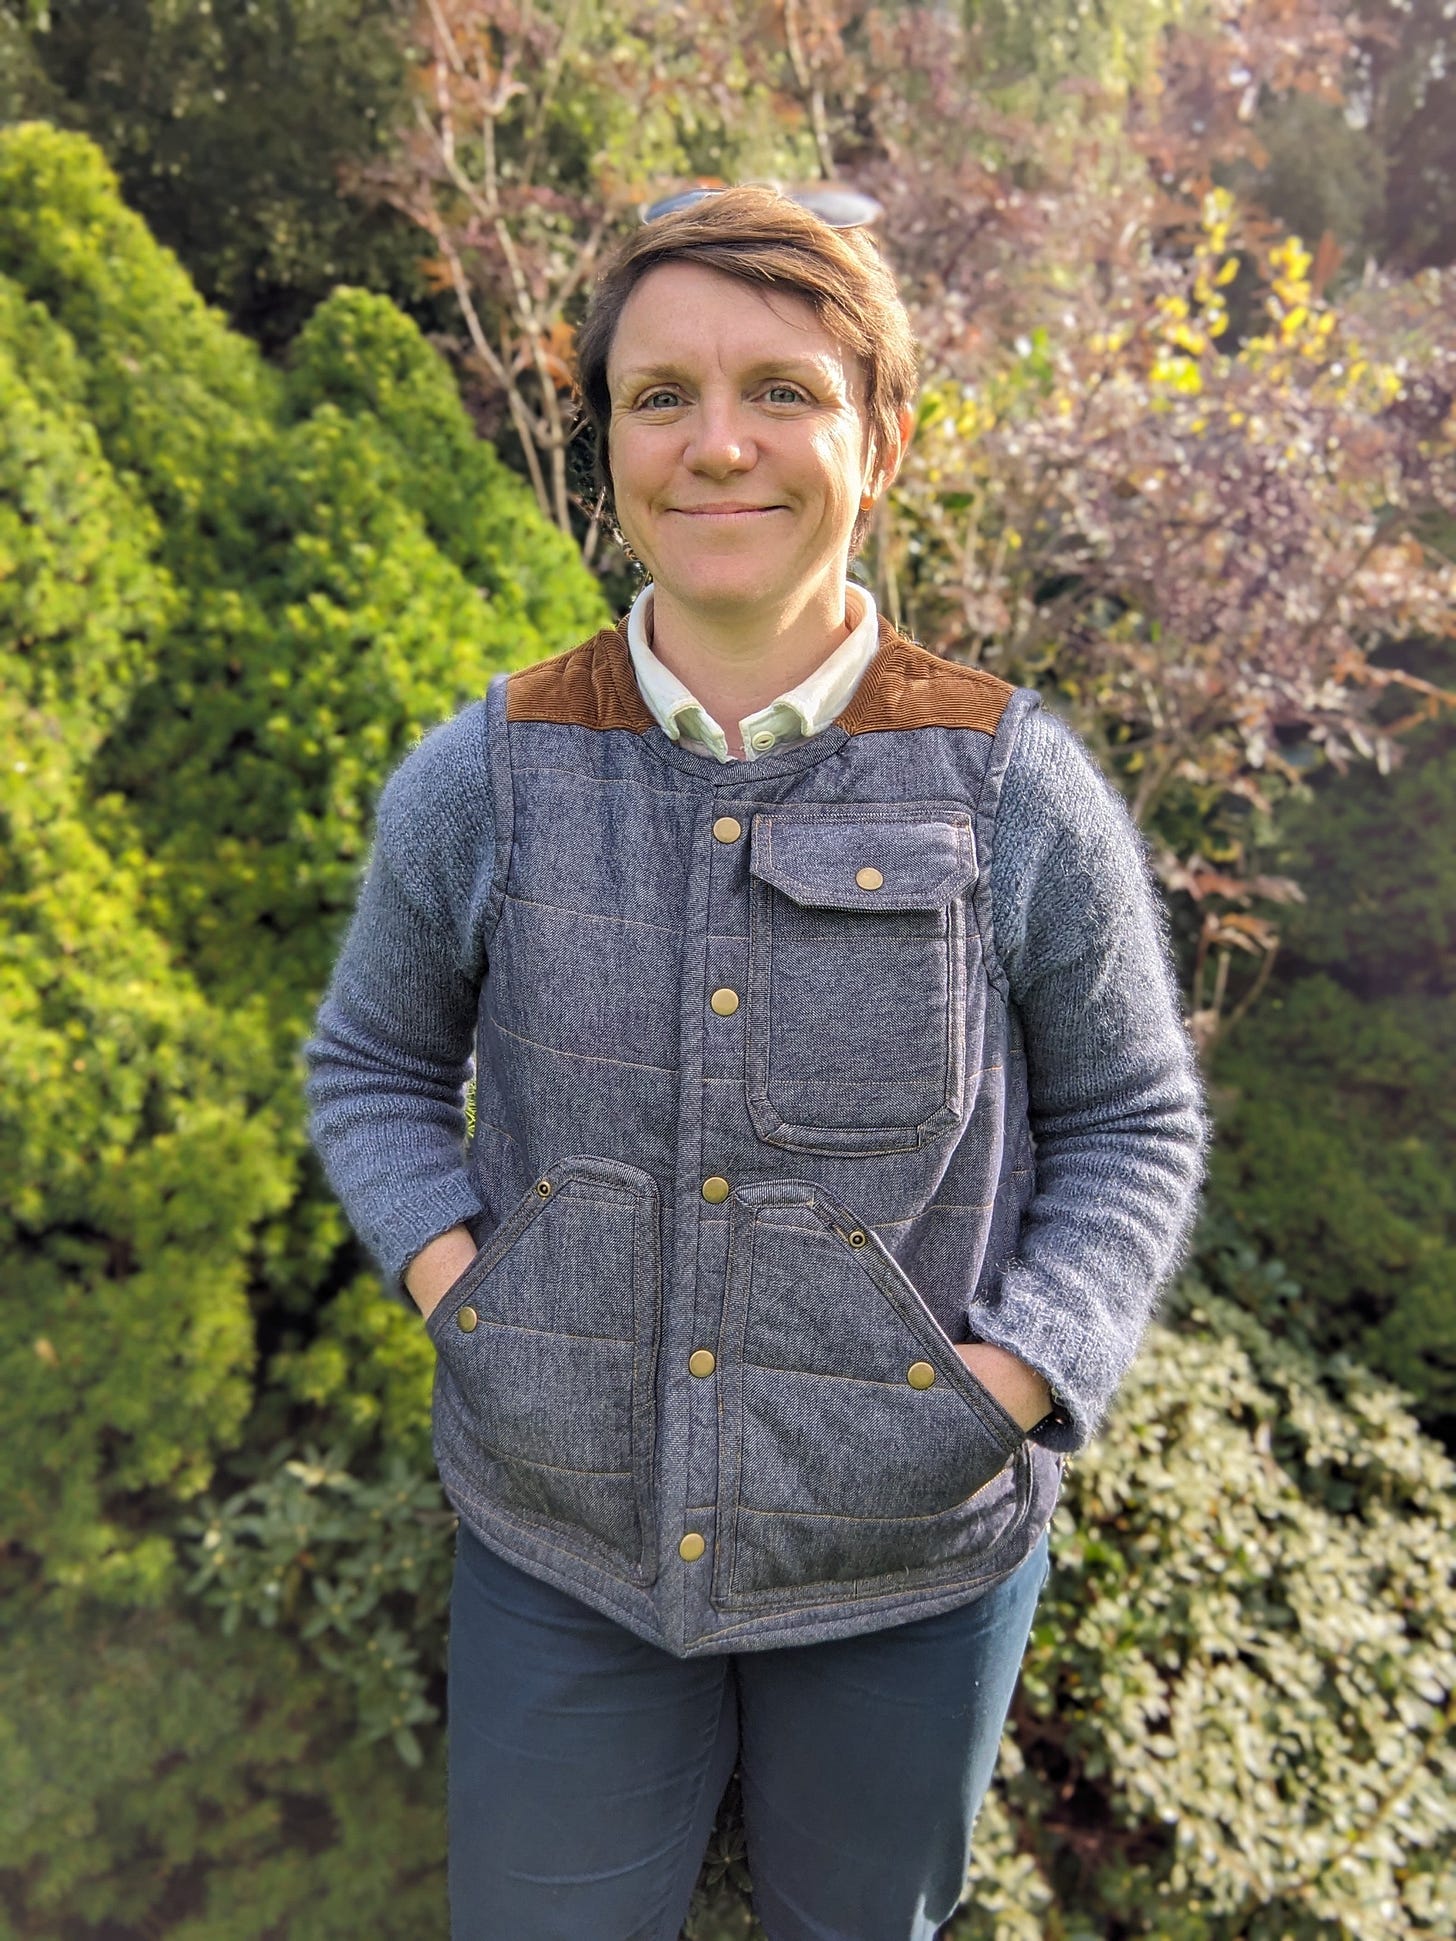
And here it is, in all its glory! I’m so pleased with it, it was a lot of work (mostly because of the mods I made along the way) but I think it will get a lot of wear over the autumn and winter. I wore it out properly for the first time on our wedding anniversary, we went for a long walk with the dogs on the beach and it was perfect for keeping those nippy onshore winds off my chest.
The fit could be a touch more snug, but I like that as the season progresses, I can wear a thicker sweater underneath if needed. The beauty of handsewing the side seams, is the ease with which I can adjust the fit over time.
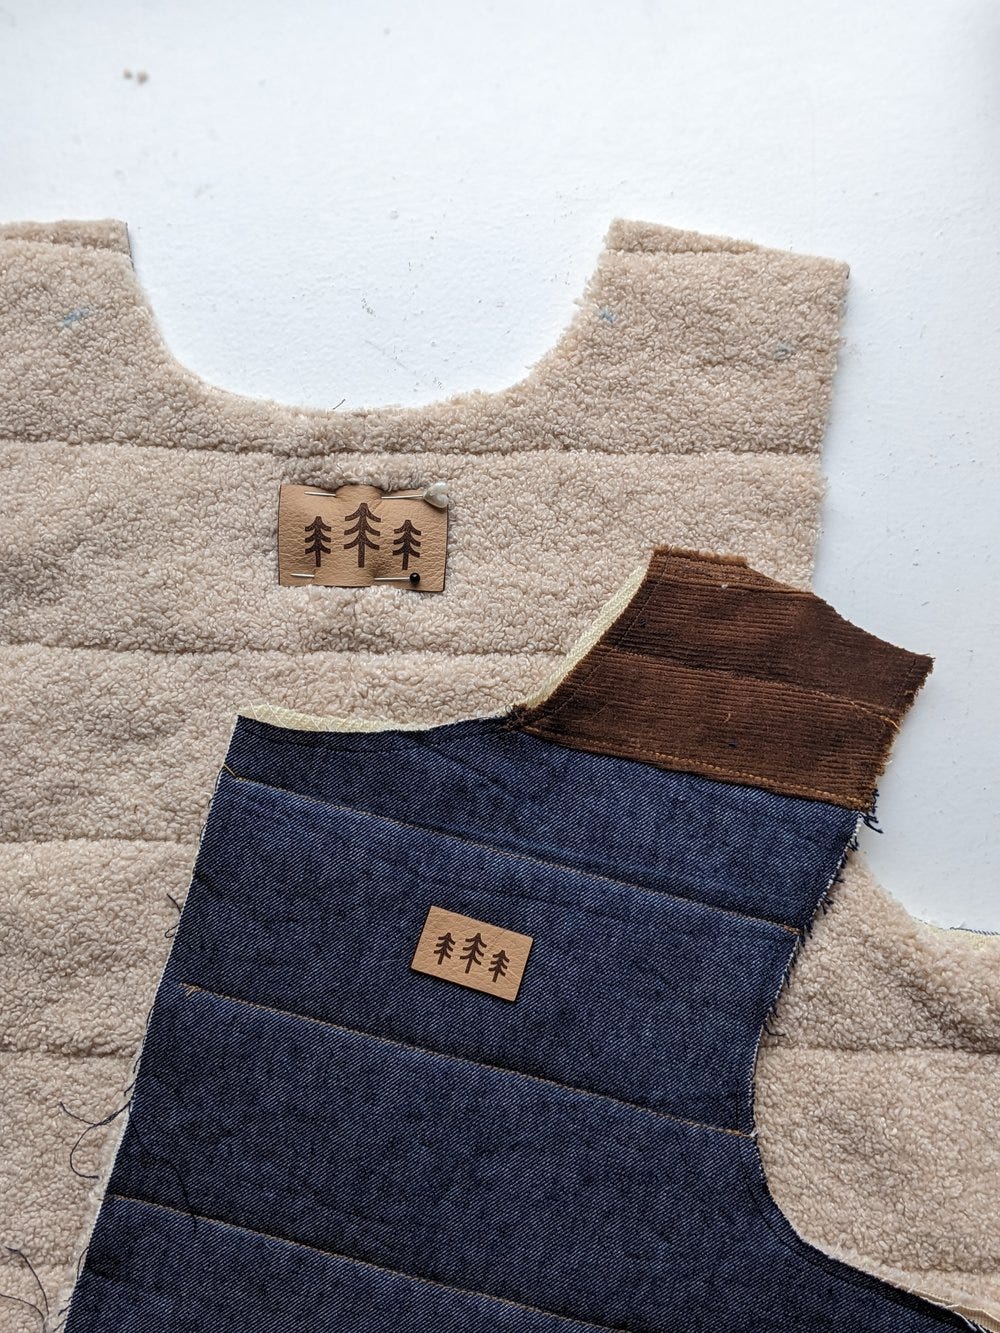
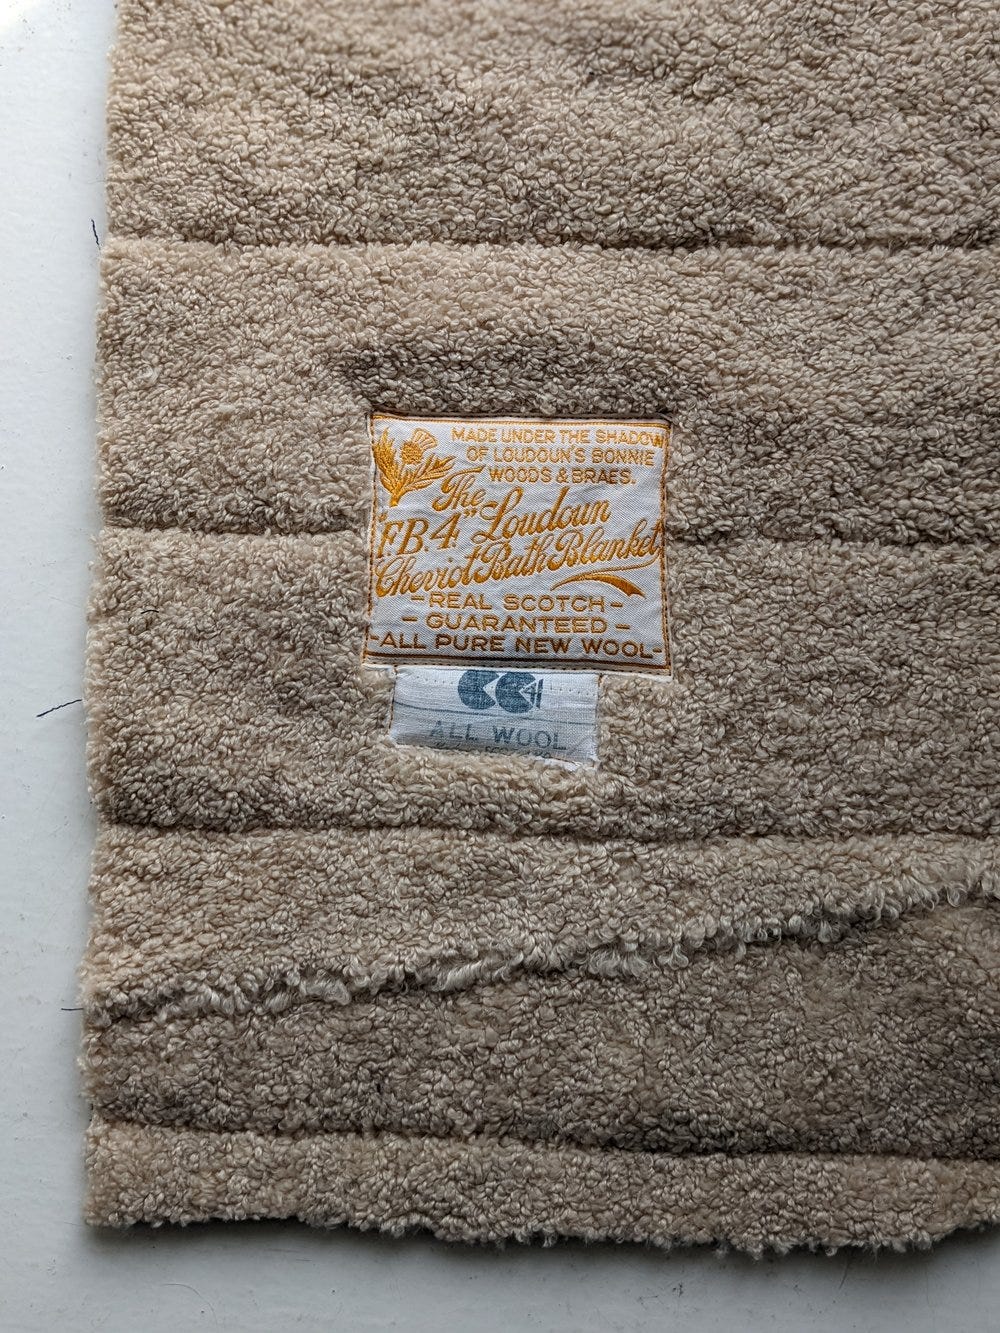
I saved the labels from the wool blanket and sewed them into the inside. Technically, it says “100% wool”, which obviously isn’t true, but I wanted a nod to the wool blanket batting that you can’t see from the outside. I sewed a Jenerates embossed leather label with the Craft & Thrift trees to the nape of the neck.
I’m styling it here with my cable knit alpaca cowl, soon to be written up on the blog. Overall, I’m really happy with this vest. I think it will be a real workhorse this season and is the kind of item that should last me for many years to come. I would definitely make this pattern again, I’m already dreaming of making a V-neck version in wool fabric, as a Hobbit-style waistcoat for winter…




Thank you for taking the time to write this up. Your vest came out wonderfully. 😀 I’ve made quite a few of Helen’s patterns but not the Wildwood. I’ve been thinking about getting a press for years. It’s super tempting.